SPRING TOP WEEK Day 5: Rae's Victorian Collar Top
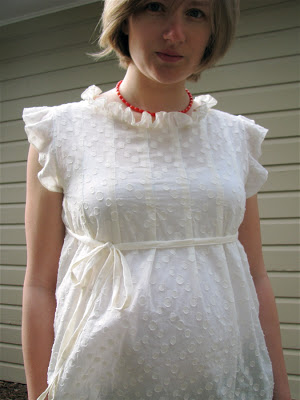
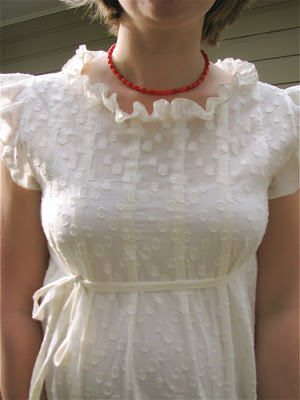
 This is the last completed top for this week; I'm hoping to have enough nap this afternoon to finish just one more...we'll see! I'm not exactly sure what to call this top, but the neck seems a bit Victorian to me so I'm just going with that. It's actually just a ruffle around the neck (ruffles seem to be my thing this spring) which I'll give a few directions for below.
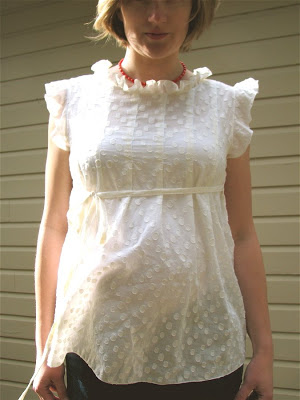
 This top was a make-it-up-as-you-go creation. I started by putting a set of pleats in the fabric (before cutting even), each 1/2 wide and 2 inches apart. I traced the line on the bottom of my modified Smashing Smock pattern so I'd know where to stop the pleats, and then traced a "front" piece from some newsprint pattern I'd made along the line. The pleats made it baggy enough in front to work for maternity, and I did a non-pleated back to match. I made up a flutter sleeve using the armhole circumference. And there you go!

The ties are 3" below armpit and can go in front or back. The fabric is from JoAnn and as you can see above, has a sort of fuzzy nature to it. It's also really see-through and thus requires a tank or camisole underneath. You may also have noticed that Kate made a top of the exact same fabric that was posted yesterday in the Spring Top Showcase.

I roll-hemmed the ruffle, sleeve, and bottom hem again with my serger (some of you have asked: it's a Brother 1034D) which worked great for this weight of fabric. I also serged the inside seems since this lightweight stuff always seems to fray. The beauty of the rolled hem on the bottom is that when I'm post-baby, I can just hem it shorter to make it more normal-looking.
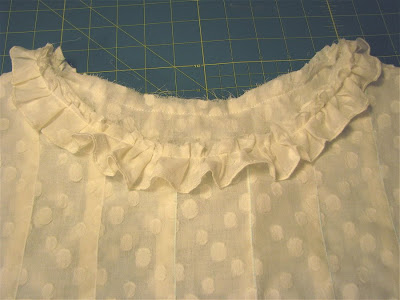
Here it is mid-construction:

How-to add a ruffle to a neckline:
I cut 2 yards of 1.5" wide fabric for the ruffle and finished the top edge of the ruffle with my serger. Then I stuffed it under the presser foot on the right side of the blouse while sewing 1/4" away from the edges. This gathered it just fine (I imagine this is what a gathering foot does, but a bit more unpredictable and erratic). You can see this finished step above. Then I serged that raw edge you see there (you could also pink that edge or cover with bias tape), pressed the ruffle away from the blouse, and topstitched the seam to tack the edges down underneath the neckline and force the ruffle up.

