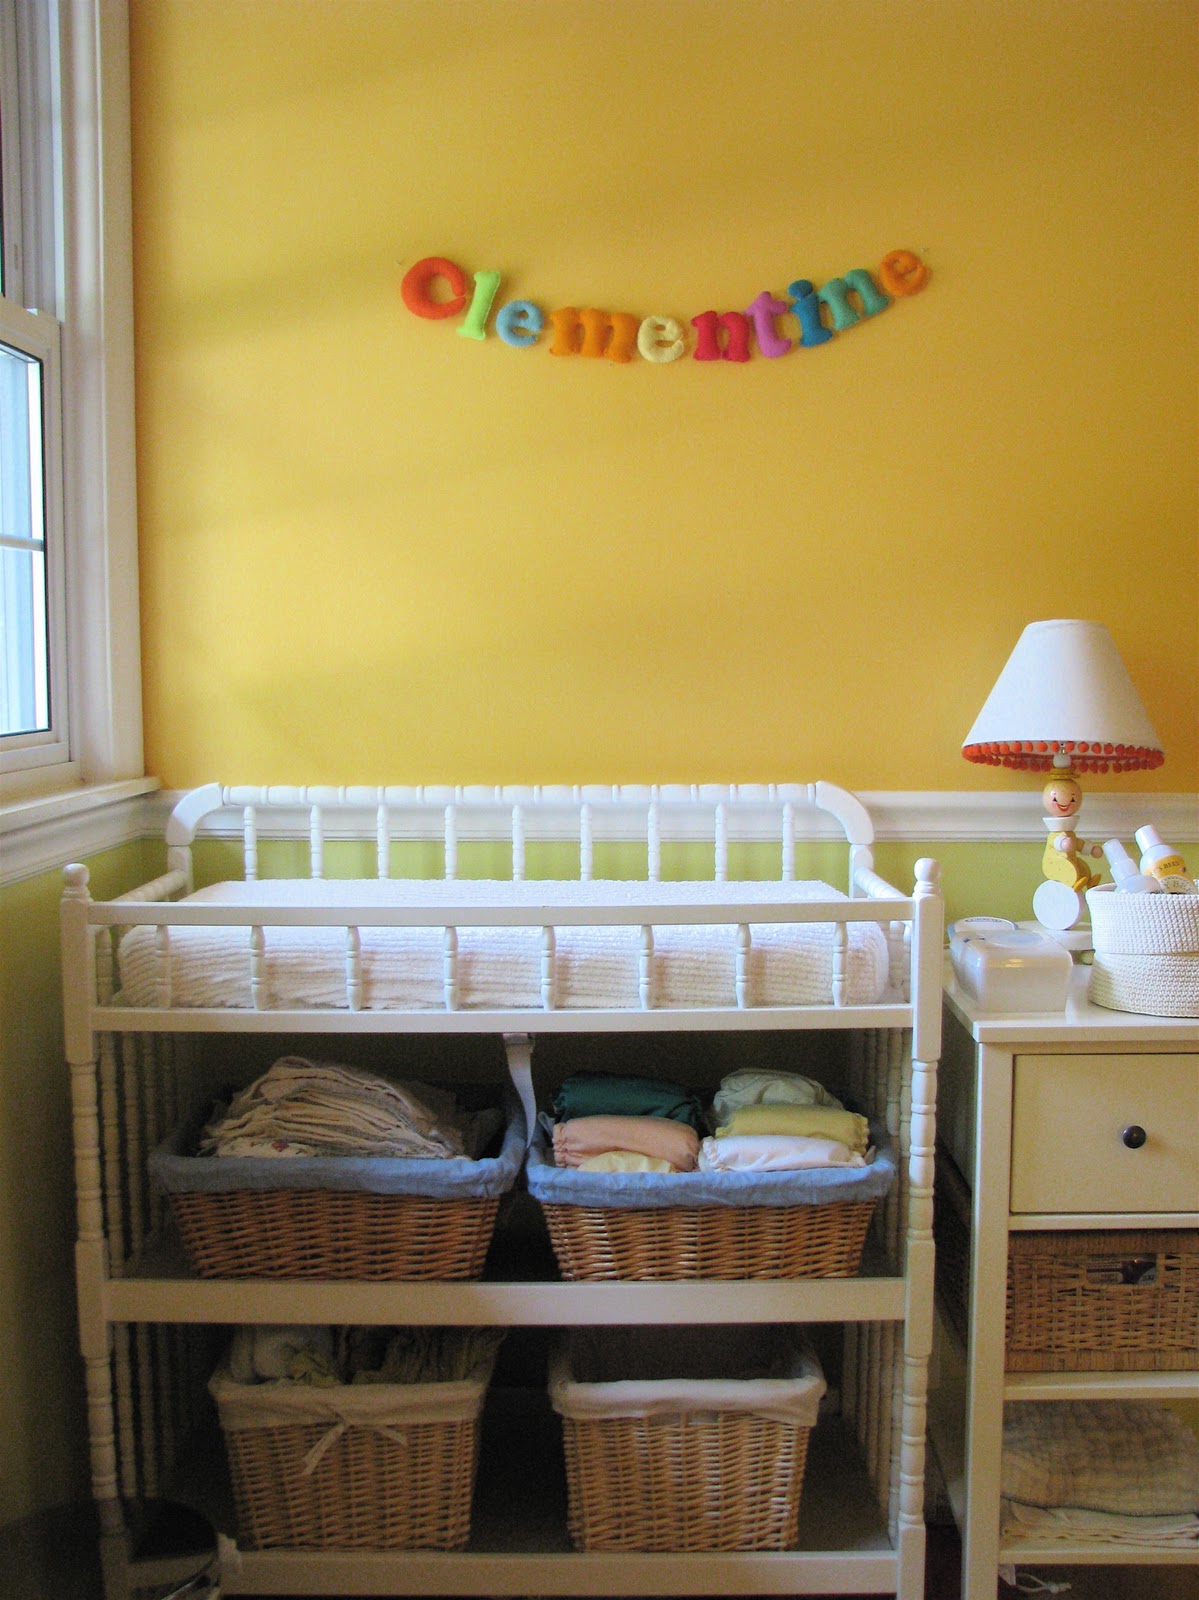
Felt Letters for Clementine's Room


Yesterday I finished these felt letters for Clementine's nursery. They had been sewn and stuffed months ago but I had this idea that they would all hang individually from the tension wire that holds up her curtains and then when I tried it and realized they would spin around and half of the letters would be backwards I gave up and for months there's been a hanging "Cle" in her room with a backwards "e." The solution ended up being a strand of clear thread which runs through the letters and is looped at the ends so it can hang from nails. And now I'm so geeked about how cool this turned out that I look for excuses to wander into the nursery and stare at it.
I will freely admit that the idea for these letters was not mine. I saw similar letters featured in Small Magazine last year and now it is driving me nuts that I just wasted a half hour looking for the page I saw them on and can't find it. Anyway they are from an etsy shop called MiCiMaLand that sells them in double cool Learn-to-Spell sets like this one. At the time they also offered custom name sets ($2/letter if I remember correctly) but now it looks like they've stopped selling them and if I had had half a brain I would have just ordered a set from them instead of trying to make them myself. I waffled about it for awhile but in the end the Dutch Girl in me just had to add it all up and decide that $20 for all TEN letters of Clementine's name was too much to fork over and by gum I could just make those myself. Kicking myself now, thinking about how long it took to cut out each of those letters and then stitching and stuffing them by hand...did I mention there are TEN letters in her name? This is a classic example of the should-I-make-it-or-buy-it inner debate going awry. And if you are thinking $34 for a full set of hand-stitched letters is too much, you should think again.If you have a child with a sensible short-lettered name, you might yet decide you want to make your own set. For those of you who are still nodding, here's a brief how-to.

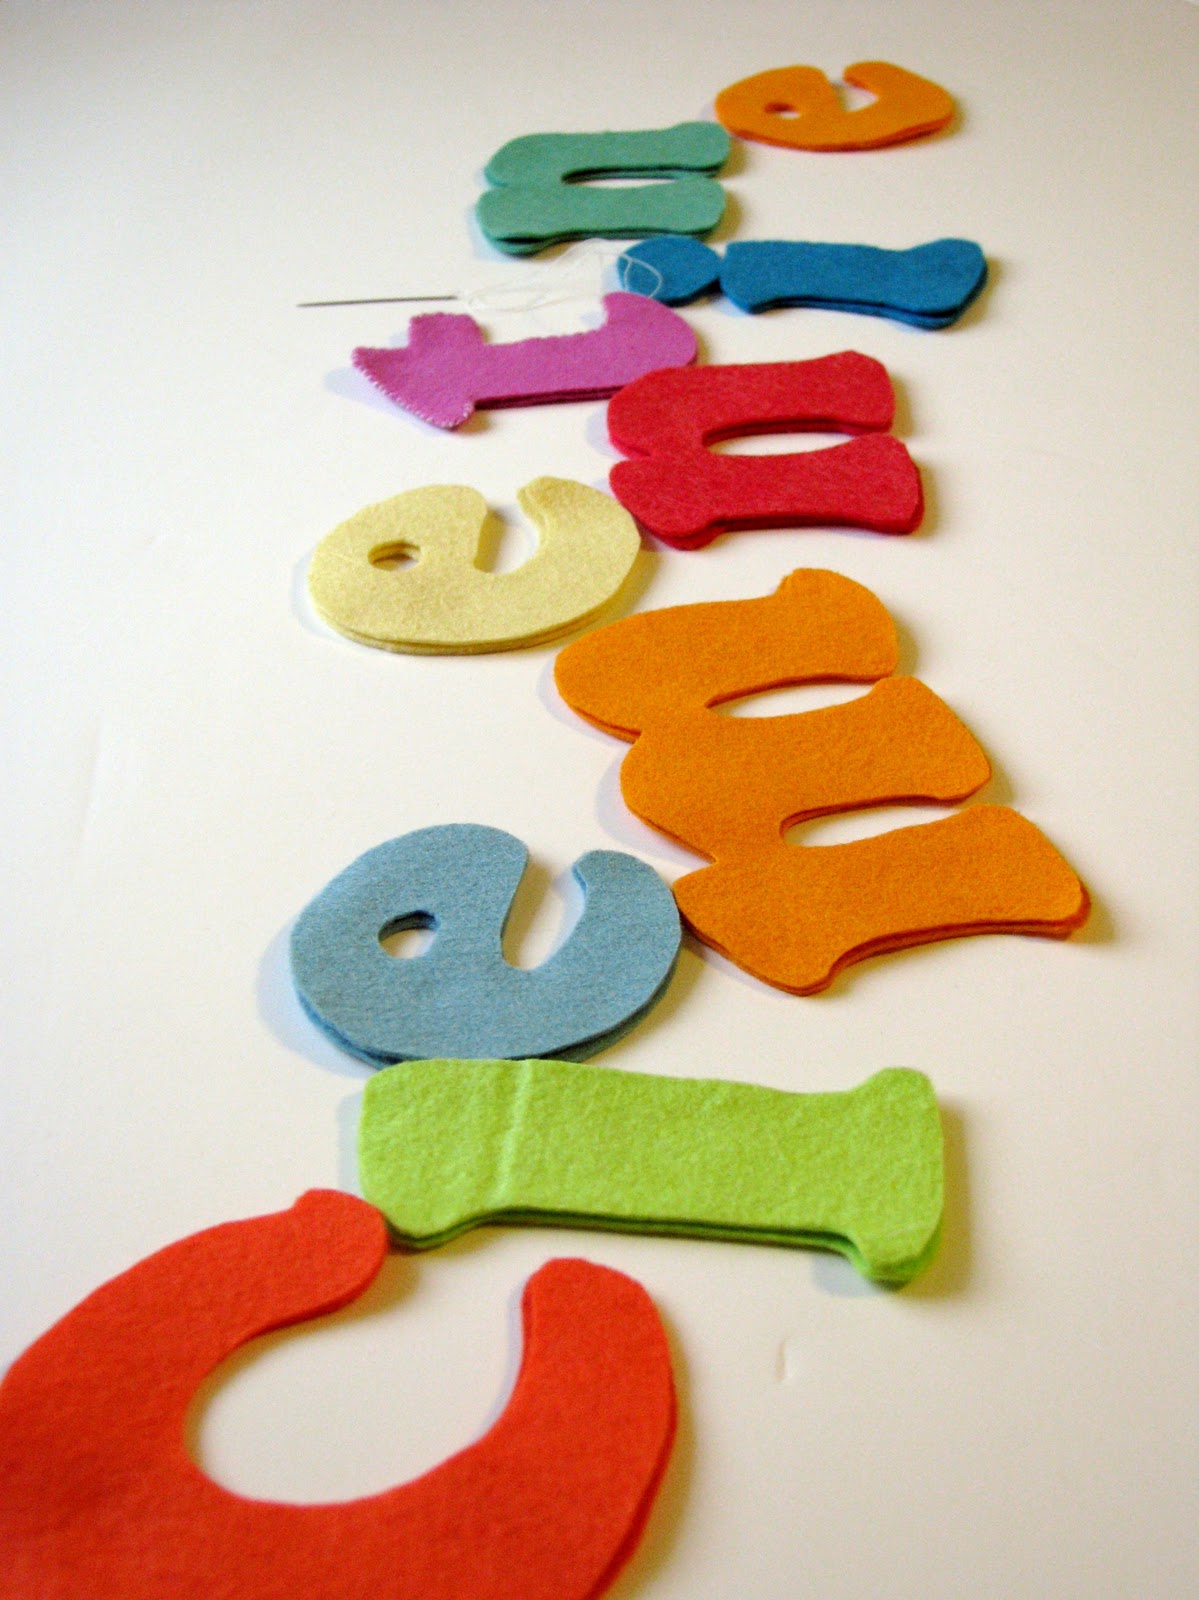
1. Buy some nice brightly colored wool felt (here or here are nice, feel free to share your favorite sources in comments). Acrylic does not look as nice but go ahead if you must.2. Print out the name using a large font. Block letters work well. Mine were Cooper font size 400 in Word.
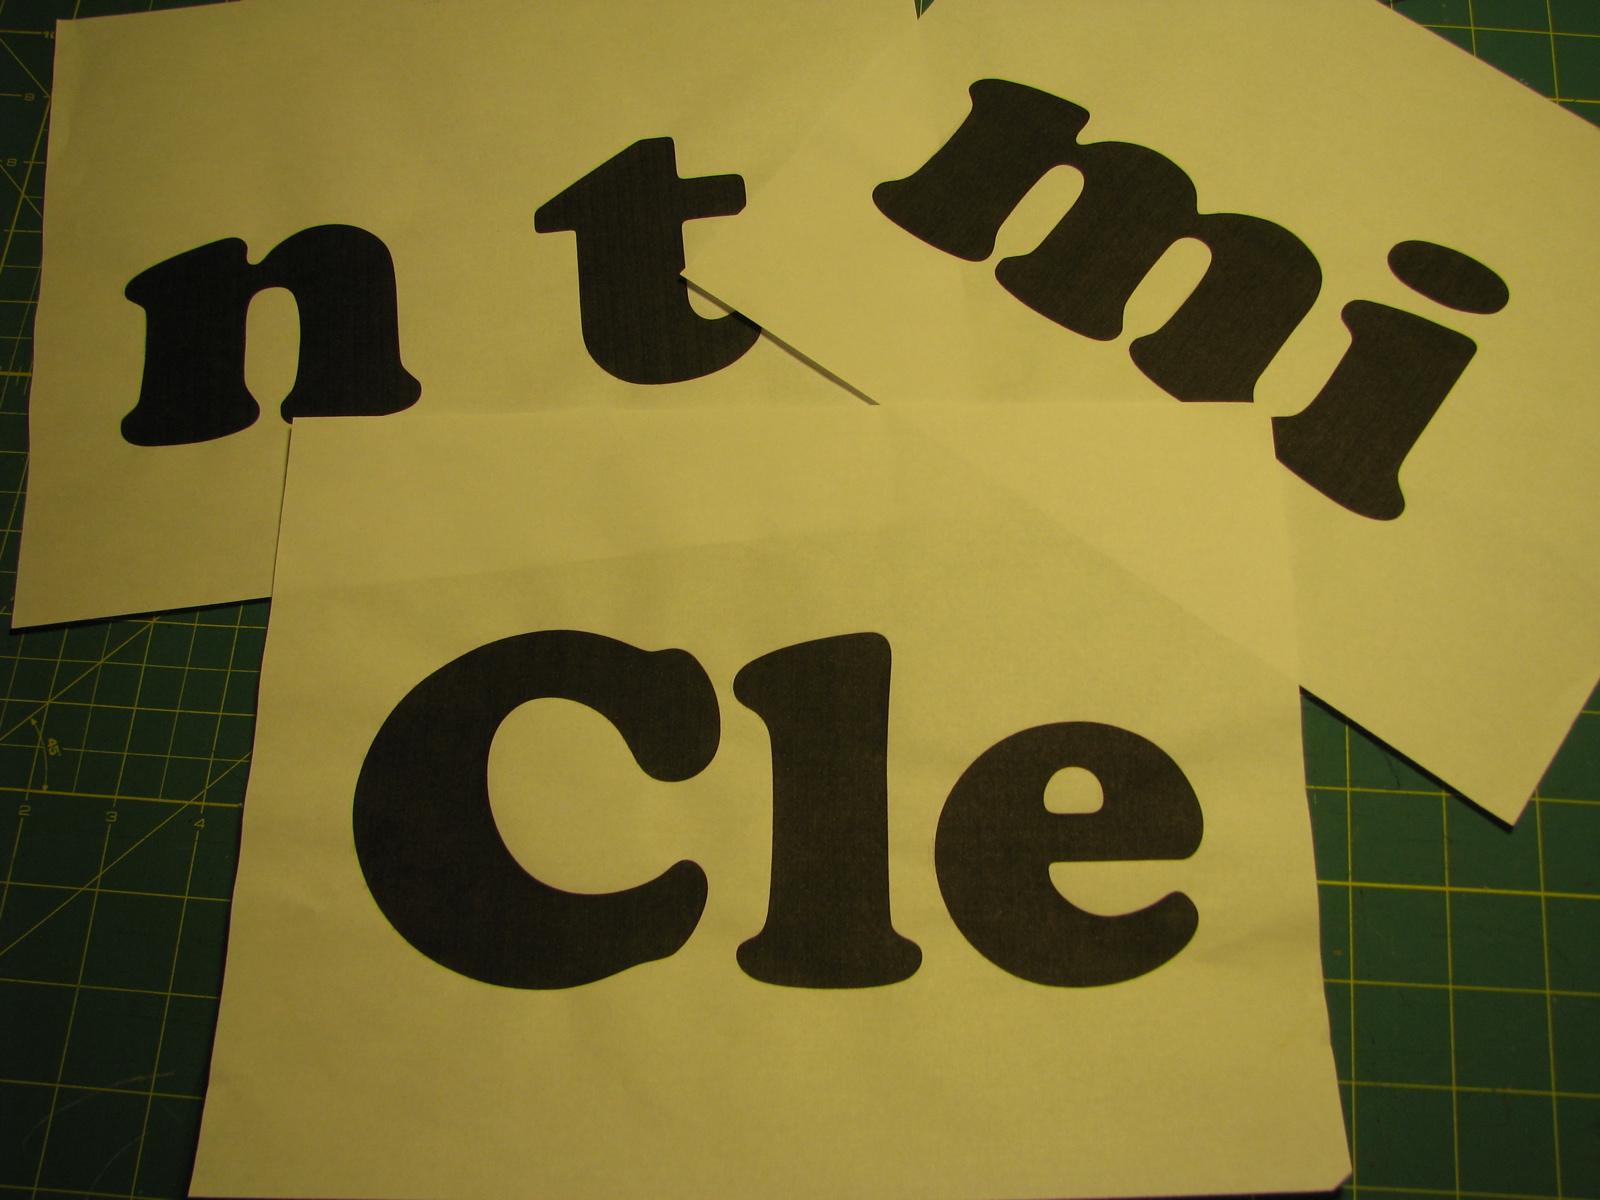
3. Place a piece of felt over each printed letter and hold it up to a window so the light shines through. Trace the letter onto the felt with disappearing ink or with a light pencil.4. Cut letters. I put two layers of felt together and cut them out two at a time.
5. Whipstitch the two layers together around all the edges. For letters that have holes in the middle (like e, b, d), stitch around the holes first, then do the outside of the letter.
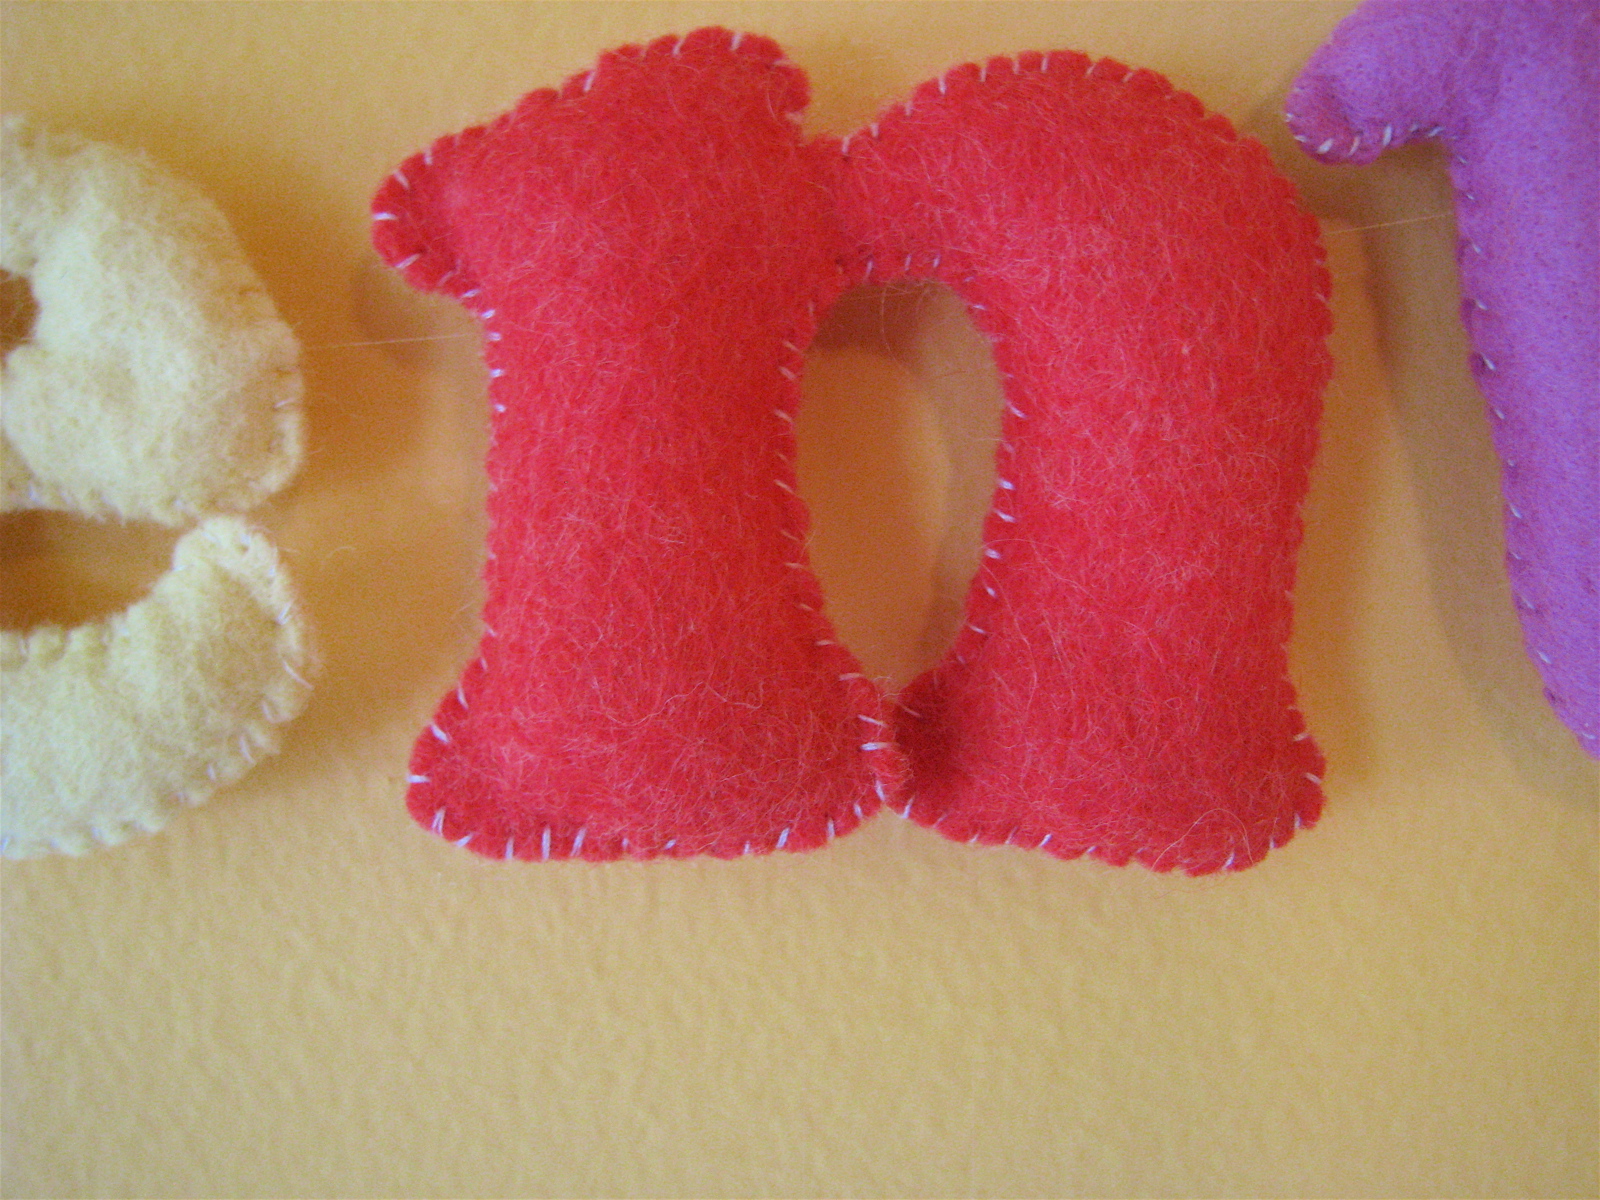
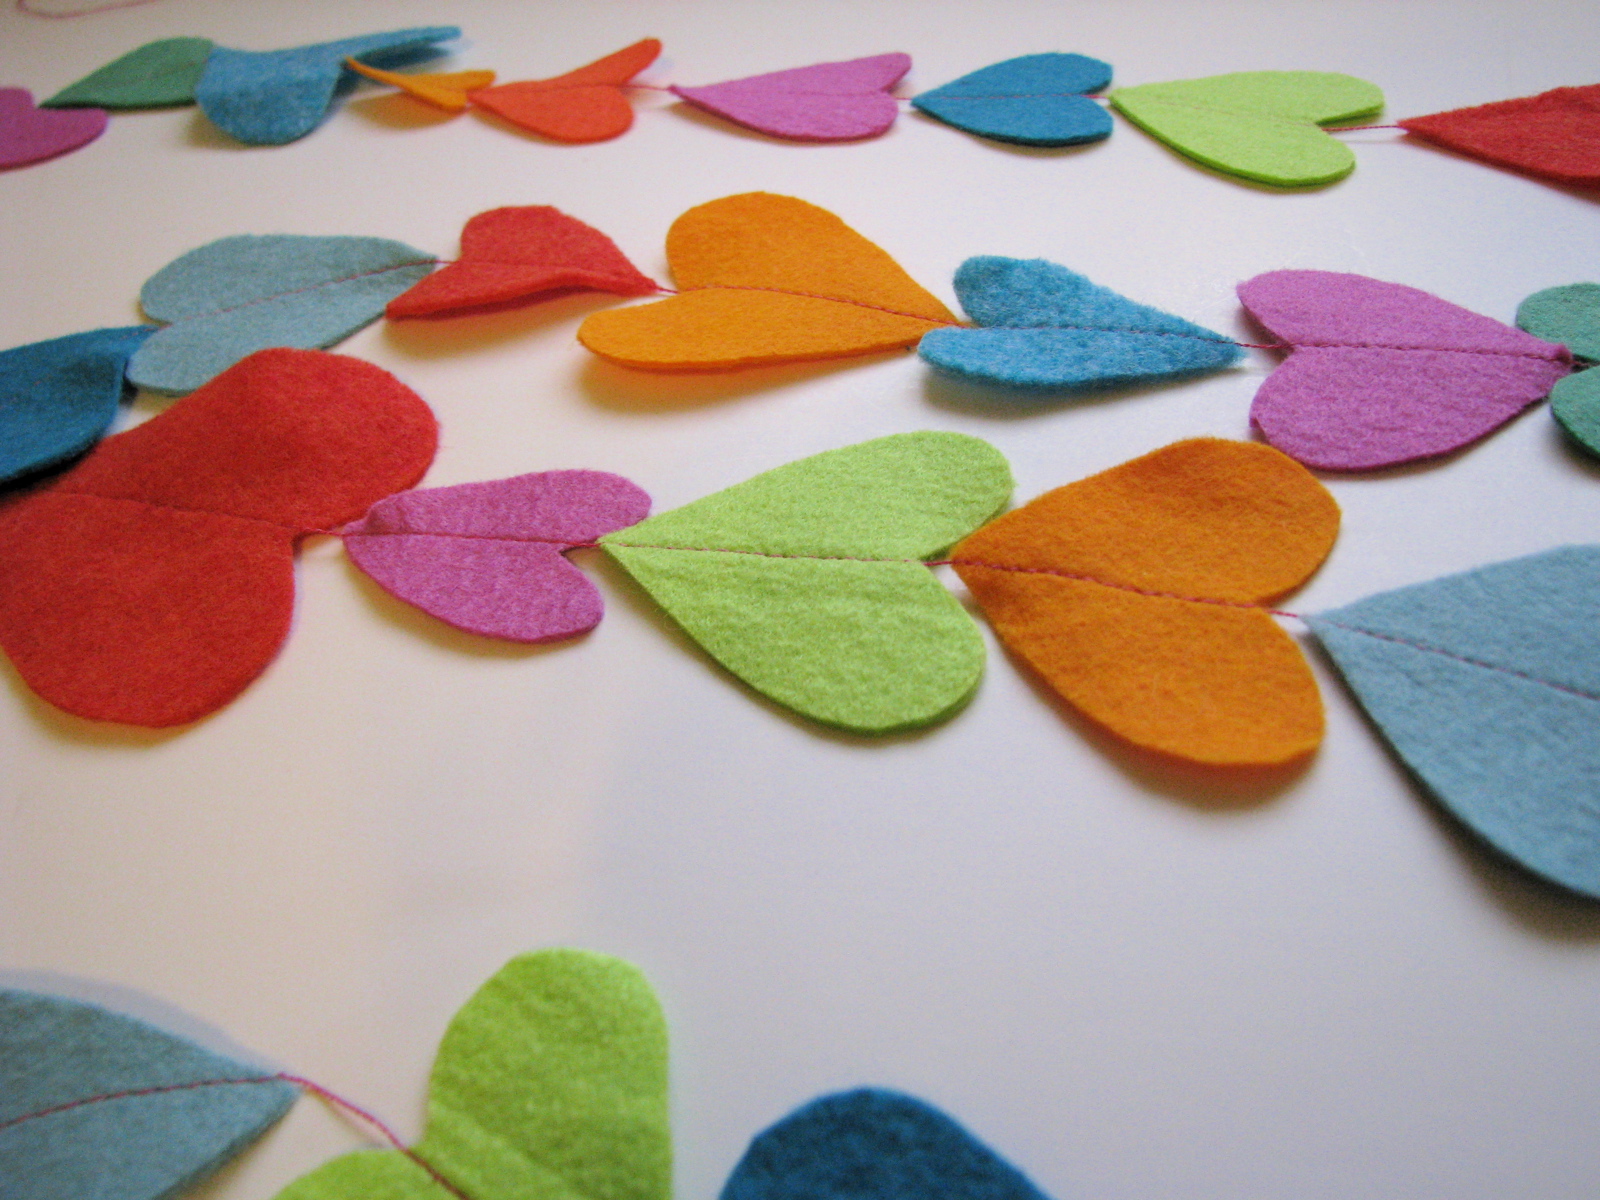
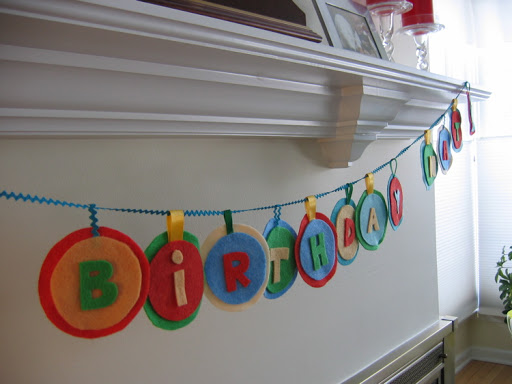
You can see the stitches pretty clearly in the picture above. Uneven stitches add to the handmade charm of these letters (repeat after me).6. Leave a hole open so you can stuff the letters. Don't over-stuff them or the stitches will pull out. Too much stuffing also makes them bend oddly...you don't want that!7. Sew the letters shut.8. Using clear quilting thread or fishing line, thread the letters together, tying the ends of the thread into loops for hanging. Hang and enjoy!And here are some other things I've made with felt for you to peruse should you feel so inclined: