Hi guys! I want to write about these pants but I’m also super double dog tired and want to go to bed (it’s Monday night; we heavily avail ourselves of the ol’ autoposter around here during CTB). So there’s no tutorial or anything but I will say a few things about how I made these nice little brown pants for E which have since become his most-worn item of clothing (yes really!). 
Before I made the Dapper Dillingers I posted about last week, I wanted to make a test run before I cut into that nice fancy fabric. I didn’t know exactly what size E would need in the pants so I couldn’t be sure that all that effort (and fabric) wouldn’t be wasted. I had a old pair of Mr Rae’s pants that he had thrown out for some reason or another and the fabric was soft and unworn most everywhere. Perfect.
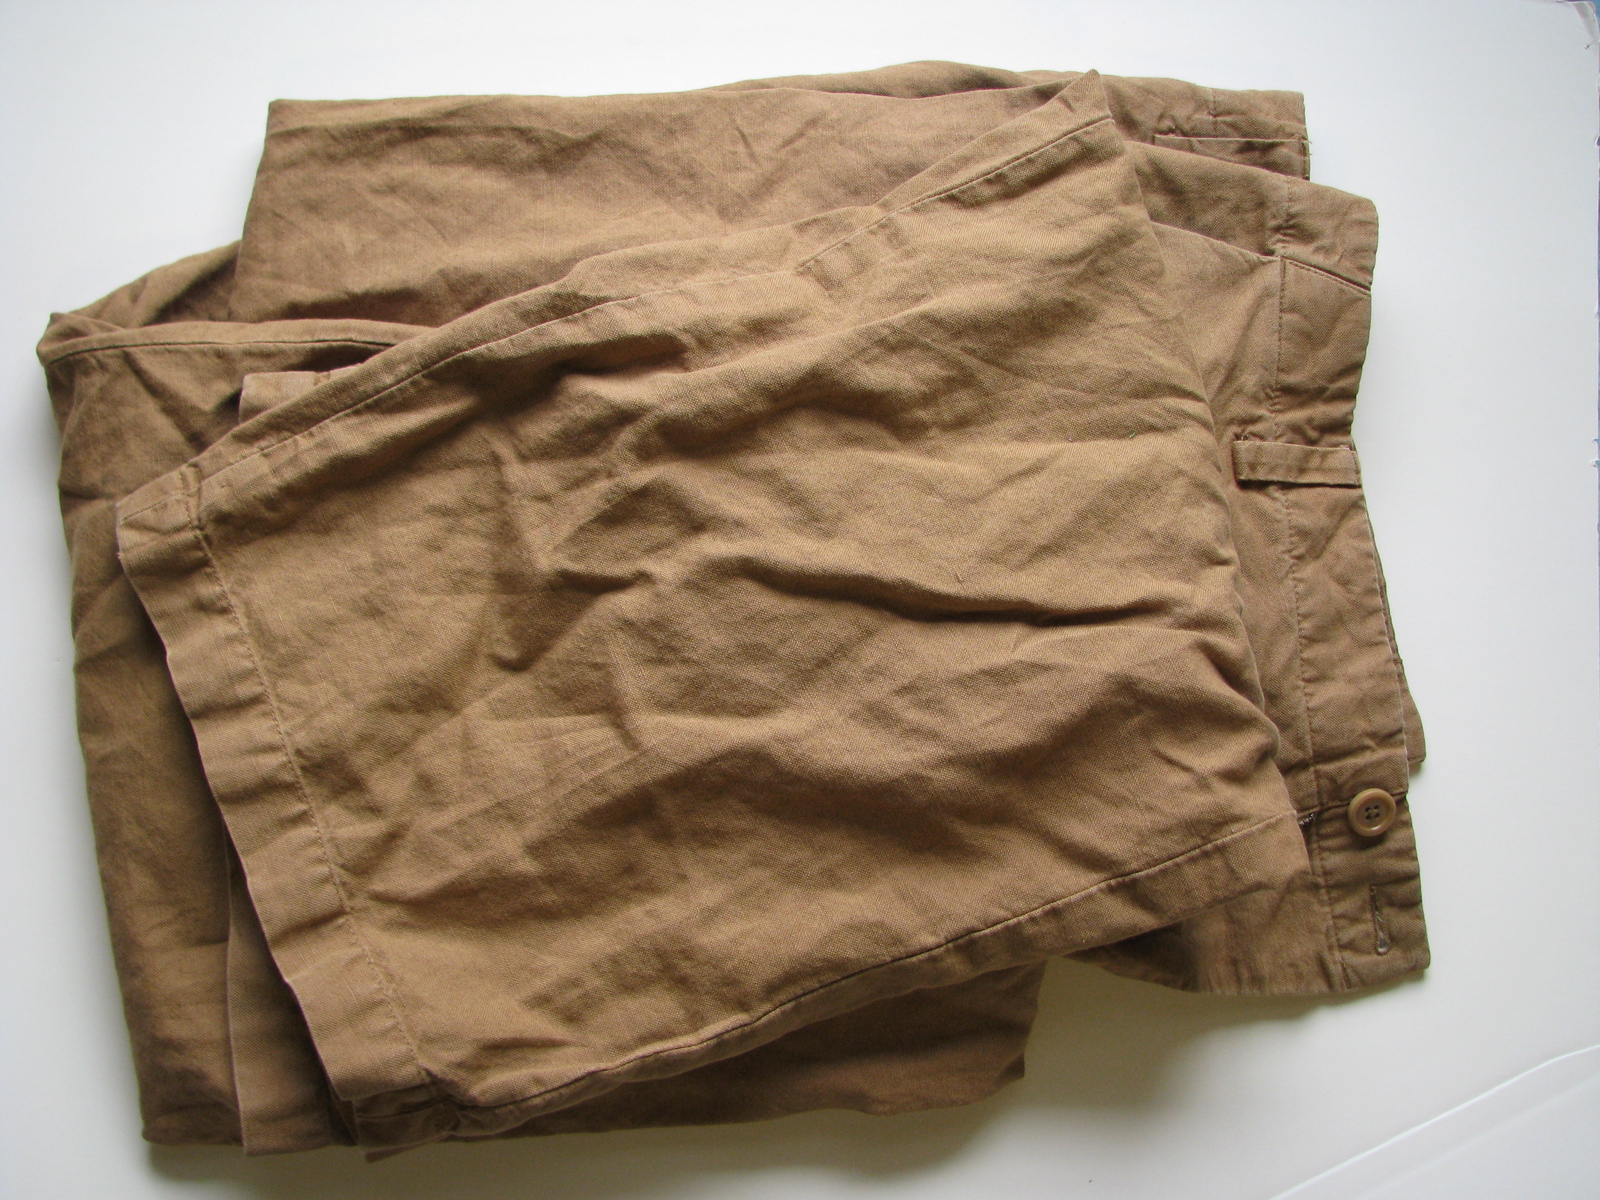
from whence they came
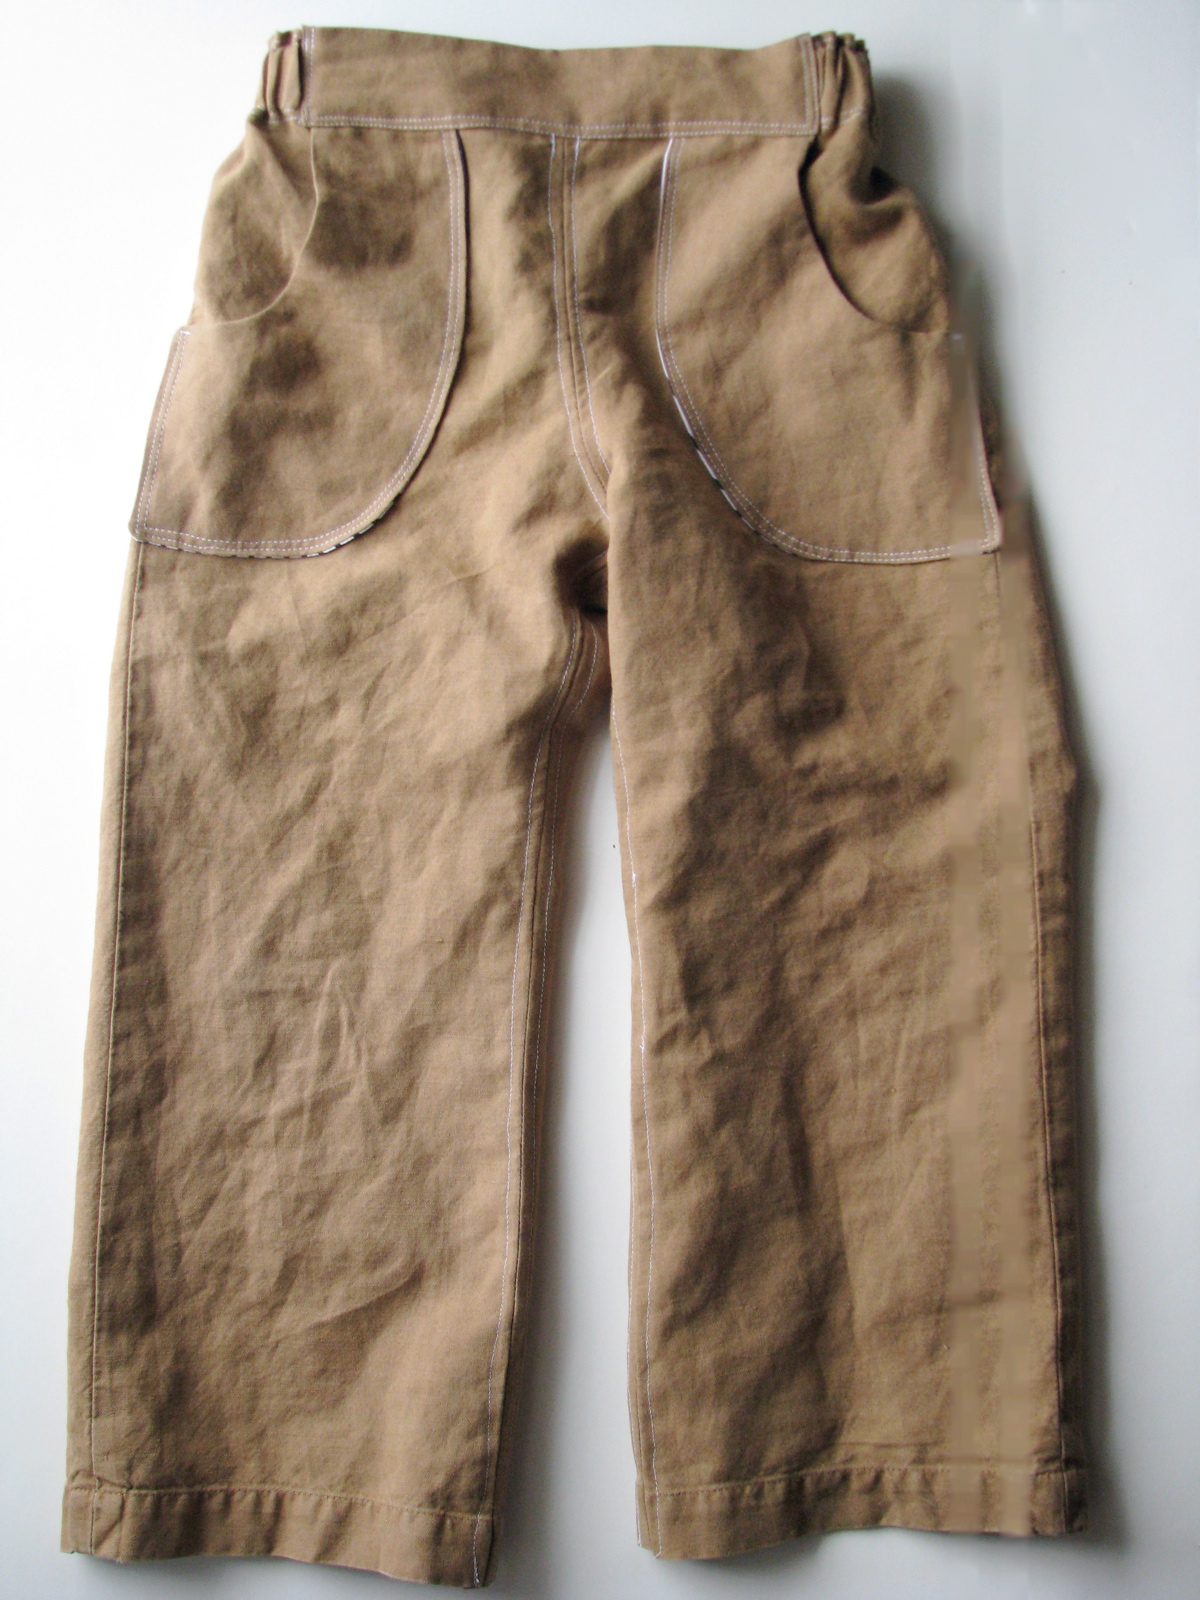
It’s important to me when sewing from an older garment to do as little work as possible. So instead of harvesting fabric from the center of the legs or butt or whatever, I try my darndest to get the new item of clothing to share as many elements with the old item as possible. In this case, I used the cuffs of Mr Rae’s pants for the cuffs of these (no hemming!), and also the outer side seam of the legs. That last thing was a little tricky to do since Dapper Dillingers are actually a four-piece pant (two front pieces, two back pieces), so to do this I took the seam allowances off of the front and back pattern pieces when I traced them and taped them together to make a single pant piece for each side. In other words, I placed the side seam of Mr Rae’s pants where the side seam would have been had I sewn it. Here’s a shot that shows what the pant legs looked like after they were cut out:
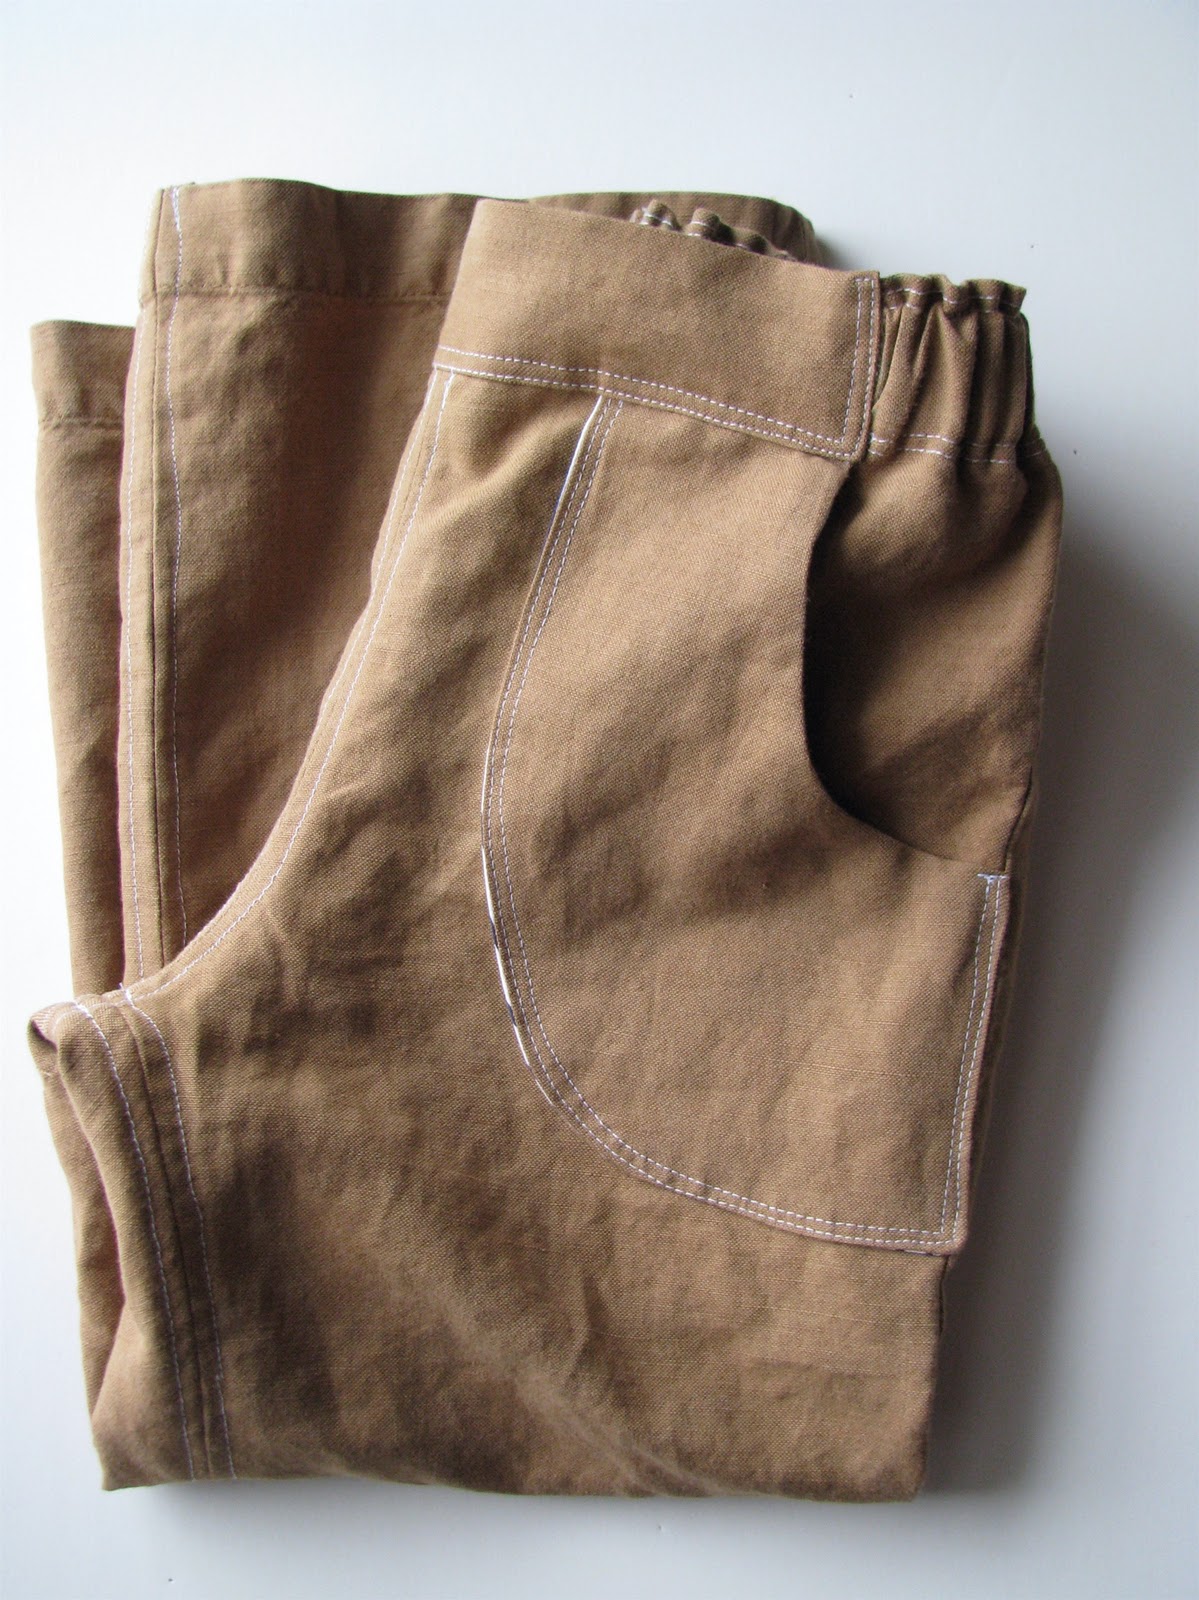
One of the things that makes these pants so fun to look at (in my opinion) is that they have extra stitching on the seam finishes and the pockets. These can add interest to any garment that is one color or otherwise boring. I used the pocket facing pattern piece (which is normally in the inside of the pants, unseen) and cut two pockets from it and two linings. After sewing them together right sides sides facing…
I turned them right-side out and pinned them to the pants where the divot in the front is (where the front waistband attaches). 
And then topstitched them to the pants with a double row of stitching. It’s not perfect but it really takes them up a notch in the Looks Dept.
Since the pockets were turned through their tops, that had to be covered up, and the waistband did the trick quite nicely.
Another thing that makes these pants look great is the seam finishing (called for in the pattern, I think. Too lazy to get up and look):
This fabric was oddly fray-prone, so it was a good thing that all the inside seams got finished so nicely. Otherwise there would have been mending by now (hate!) Better to spend a little extra time up front to insure that I won’t ever have to have these on my machine again. 
How’s that for an upcycled pair of pants? Would you guess they’d been recycled? Not me. 

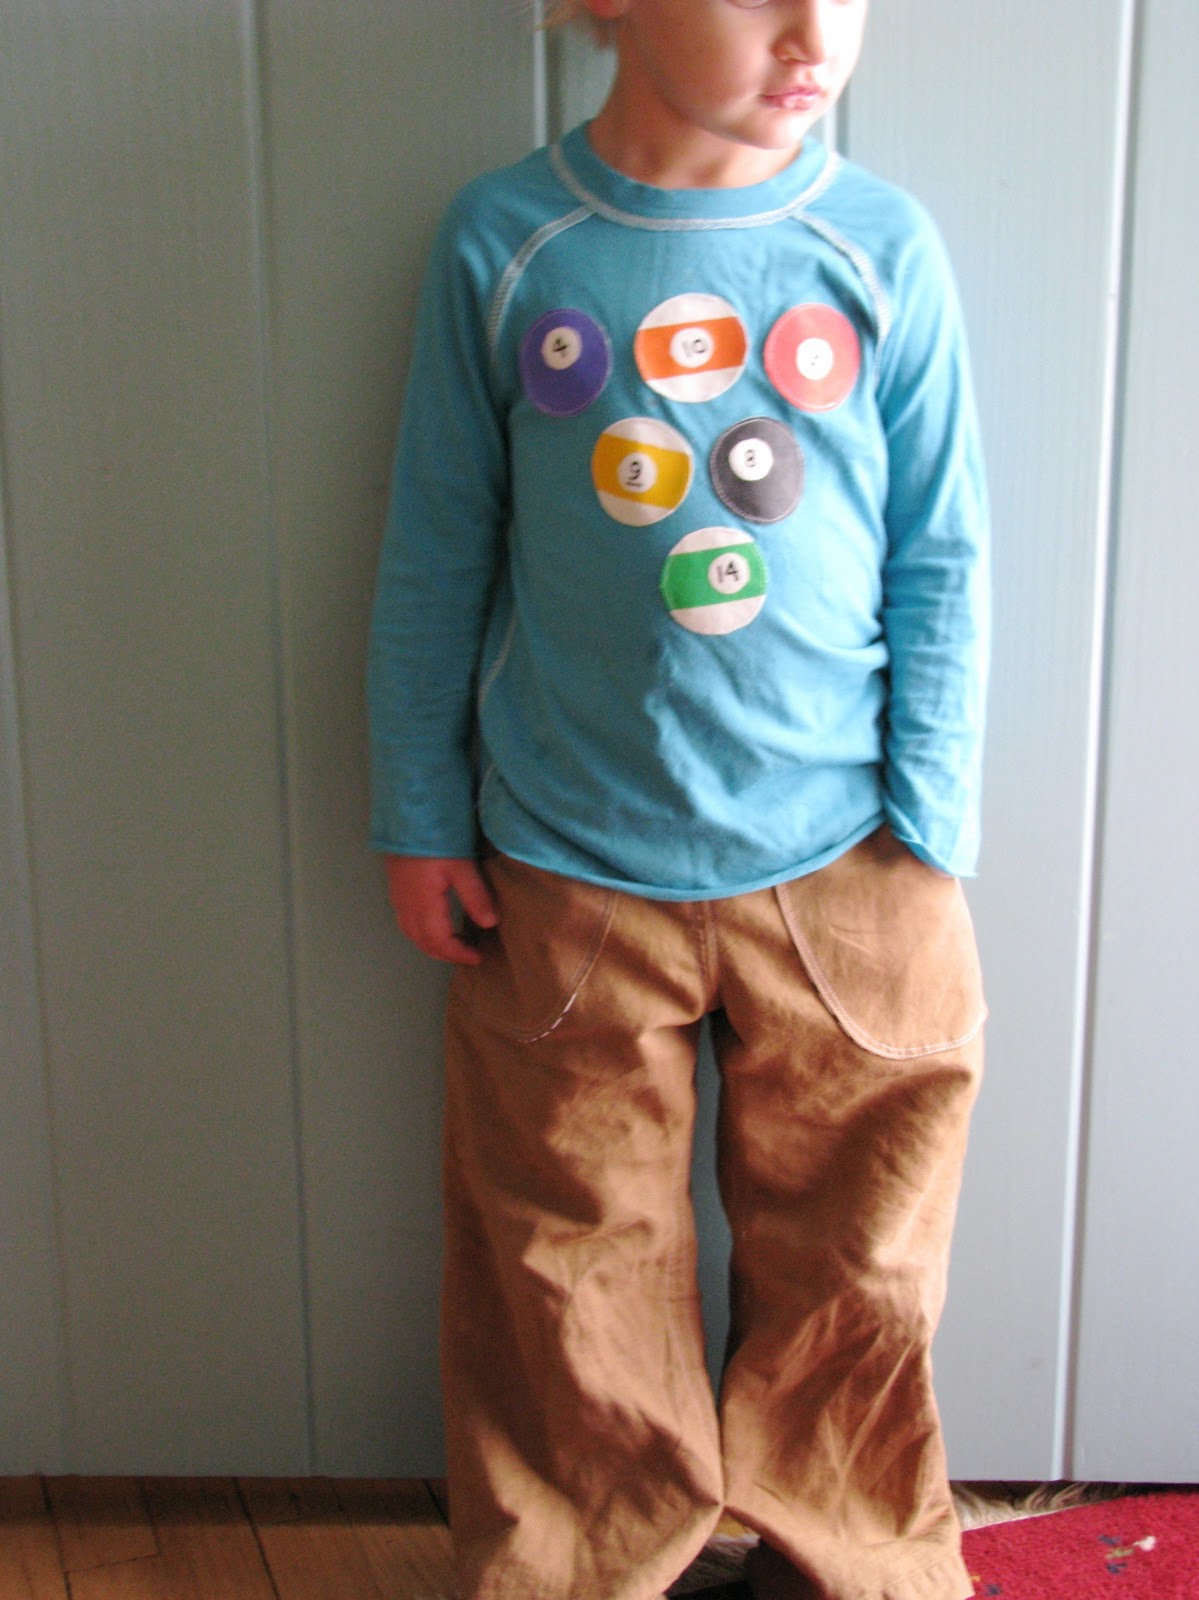
You can see the pants in action in this post and this post!

Categories: CELEBRATE THE BOY 2011
22 Comments
Share |


Share |

22 Responses to Brown Dillingers: Upcycling and seam finishes

  1. sew grown says:

    I love them! I just got this pattern for free from Shelly for doing the romper tutorial. Score! I can't wait for a free minute to get started. I think I'm going to have to go digging for some old pants today;) Thanks for the inspiration and short cut tips!

  2. ifonlytheywouldnap says:

    love them!! i had wondered if you made the pants too, when you posted the billiard tee. oh how i love a good upcycled pant!
    jess

  3. hannah says:

    These look so cute on your little man. Thanks for the "aha" moment tips for using as much of the original garment's line as possible.

  4. OneGirlCircus says:

    I don't know why I never thought to do this for pants for Ella. I have so many worn-through pants that have perfectly good cuffs and side seams. I can't wait to get going on some of my own!

  5. Grandma G says:

    I am very impressed! What a great way to salvage the fabric from that pair of pants!

  6. Greta says:

    Amazing. My son is one and without fail I put him in the same few outfits over and over. I should just give all the rest away! Those pants are at the top of my to do list, though my sewing skills are on a way way way lower skill level:)

  7. Blooming Mommy says:

    Super cute! Im going to try them! :)

  8. patterns by figgys says:

    Such a smart gal you are!
    The pockets on the outside are super cute!

  9. Chris says:

    The pants are great. Upcycling is great…less sewing, but fun results.

  10. ~ Kim ~ says:

    That's so cool. I wondered how to make that one piece for the back and front legs. Ingenius. Thanks for sharing this!

  11. Katie says:

    Love these pants. Especially the pockets. Thanks for the quick walk-through!

  12. urban craft says:

    Rae, you rule. I have never wanted to make so much cool stuff in my whole life.
    it is truly a pleasure to read your site filled with so much awesomeness.

  13. dana says:

    I love these! Very cute!

  14. concrete imprinted driveways aberdeen says:

    Knitting is my best hobby. I really like it very much. I am very impressed with your blog, such a informative.

  15. Megan says:

    Rae, those are adorable! I am no where near accomplished enough to attempt something like this, but I do love them.

  16. Sarah K. says:

    Awesome pants! I particularly like using dad's worn out pants…such a great reuse of material!

  17. KellyLeaSews says:

    Those are some super stylin' pants! I have a stash of my husband's pants that I want to do this with :) And most of his are Patagonia, so they have the added bonus of being organic!

  18. Irmhild says:

    those look so cool…

  19. neeley says:

    these pants are great. could you share the pattern that you used? i am new to pattern sewing and would love to know. thanks, neeleymartin(at)yahoo(dot)com

  20. feelincrafty says:

    These are great. I love the outside pockets on them. Am thinking of making them in a seersucker… I also added them to my link love today. Thanks!

  21. Tabitha says:

    I can not find this great looking pattern anywhere!!! Ugh….. I love the look!!!

Leave a Reply

Your email address will not be published. Required fields are marked *

*

You may use these HTML tags and attributes: <a href="" title=""> <abbr title=""> <acronym title=""> <b> <blockquote cite=""> <cite> <code> <del datetime=""> <em> <i> <q cite=""> <strike> <strong>

seller’s program

I offer licenses for handmade sellers who would like to sell items made with my patterns on a small scale. To see all of the available licenses, visit the pattern page. For more information on the seller's program, please visit the seller's page.


My free patterns or tutorials are intended for personal use only. Thanks for respecting my wishes and supporting my shop!


Too busy to sew? Purchase a ready-made item from one of these sellers:
Big Butt Baby Pants Sellers List
Bonsai Bag Sellers List
Buttercup Bag Sellers List
Charlie Tunic Sellers List
Itty Bitty Baby Dress Sellers List
Lickety Split Bag Sellers List
Peekaboo Bonnet Sellers List
Pierrot Tunic Sellers List
Showoff Bag Sellers List
Toddler Backpack Sellers List

Please support the sellers listed here!

grab a badge

Copy and paste the button code below into an HTML widget or post editor: