
Bunny Pants! (with a little tutorial)

With Spring and Easter on the brain lately (by the way, our spring snow has all melted!), I had this idea (which seemed absolutely brilliant in my head at the time) to put bunny kneepads on the Big Butt Baby pants. Then realized that white kneepads wouldn't exactly be the most practical. Then I realized I didn't care.


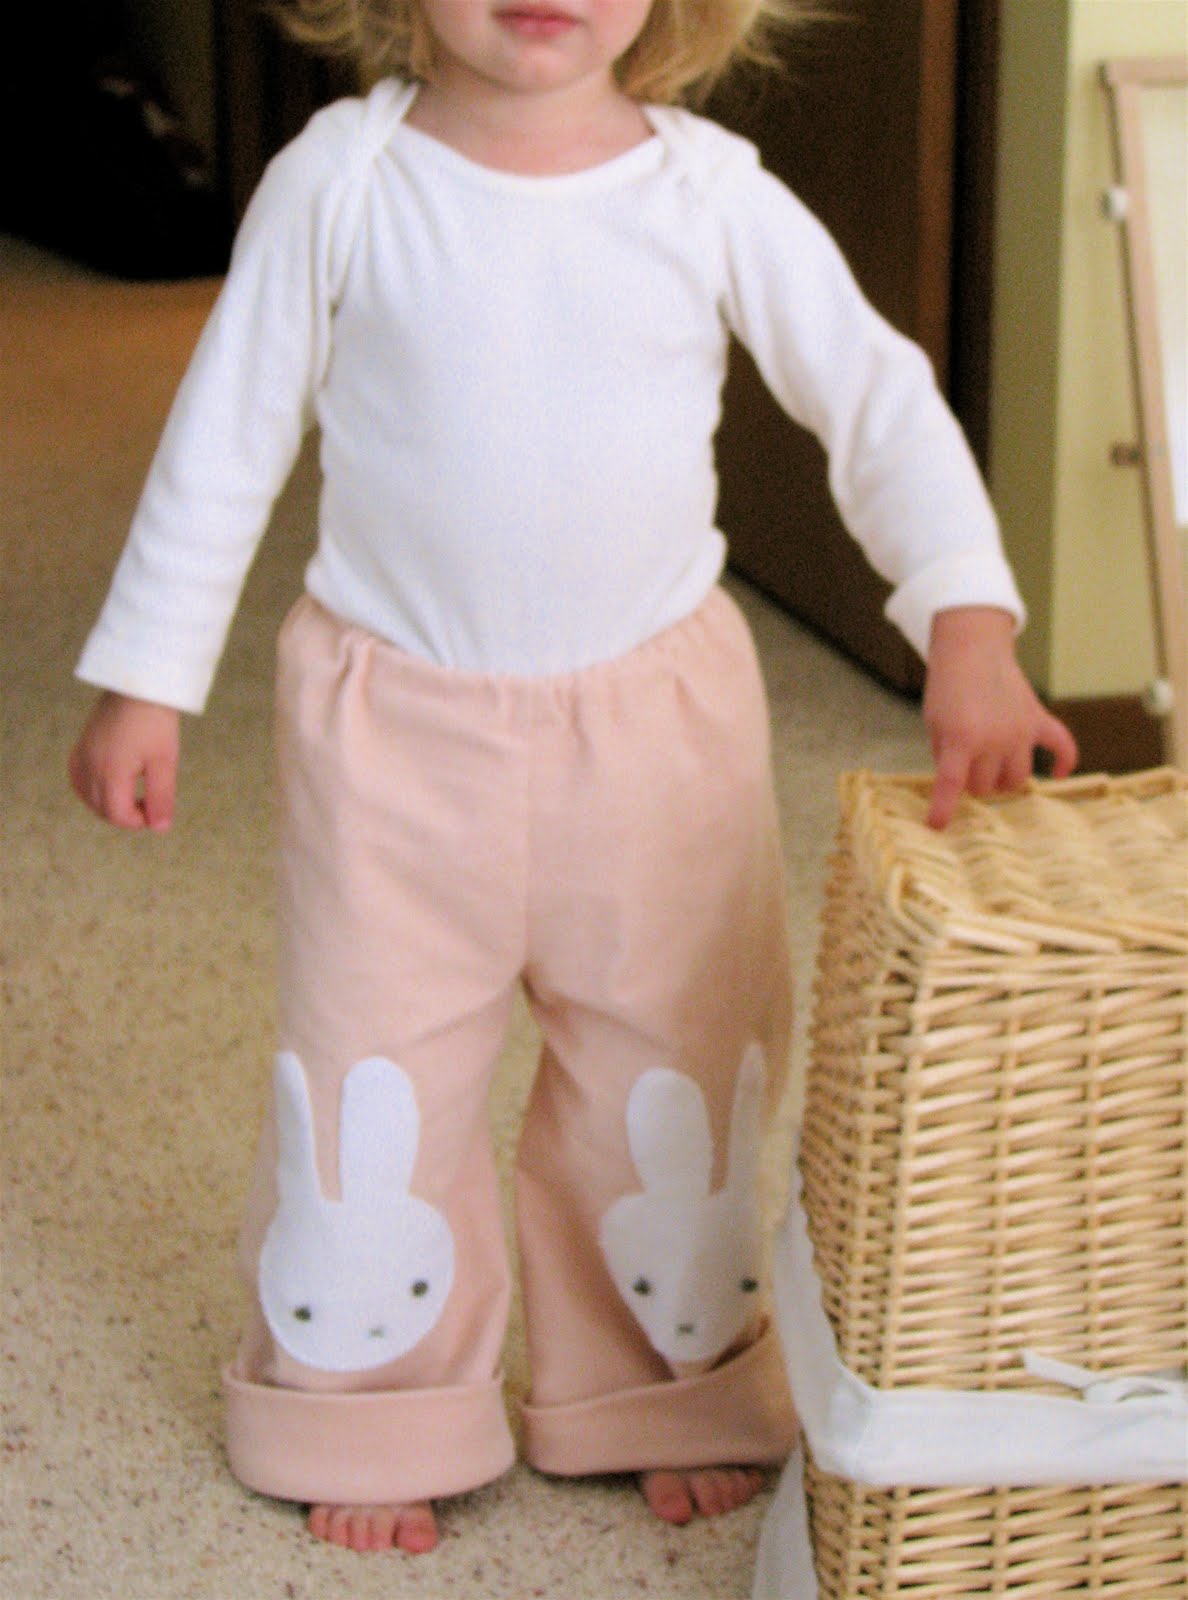
The result is this little pair of pants for Ms C made with the same pale pink baby wale corduroy as the Bear Hat. The bunnies are the same french terry used for the lining of the hat. I used a picture that I found online of Miffy by Dick Bruna (anyone else a fan?) and just traced the outline right onto the interfacing I used to attach them to the pants. You could definitely throw this onto any old pair of pants.Want to make your own Bunny Pants? A quick how-to:1. Construct your pants or buy a pair plain.2. Print out or draw your bunny. I searched images for "Dick Bruna Miffy" and used the first image there, printing it directly from Chrome (my web browser). You may have to go to "View" in your browser and "Zoom in" to get the image large enough on the page. Check how big it is on the Print Preview before you print it out. You could also literally hold your interfacing (see next step) right up over your computer screen, zoom in on the image until it's large enough, and trace it from there.

3. Trace the bunny twice onto Heat n' Bond or another double-sided fusible interfacing. Iron the interfacing to the back side of the fabric you are using for the bunnies.

5. Cut out your bunnies and iron them to the pants. Mark the eyes and nose locations with disappearing marking pen.

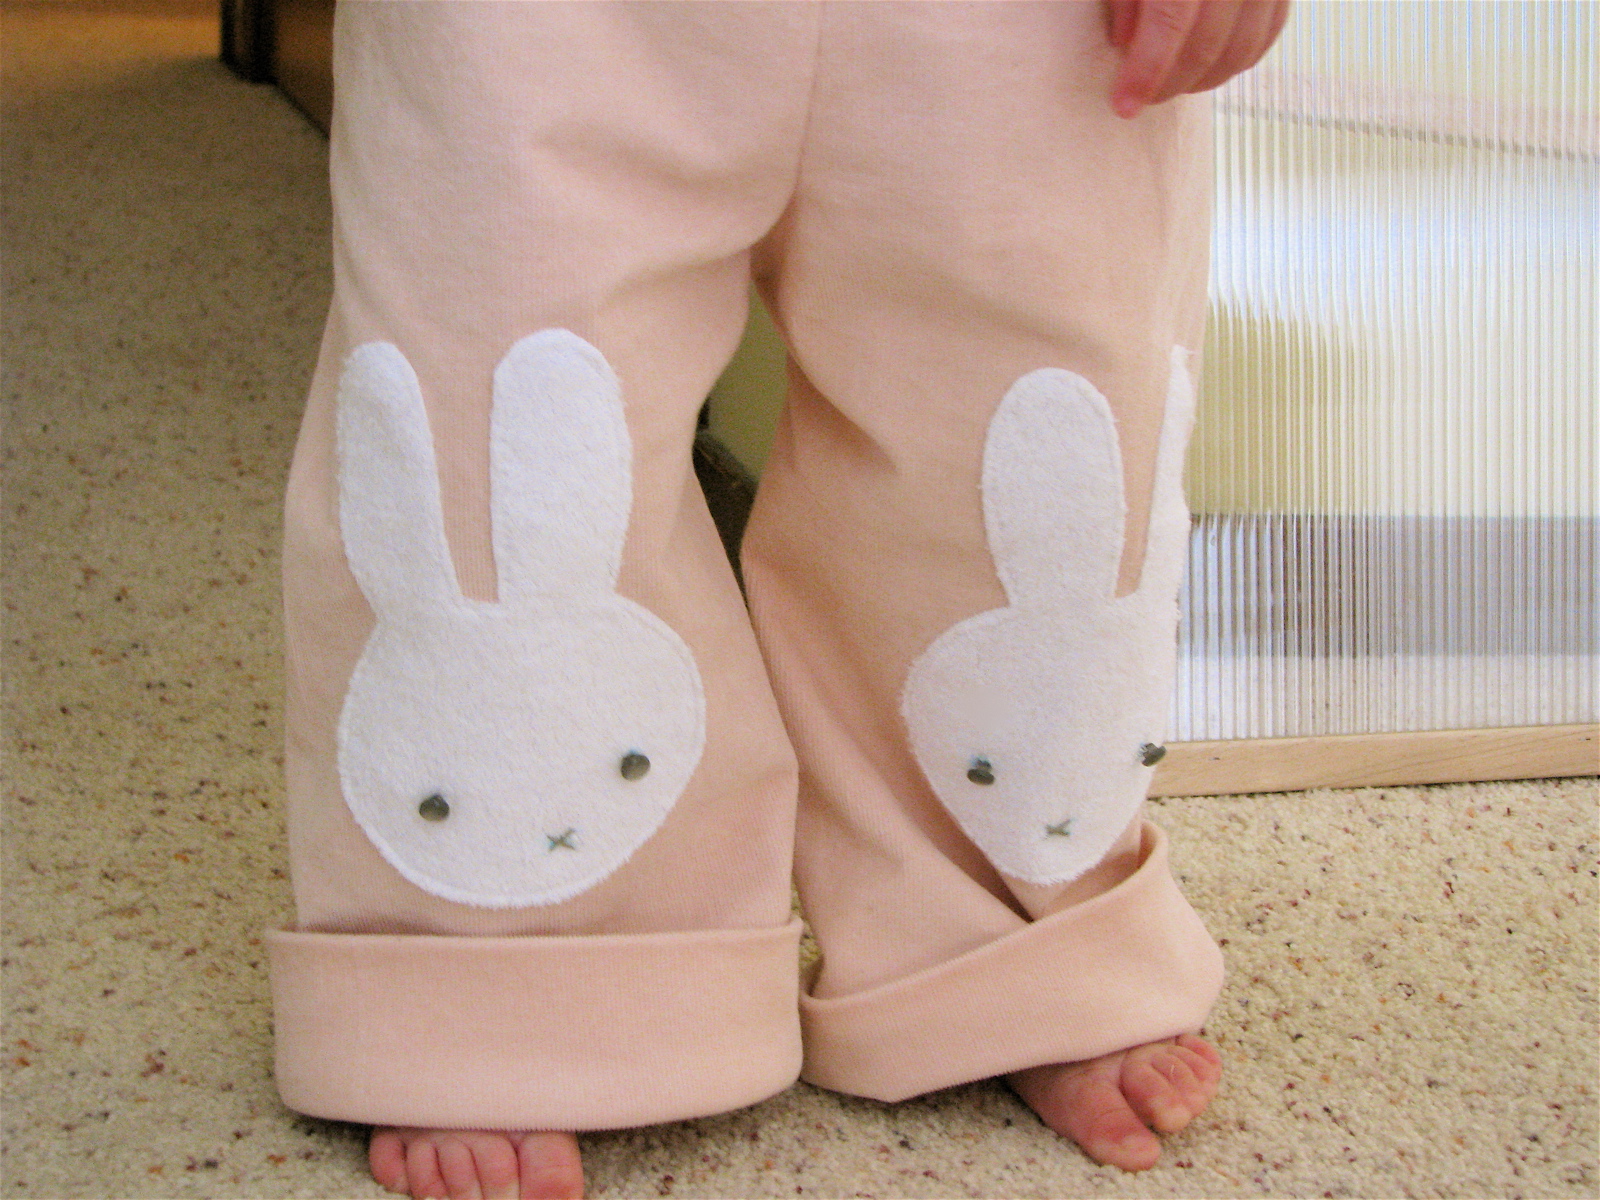
6. Machine stitch all the way around the outside of the bunnies, about 1/8"-1/4" away from the edge. I know in this picture there's all sorts of little white pieces of fuzz, but trust me, after washing those bits of fuzz disappear. The interfacing prevents it from fraying so you don't have to worry about finishing the edges.

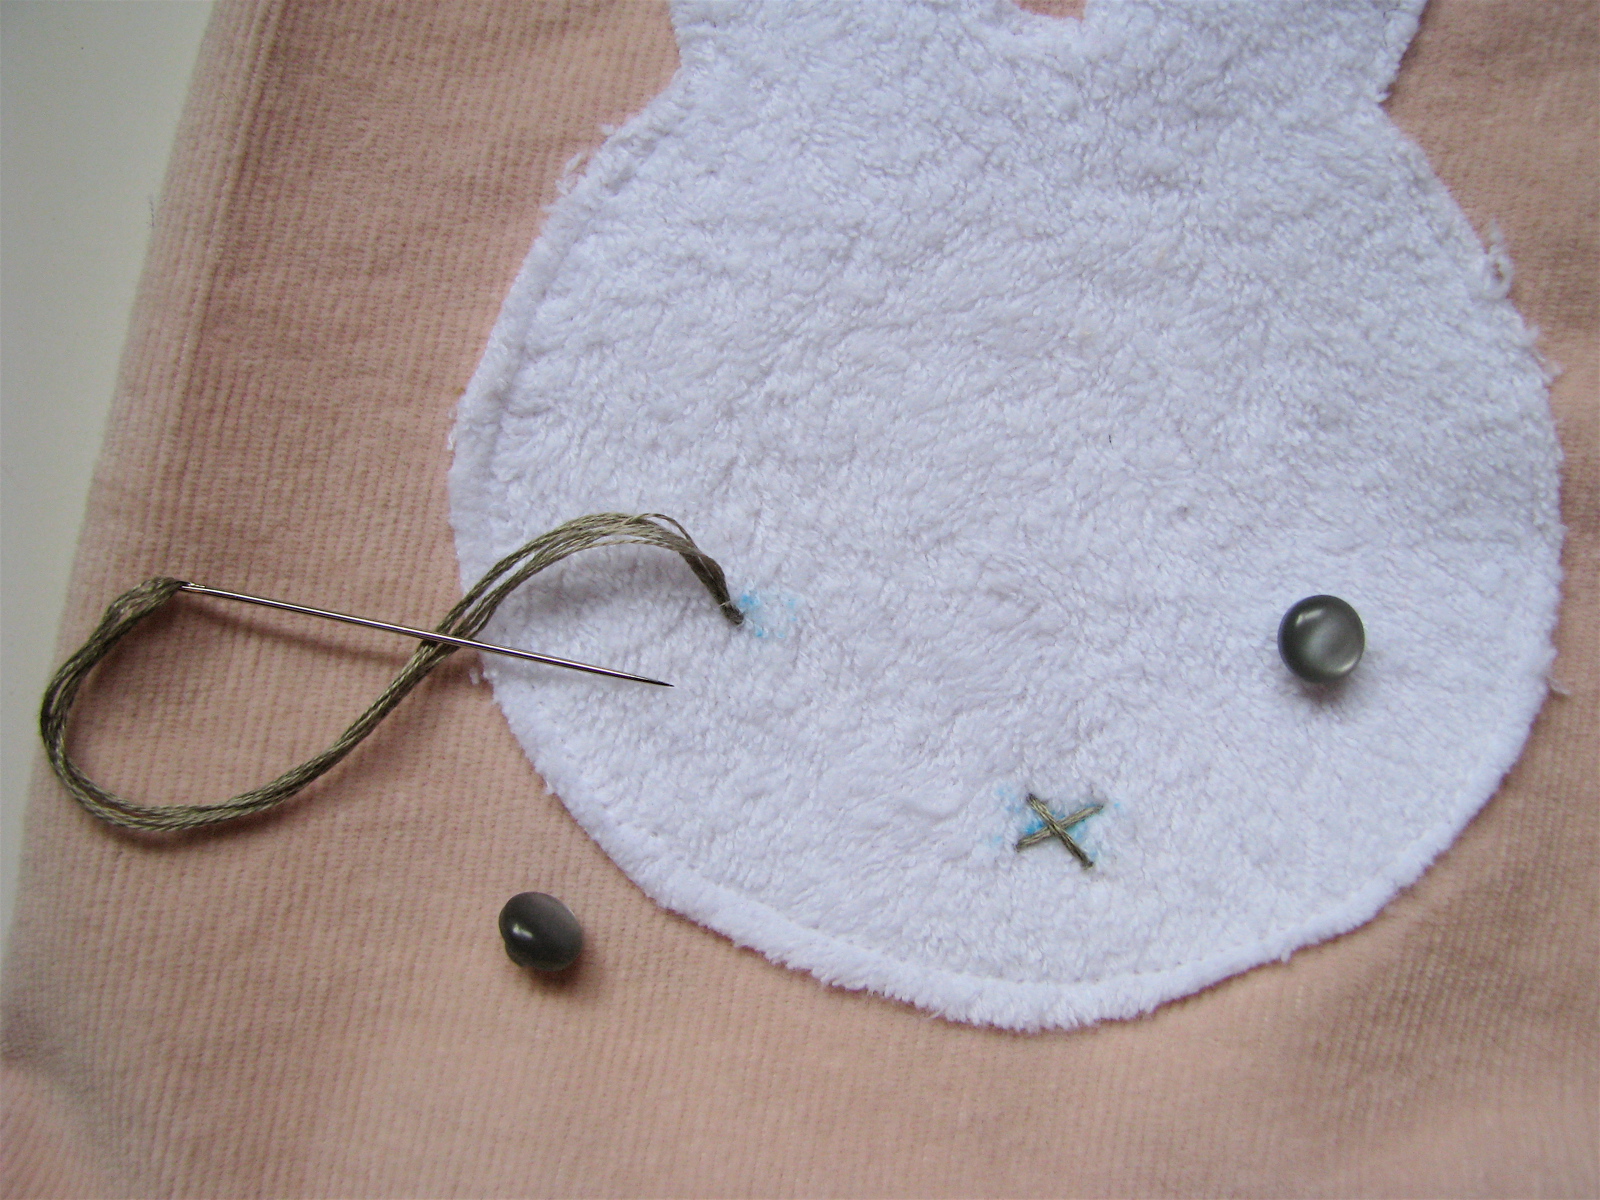
7. Sew nose by making an "X" with embroidery floss and knotting the ends on the inside of the pants. You can also sew the eyes on with embroidery floss by stitching short lines in a row across the width of the eye.

Alternatively (and less safely, please use common sense when attaching buttons to ANY childrenswear, children who put things in their mouths should not have accessible buttons on any of their clothing), you could use buttons for the eyes. Do remember that children are apt to fall, and buttons with this particular shape might not be particularly comfortable to land on as well. ** End Public Safety Announcement**
Voila! Bunny pants!
If you do make a pair, be sure to add them to the Rae Made Me Do It pool so we can all enjoy them!
