
Trillium Dress Bodice Lining Video Tutorials
Please note: The pattern previously known as “Washi” has been renamed “Trillium.” Read about the name change here. It’s the same lovely pattern, just with a new name!
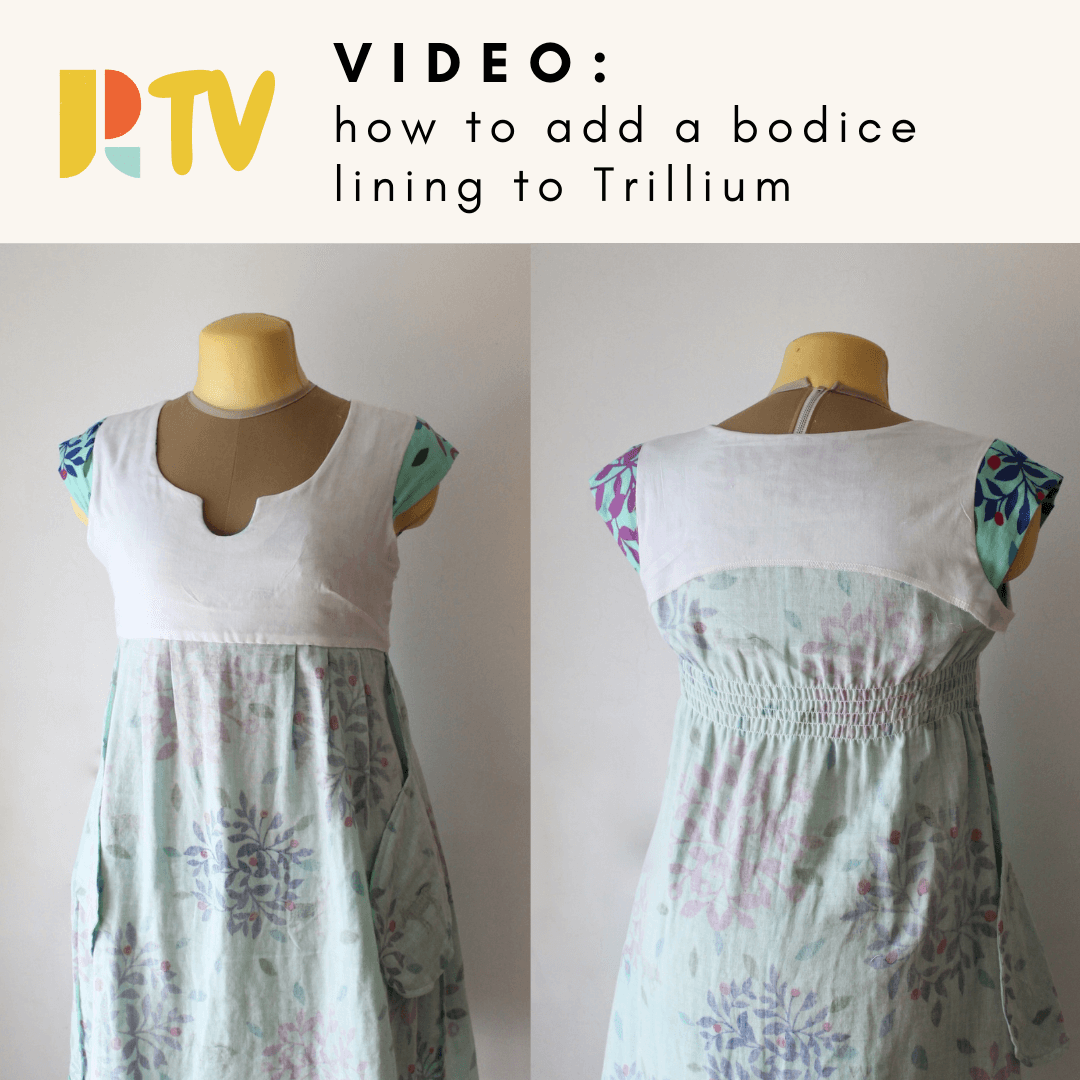
I've put together a little series of not-exactly-high-quality-but-still-informative video tutorials to show how I do a partial (bodice) lining for the Trillium Dress. You can see what this looks like on these inside-out pics of the Aqua Dress here:
The lining I used is a white cotton batiste. Batiste is quite soft and lightweight yet still does a great job stabilizing the neckline on the double gauze dress. You could also use solid voile or that crazy-cheap poly lining stuff for the linings. I like to line the Trillium rather than use the facings when I am making it with shot cottons, double gauze, or voile. In some cases I prefer a full lining (as with the maxi dress, I'll do another post about the full lining soon), but if you have a half slip handy or are just making a tunic, this is a great technique to use.
Facings are the standard method included in the Trillium Dress pattern. So why do a partial lining instead? There are a few advantages of doing a partial lining as opposed to using facings:
Partial Lining Advantages
they are nearly as quick as putting in the facings and require the same amount of pattern pieces
they hide the dart and shoulder seam allowances, so you can leave them unfinished
they add coverage to the bodice for more sheer fabrics
they look really nice and professional
they don't flip up and out of the neckline when you put on the dress/top like the facings often do
looks great without sleeves too! this is a great way to finish the sleeveless versions without bias tape
For the sake of being thorough, here are a few of the disadvantages of this method:
Partial Lining Disadvantages
unlike a FULL lining (which is more time-consuming as it means essentially constructing two dresses), you would still need to wear a half-slip with sheer fabrics
it is definitely a more complicated technique than using facings, which is why I decided to make videos rather than try and tackle it in the instructions for this pattern
it requires a bit of hand-sewing (but don't worry!! it's not much and can be done in front of the TV in matter of minutes)
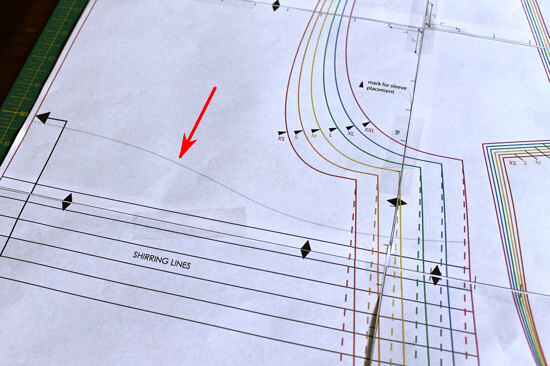
To make the partial lining as shown in this video, you will need to find the unlabeled and oh-so-subtle grey curved line that goes across the "BACK DRESS" pattern piece (the red arrow is pointing to it) from your pattern:
NOTE: The updated Trillium pattern does NOT have this curved line — if you own the original Washi pattern in print or PDF you can still find it on the pattern piece, but if you have the newer updated version (“Trillium”) you will need to draw it in as shown below:
Do you see it? OK! You're ready to watch the videos!
Trillium Dress Bodice Lining - Part I (4 min)
Prepping the dress and lining pieces
Trillium Dress Bodice Lining - Part II (2 min)
Sewing front and back lining together
Trillium Dress Bodice Lining - Part III (2.5 min)
Attaching the lining to the neck
Trillium Dress Bodice Lining - Part IV (5.5 min)
Attaching the lining at the armholes
Trillium Dress Bodice Lining - Part V (4 min)
Turning the dress right-side out and getting ready to sew side-seams
Trillium Dress Bodice Lining - Part VI (2 min)
Shows finished side seams and hand-sewing
Hope you find those to be extremely useful as you make more and more Trillium Dresses!
What about a full lining? As I mentioned already, I hope to have another how-to post very soon for those of you who are interested in a full lining such as the one I did for the voile maxi dress, but for now, you can use the technique shown in this video for a full lining as well; instead of using just the bodice pieces, you would construct a second dress from your lining fabric (I do one line of shirring only on the lining, and instead of pleating the front skirt lining, I sew it flat to the front bodice and trim the excess at the sides) and assemble the dress and lining together just as shown in videos III, IV, and V. Then hem the bottom of the dress over the lining or handtack the lining to the dress at the bottoms of the side seams.