
Tutorial + Pattern: Long Sleeve for TRILLIUM

Please note: The pattern previously known as “Washi” has been renamed “Trillium.” Read about the name change here. It’s the same lovely pattern, just with a new name!
I'm so excited to show you how to add a longer sleeve to this garment as shown in the Ruby Star Washi Dress post! I've made a pattern piece that you may download for free (yay!!). For your convenience, the instructions for sewing the sleeve are printed on the pattern piece in addition to this tutorial. Please note that the various sizes of this pattern are UNTESTED, so you use at your own risk. Feel free to email me if you have feedback. Thanks!
This pattern piece is provided with the understanding that it will be used in conjunction with the Trillium (formerly Washi) Sewing Pattern. All files and images are protected by copyright law. You may not distribute or reproduce this file. Please link to this post and not directly to the file itself when referencing this file. Thanks!
Download, print, and tape together the sleeve pattern piece
You will first need to download the sleeve pattern piece and print it out (at 100%, remember to check your scale, people!!) and tape the three pages together. (If you're having trouble controlling the scale, save the file as a PDF, then you should be able to adjust your print settings more easily from there.)

Adjust size of the pattern if needed
The sleeve piece is for a size Medium, but as you will see, the pattern piece is marked with a line that will allow you to size up/down the pattern piece quite easily just by sliding the two pieces apart/together.

For the larger sizes, where you slide the pieces apart, I would redraw the curve to smooth it out:

And for the smaller sizes, you can just slide the pieces so that the curve overlaps at top:

(but don't forget to add length at the bottom then!)

It should be noted that the length of this sleeve pattern piece is long enough to come to about elbow length on me when my arms are bent. I have long monkey arms, but even so you may want to add a couple inches to the length of the sleeve if you want it to be a 3/4-length sleeve, just to be on the safe side!
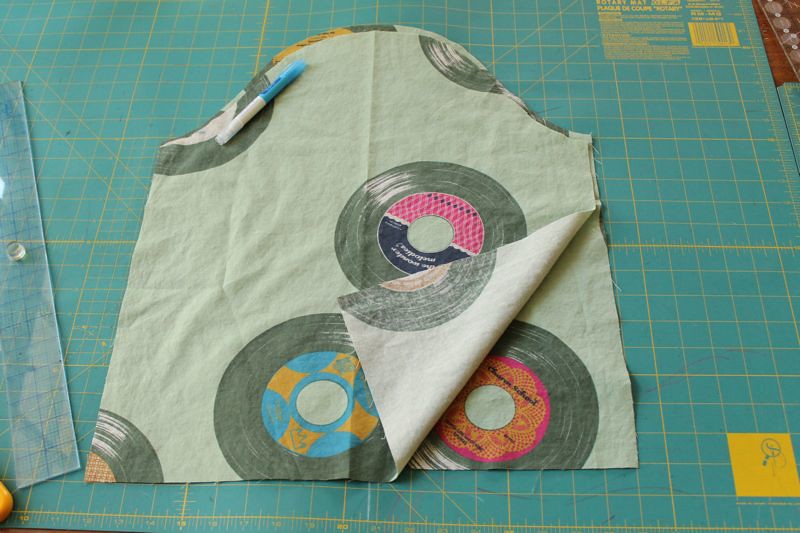
Cut out sleeve pieces
Place sleeve pattern piece along the fold and cut out two sleeves. Transfer dots to fabric with a marking pen.
Gather sleeves
Using a long stitch length and high tension on your sewing machine, stitch between the two dots along the top of the sleeve.

Pull threads to gather:

Repeat for the other sleeve:

Attach sleeve to dress
You'll need to sew your shoulder seam (front bodice to back) before you attach your sleeve, so do that first:

Then, with the right side of the sleeve facing the right side of the dress, pin the sleeve to the armhole curve, starting at the armpits and moving toward the center. When you get to the gathered part, adjust the gathers as needed and pin excessively to keep your gathers evenly spaced at the shoulder seam. Once you have it pinned, sew the sleeve to the armhole with a 1/2" seam.

HINT: I like to first machine baste (don't forget to reset your tension) the sleeve to the armhole, check my gathering, then re-sew with a normal stitch length just to make sure my gathers look the way I want them to.Now your sleeve should look like this:

Now continue the dress construction by adding the neckline facings (or a lining -- check out the video series I made).
THIS PART IS TOTALLY OPTIONAL: I chose to do a lining, so the next step for me was attaching the lining to the neckline. I used an off-white voile lining and cut out an extra bodice front and bodice back. I also made this neckline slightly larger by stitching with about a 1" seam allowance at the base of the neck to lower and widen the neckline slightly and about 1/2" at the shoulders instead of the normal 1/4" neckline seam allowance called for in the pattern.

In this version I also added an elastic casing to substitute for the shirring in the back. I cut the back lining piece 1/2" below the lowest shirring line, then folded that extra 1/2" under and stitched it down to make an elastic casing that ended where the lowest shirring line would have been):


Then I did the armholes using the lining trick shown in the videos, first rolling up the sleeves and sewing very carefully to keep them out of the way. When it's time to sew your side seams, you'll want to sew up the side seam of the sleeve (in the picture below you can see my finished back lining with the elastic casing; if you go with facings you would see shirring there instead):

Once your side seams are finished, you'll want to make a casing: fold and press under 1/4" and then again 1/2" at the ends of each sleeve. Stitch along the second fold, leaving 1" open to thread the elastic through. Then cut a piece of elastic long enough to circle your forearm + 1" and thread that through your casing. Overlap the ends of the elastic and stitch together, then stitch your casing shut.

OK, I really hope that makes sense! ENJOY!!!