
How to take body measurements

how to take body measurements / made by rae
The very first thing that every single person should do before they sew a piece a piece of clothing for themselves is take out a tape measure and get some good, honest body measurements. In this post I’ll go over how to take the four body measurements that you’ll need to choose the right size to sew with one of my sewing patterns.
The problem with body measurementsUnfortunately, many of us would prefer to skip this step. It seems easier just to pick a size, maybe guess a little bit based on the size chart. We’ve also learned to associate measuring ourselves with negative feelings about our bodies instead of seeing the measuring tape as an empowering tool that can allow us to custom-tailor our clothing to fit and flatter our beautiful bodies. While I can’t instill a sense of love for your body — only you can do that — I hope I can impress upon you the importance of viewing your measurements as the first step to sewing something for yourself that you can be proud of. One of the great things about sewing your own clothing is that you don’t have to put a size tag in the back of something you make. No matter what size pattern piece you use, making yourself a piece of clothing that fits — not too tight, not too loose — feels empowering, no matter what your size or shape.
Can’t I just skip this and use my ready-to-wear size instead?
OK, let’s say you decide to pass on measuring yourself completely. That means you’ll need to guess what size you need using the size labels on the pattern pieces instead of your body measurement and the size chart. This is risky, considering every pattern maker uses their own measurement chart; a size large for one of my patterns might be different from a size large somewhere else, including the ready-to-wear clothes you might have in your closet. Hypothetically now you’re in a sewing no-man’s-land: you’ve jumped into your project completely blind, hoping you’ll accidentally end up with a piece of clothing that fits.
Are you ready to get out your measuring tape and find your body measurements? OK!
A few general guidelines
If possible, measure in the morning; by the end of the day, gravity has taken its toll on your body and you are not only shorter, but wider.
Wear your best-fitting (and ideally, supportive) undergarments when measuring. This is SO IMPORTANT!
If possible, have someone help you take these measurements. When your arms are relaxed at your sides instead of trying to hold up the tape measure, you’ll get a more accurate measurement.
Do not pull the tape measure as tight as it will go. The tape measure should fit as loosely around your body as possible without falling down.
Wear tight-fitting clothing such as leggings and a tank top, or just your undergarments, rather than loose-fitting or thick clothing.
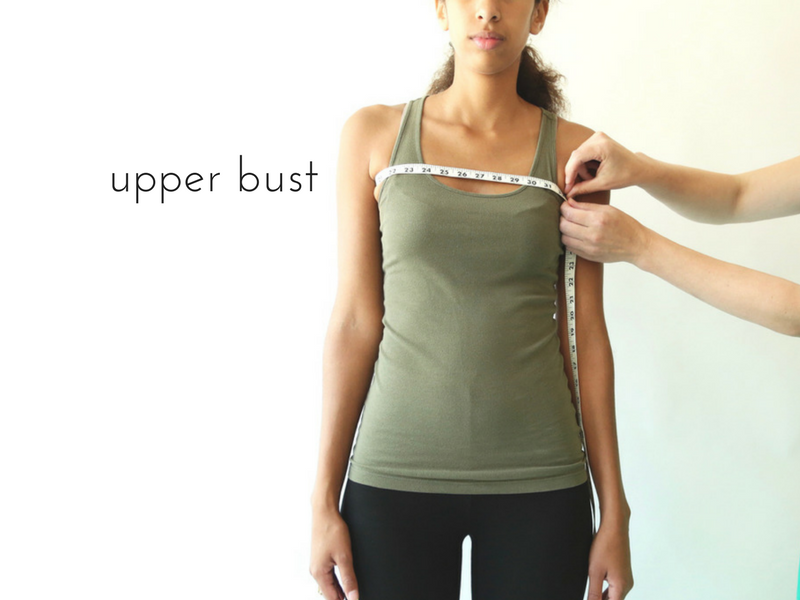
Start with your upper bust. Place the tape measure around your torso, right under your armpits and over the top of your bust. The tape measure should form a loop that is more or less parallel to the floor, but if it’s angled up a little in the front to clear the top of your bust, that is fine. Write this measurement down.

Now measure your bust. Place the tape measure around the fullest part of your bust. Write this measurement down.
It is helpful to have both bust and upper bust measurements whenever you are sewing a pattern that includes a bodice, such as a dress or blouse. In my sewing patterns, I include a “Choose your size” section that explains how to use these two numbers to help you choose your size, to decide between the A/B and C/D bodices (such as in Gemma, Josephine, and Beatrix), and to help determine whether a bust adjustment is needed.
how to measure the waist
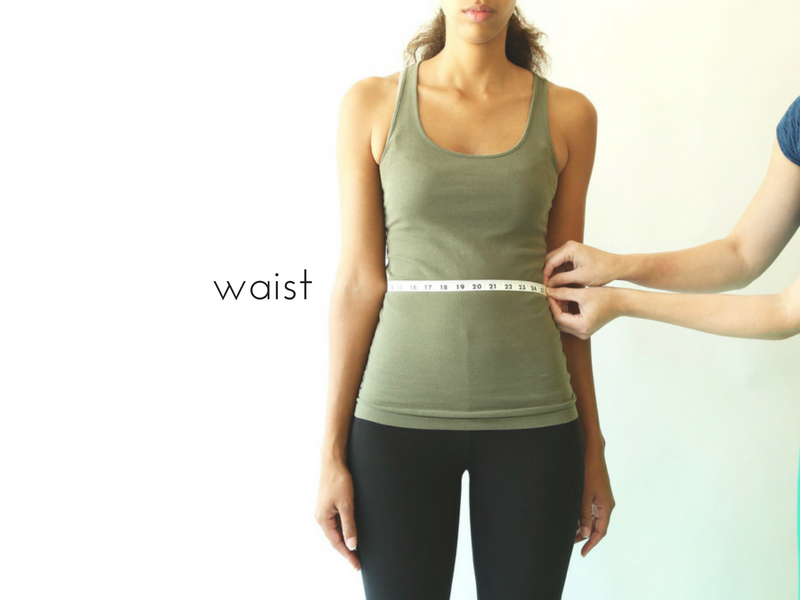
For your waist, place the tape measure around the smallest part of your waist, and write this measurement down. It’s important to note that this measurement is usually taken WELL ABOVE THE BELLY BUTTON, and that unless you wear high-waisted pants, this is not where the waistband of your pants are. Most pant waistbands sit at the “low waist” which is different than the “natural waist” that you are measuring right now.
If you’re pear- or hourglass-shaped like my assistant Melissa (shown in these pics), your natural waist should be pretty easy to find. If you’re apple-shaped or banana-shaped (like me) or carry a good deal of your weight around your waist, though, it may be a bit harder to locate, and may actually be larger than your hip measurement. In this case, measure between your lowest rib and the top of your hip bones.
how to measure your hip / made by rae
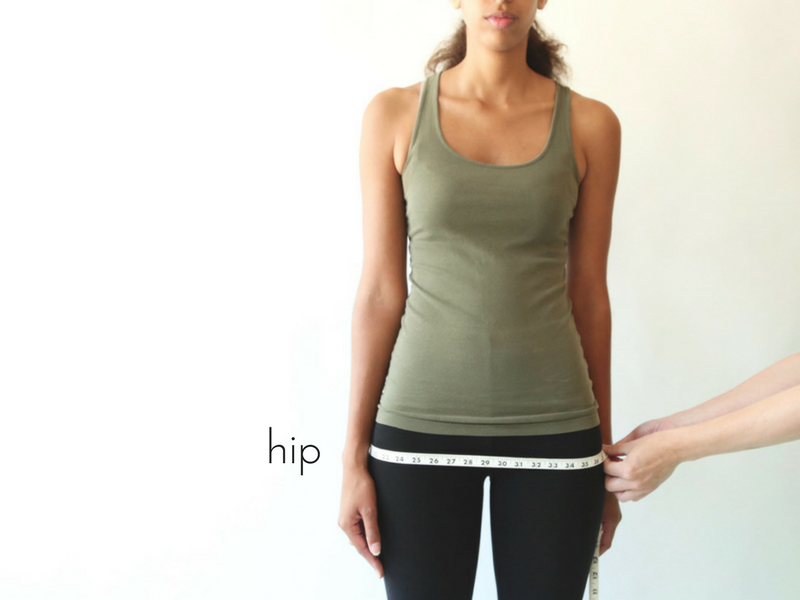
The hip measurement can also be a bit tricky to find/take, because the location of the hip on the body varies from person to person, making it hard to nail down an exact location for the hip measurement. The other thing that makes everything more confusing is that the hip measurement is usually NOT at your hip bones, which are (again, usually) much higher on the body, closer to your low waist, where you might find the waistband on a pair of low-rise jeans.
The hip measurement should be taken around the widest part of your booty, below your hip bones. Write this measurement down.

Once you have your measurements, write them down in a notebook so you can refer to them later. Remember that if you gain or lose weight, start or stop exercising, or have other changes to your body, you’ll want to take them again!
Now you’re ready to choose your size and make a muslin!