
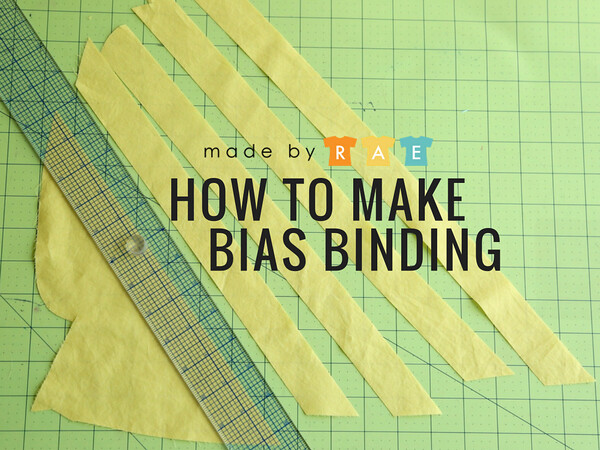
How to make bias binding
how to make bias binding
Making your own bias binding is something that is so easy to do! A number of my sewing patterns, including Washi, Ruby, Josephine, and my most recent pattern, Gemma, use bias binding to finish the armholes or neckline. It's very common to find bias binding used in sewing patterns for garments. Bias binding also comes in handy when it comes to making your own piping, for instance if you want to make a little backpack!
While you can definitely buy pre-made binding at the store (more on that later), I think bias binding looks so much nicer when you make your own. Here's how!
You will need:
fabric scraps or a fat quarter of fabric
rotary cutter and mat
2"-wide quilter's ruler (or wider!)
Step 1. Press your fabric
I find it easiest just to use the leftover scraps after I've cut out a pattern. After cutting out the pattern pieces for a given garment, select the biggest scraps and press them flat. If you have a fat quarter of fabric designated for your bias binding, press it flat.

Made By Rae | how to cut bias strips
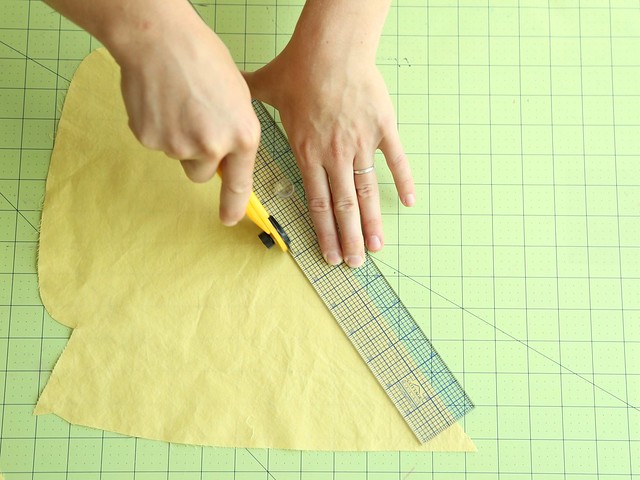
Step 2. Cut your bias strips
Place your ruler diagonal to the fabric grain at a 45 degree angle. Most cutting mats have diagonal lines to help you with this, but it's ok to eyeball it too! Cut a straight diagonal line down the center of the scrap/piece of fabric at its widest point. This will give you the longest possible strips from your scrap of fabric. Then line up one of the diagonal edges with the 1.25" mark on your ruler, and cut again, to create a 1.25" wide strip:
Made By Rae | how to cut bias strips
Then repeat...

bias strip cutting
Continue cutting the strips until they get too short to be useful; I usually prefer to use strips that are at least a foot (12") long; you can see below that I stopped cutting when my strips measured about 11." Then I repeat with the other half of the scrap.Because you are cutting diagonally, these strips are called "bias strips," and they are stretchy and flexible for putting a nice finish on curved areas like necklines and armholes. Finally, trim the ends of your strips so they're all square.

binding tutorials
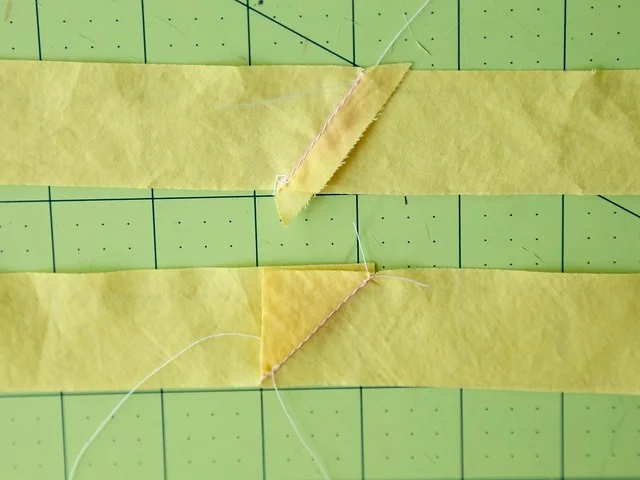
Step 3. Connect the strips together
Overlap the ends of two strips at a 90-degree angle and sew from corner to corner of the overlapping section. The pink line is the stitching line. Remember to sew all your strips right sides together. This is especially important if you're connecting more than two strips -- make sure all the seams are on the same side!

Made By Rae | how to cut bias strips
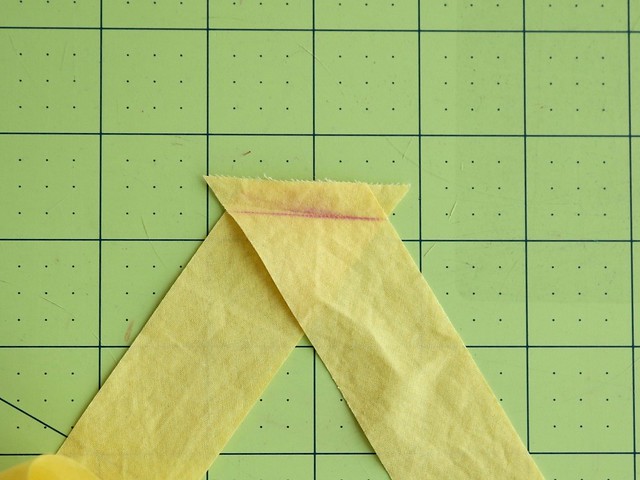
If the ends of your strips are angled (this happens when you use a perfectly rectangular scrap of fabric, such as a fat quarter), you can overlap the pieces as pictured below, so that you have a 1/4" seam allowance, instead. The pink line is the stitching line.Continue piecing the strips you cut together until you have the length that you need for your pattern or project.
Made By Rae | how to cut bias strips
After you've sewn the strips together, open the strips up so they look like this:

bias binding
Made By Rae | how to cut bias strips
Step 4. Clip seam allowances
Trim the seam allowances so they are not wider than the strip itself, and clip corners to 1/4".

Made By Rae | how to cut bias strips
Step 5. Press seams open.
Now you're ready to fold, press, and sew according to your pattern's instructions!

Made By Rae | how to cut bias strips
Finally, a note about pre-packaged bias binding: if you prefer, you can purchase pre-made bias binding already cut, pieced, and folded at most fabric stores. Most of the time the bias binding is either single- or double-fold, which means it's been pre-folded and pressed before it's packaged. If you prefer to go this route, you'll want to find either 1/2"-wide single fold, or 1/4"-wide double fold bias; either can be substituted for 1.25"-wide (unfolded) bias binding used in my sewing patterns (and shown in this tutorial).
I definitely prefer making my own bias binding because I don't tend to like the colors or quality of store-bought bias binding as much as my own, but I definitely understand the appeal. Sometimes it's nice just to have it made for you!