
Beatrixalong Day 3: Cut and Prep

Beatrixalong
Here’s the plan for today:
Cut out your fabric,
Transfer markings, and
Prepare pattern pieces for sewing
Let’s start with cutting out the fabric
Now that we’ve made a muslin and adjusted for fit, we can confidently grab sharp things and cut the REAL FABRIC. Following the cutting diagrams on Page 6 (note: View B cutting diagrams are on page 7, but we’re making View A in this sewalong), lay your pattern pieces out on folded fabric. Please take special note of the hints for cutting pieces out of directional prints and flowy/drapey fabrics. In this photo, the fold is on the bottom and the selvages are together on the top:

Array
I prefer to cut my fabric out using a rotary cutter, ruler and cutting mat. This is fast and accurate, and doesn’t require any pins, but it can be dangerous (seriously) so please be careful if you try this and never cut towards yourself, EVER. Hold the pattern pieces and fabric in place with some sort pattern weights (coffee mugs, metal washers, expired 9-volt batteries…OK maybe not the batteries but you get the picture) and cut away. Alternatively, pin your pattern to the fabric and use your best fabric shears to cut cut cut.

Array
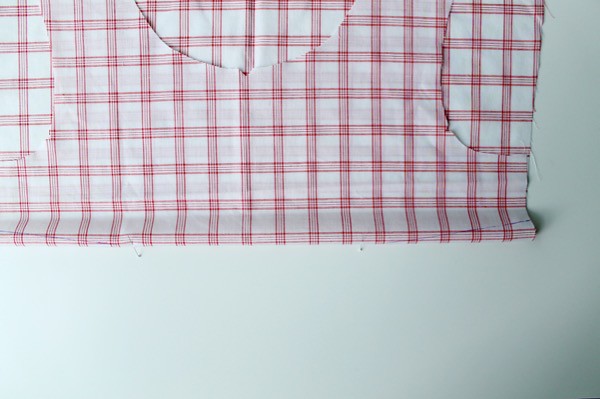
Cut those little triangle notches on the sleeves, neckline at center front (CF), and armholes as you go if you're using shears, or snip them out with shears as soon as you're done if you're using the rotary cutter. You'll be glad you did this later, trust me.

Array
Now take an inventory of your pattern pieces and use that numbered list provided on page 6 to make sure you've got everything.

Array
Here's a closeup of facings and interfacing for the facings:

Array
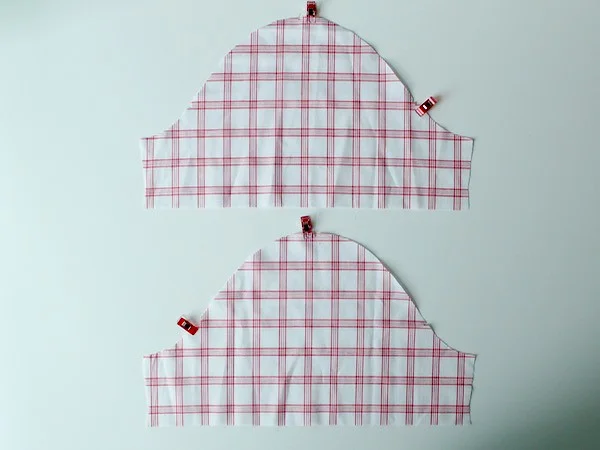
Remember to mark your sleeves so you can tell left from right, particularly if you're using fabric where it's hard to tell right side from wrong side, like mine. I used Wonder Clips to help me keep track, but a safety pin on the right side of the fabric works just fine. Even if it doesn't matter which side is which, you need two mirror image sleeves, one left and one right.
Array
Next, transfer your markings from the pattern to the fabric
Mark your darts, using a ruler to keep the dart lines straight. I use a pin to mark the very end of the dart rather than make a dot at the end; sometimes my marking pen doesn't disappear very quickly and I don't like having a dark dot there when I'm finished.

Array
After you've added the dart markings, fold the front bodice along the centers of the darts to make sure they line up horizontally. This is pretty important if the darts will be visually obvious relative to the print, such as in the case of stripes or other geometric patterns on your fabric. The only exception would be if you really do need your darts at different heights due to bust asymmetry; if that's the case you should put your darts where you need them, but I'd recommend avoiding a print that will highlight the differences in dart height.
Array
Next up, mark the fold lines on each back bodice, again use a ruler to make sure they are straight and the correct distance away from CB:

Array
Finally, prep your pattern pieces
Use your iron to press the fusible interfacing to the wrong side of the facings and back bodice pieces. Although I didn't show it here, I recommend you use a scrap of fabric as a pressing cloth; if the iron is too hot the fusible glue on the interfacing can sometimes seep through the interfacing and stick to the bottom of your iron, ACK!

Array
Also: we all know that "pressing" means just setting the iron down on the fabric, and not dragging it back and forth across the fabric, right? You're not ironing here!

Array
Don't forget to fold that 1/4" along the back bodice center edge towards the interfacing and press it down.

Array
When you're finished your back pieces should look like this!

Array
OK, let’s review today’s assignment:
1. Cut out your pieces
2. Transfer markings
3. Add interfacing to the necessary pieces
And here’s your extra credit assignment:
4. Post a photo (crappy phone pics are fine) to Facebook, Instagram, or Flickr showing me hard evidence you’ve done something from today’s sewalong post with the tag #beatrixalong. If you blog about it, post a link in comments.
Remember, you can sign up to receive my blog posts via email here so you won’t miss any of the sewalong posts!