
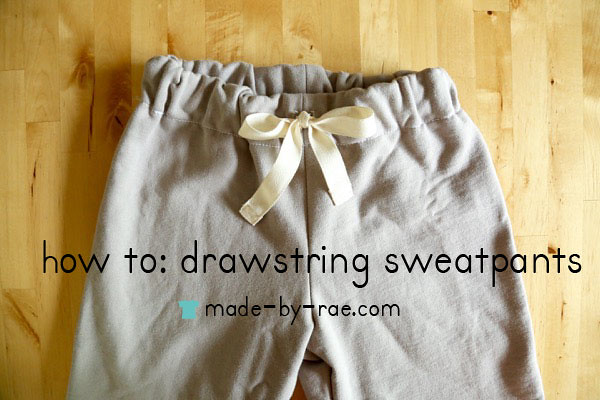
Sweatpants with a drawstring (+ a how-to)
Now that the weather is cooling off I thought I'd post these sweatpants I made for Elliot from my Moon Pants sewing pattern. I added a drawstring (there's a quick how-to at the end of this post) and made them out of some Birch fleece solid in shroom, which is a nice thick knit with a small amount of stretch. It was fun to take a pattern that usually reads "girl" and turn it into something boy-friendly!
Array
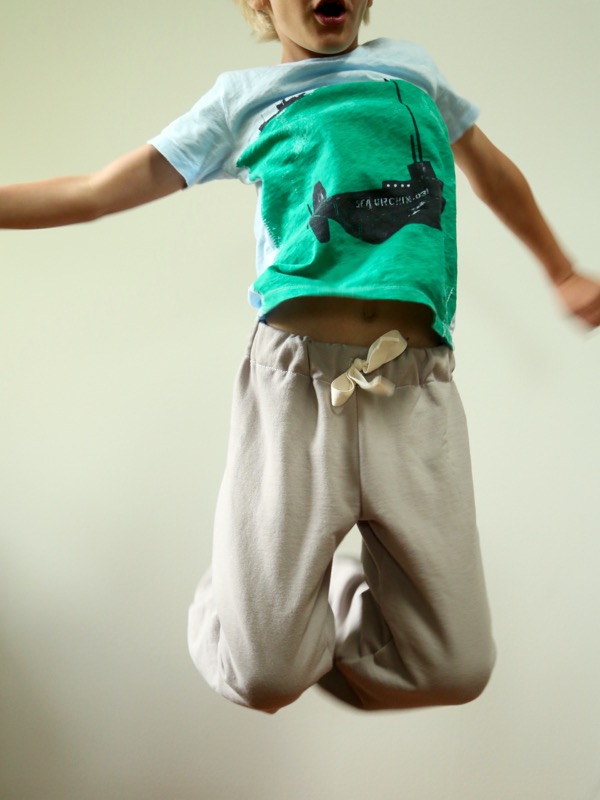
They ended up a little too big for him because I made him a size 8. He's a size 8 height-wise, but he's really a size 6 width-wise. Next time I'll try to make a hybrid of the two sizes (and maybe take pics for those of you who might need to blend two sizes for your own kiddo!). So they're a little baggy, but that means he can grow into them!

At first he was pretty serious for the photos. And then the armpit farting started...

And more weirdness. I love this kid.

And then he wanted me to take pics of him jumping so he could see a good mid-air shot:


It's really easy to add a drawstring to the Moon Pants! I like to add a partial drawstring to the front of the pants so that even when it's tied, the back of the pants are still stretchy and they are easy to pull on and off. Here's a quick tutorial (by the way, this works great for both my Parsley Pants or my Moon Pants sewing patterns, as well as any other pattern with an elastic waist)!
Step 1: Add interfacing inside the waistband
Before you add the waistband, fold the waistband allowance down and press it to make a crease where the top of the waistband will be. Then add a small square of fusible interfacing to the inside of the waistband at the front center seam. Take a marking pen and make two lines for the drawstring holes. You'll want those marks to be about the same width as your twill tape (my twill tape is 3/4" wide), and about 1/2" apart (1/4" away from the center seam on either side).
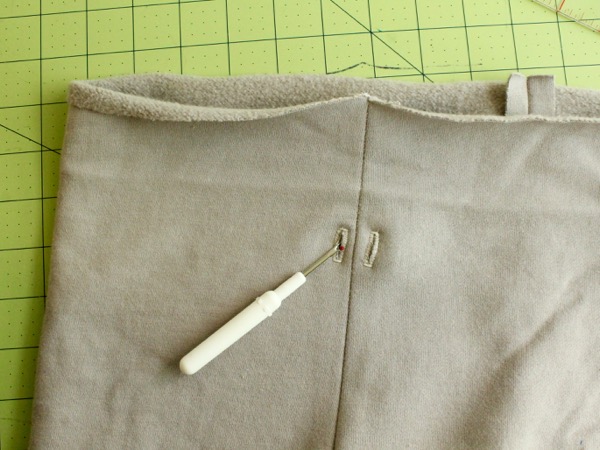
Step 2: Sew buttonholes
Use your sewing machine to make buttonholes where your marks are. Then open the buttonholes with a seam ripper or small scissors.
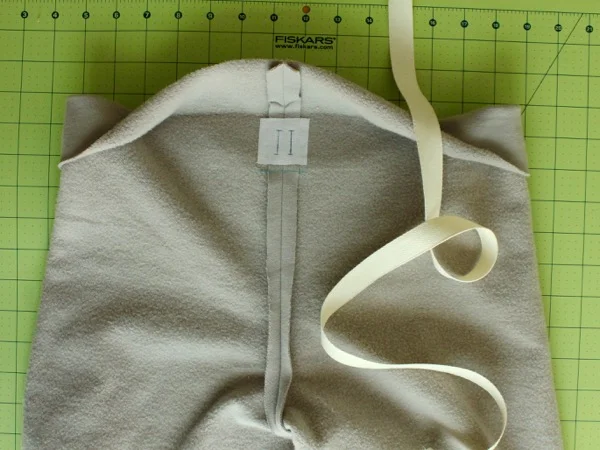
Step 3: Add drawstrings and close elastic loop
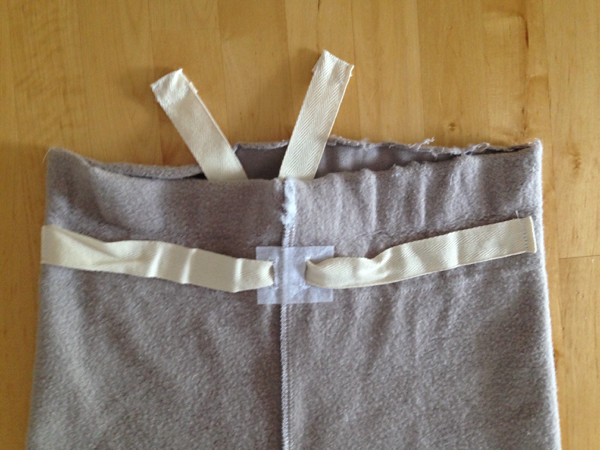
Cut two 12-18" lengths of twill tape and stitch them to the inside of the waistband at the sides. The exact length will depend on the size pant you're using, so do a test tie with the ends to make sure they're long enough, then trim to the desired length. Fold the ends under and stitch them down so they won't fray. Cut your waistband elastic to the desired length, overlap the ends, and stitch them together to form an elastic loop.

Array
Here's a closeup of the sides; you can see I folded the ends under before stitching them down.

Array
Step 4: Thread drawstring through holes and close up the waistband
Next, thread the ends of the twill tape through the holes:
Array
Finally, slide the elastic loop over the top of the pant, fold the waistband over the elastic, and stitch the bottom edge of the waistband in place. This is not shown, but imagine the elastic loop shown above sliding over the entire top of the pant, and then folding the waistband down over top of that to enclose it. Sliding the elastic a little as you sew will prevent bunching. Alternatively you could also leave an opening in the back of the waistband and thread the elastic through, as shown in the pattern. Either way will work!