
Feather Washi Dress

Array
Please note: The pattern previously known as “Washi” has been renamed “Trillium.” Read about the name change here. The Expansion Pack has been retired; please visit the Trillium Page for inspiration and links to tutorials.
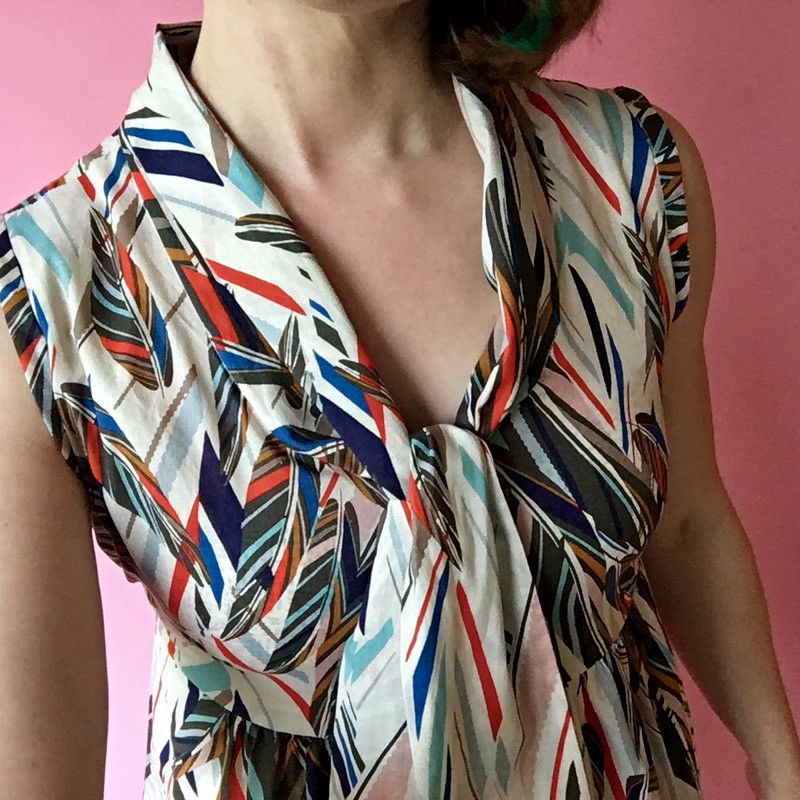
This lightweight feather lawn caught my eye when I taught the Luna class at Dry Goods Design in Seattle last month, so I bought a few yards along with a handful of other lovely fabrics. Keli finds some really amazing apparel fabrics and they often move fast, so it’s always a good idea to pounce when you see something you like. A few days ago I got inspired and turned it into a tea-length Washi Dress with a bow.

Array
I am so thrilled with how this turned out. I was worried that the fabric might be too busy for a big bow (from the Washi Expansion Pack), but I shortened it so it can hang down without being tied and I love it.
Array
I've been sewing a lot this week at the expense of many other things that need to be done, but being able to fully immerse myself in creative work is restorative. Creating beautiful things is exhilarating for me. It reignites my passion for my work and reminds me to be grateful to be able to do it. Creative work is such a luxury, and such a gift, isn't it? I am fully aware that as such, it is also temporary.

Array

Array
The dress is a slightly modified version of View A from the Washi Expansion Pack, with the main changes being length, some width in the front, and a shorter bow. Here’s a quick recipe for this dress!
You will need:
Washi Dress Sewing Pattern
Washi Expansion Pack (“XP”)
Cut the following pieces from the Washi Dress Pattern:
1 Back, extend length of the skirt by 11″
1 Front Skirt, adding 3″ at the fold to add 6″ total to width, extend length of skirt 11″
(see the pattern instructions for how to add length to the dress)
Cut the following pieces from the Washi XP:
2 Bow bodices
2 large bows, subtracting 6″ from length of each
bias strips for armholes (I made mine 1.5″ wide)
1 elastic casing
Follow the instructions for View A from the expansion pack, except gather the front skirt instead of pleating it, as shown in the View B instructions.

Array