
How to trace a pattern
How to trace a pattern
Recently I received an email from someone who had purchased Beatrix in print from a shop and had accidentally cut her pattern pieces out and then discovered that there were pattern pieces printed on the back side of the sheet. I felt terrible, of course (and we have instructions to trace on the pattern sheets for this very reason), but it reminded me that most people don’t trace their patterns, either because they don’t know how, or don’t think it’s important. And although I talk about tracing quite a bit on this blog (in the Luna Pantsalong, the Beatrixalong, and in one of my most popular posts, Making Clothes for me, lessons learned), I didn’t have a dedicated tracing post until now.
So, this post is for all of you who haven't yet discovered the beauty of tracing your pattern pieces. I never, ever cut into my pattern pieces anymore, no matter what type of sewing pattern I am using. Here's why I trace and how I do it!
Why trace your pattern pieces?
It may seem tedious, an additional step of prep before sewing a piece of clothing, so why do it at all? It's true, it takes extra time to trace your pattern pieces, but here are some of the reasons to trace your pattern rather than cut into it:
Tracing allows you to keep the original pattern pieces intact, which is especially nice if they are printed on a delicate paper such as tissue, or if they are printed in such a way that the pattern pieces overlap (this is common in sewing books that include pattern sheets).
Tracing allows you to use a pattern multiple times in more than one size.
Tracing allows you to blend between sizes if you are more than one size (a smaller bust size than hip size, for example).
Tracing is absolutely essential if you need to make a significant adjustment, such as a bust adjustment or adding a dart, to a pattern.
Even for a PDF pattern, tracing saves paper and ink, not to mention the extra time it takes to tape it together if you need another size or view.
Tracing allows you to roll or fold the (usually very large) pattern pages up and put them away so you have more room to work. The tracings are easy to fold up and store, and are smaller and easier to deal with as you cut and sew (just make sure you've transferred all of the markings from the pattern before you put them away).
How to trace a pattern with swedish tracing paper
Cutting into a pattern presumes that you will only ever need one size, ever. While that is possibly true for you, it's not been the case for me. Each pattern maker has their own unique sizing and I've made one size of a pattern only to discover that I'd prefer a size larger or smaller. I've also gone up and down through a handful of sizes over the past decade for a number of reasons (OK, mostly having kids), and every time I slide up or down a size, I'm glad I didn't cut up my original pattern. This is especially true when the pattern I'm working with is a paper (printed) pattern, a tissue pattern, or a large-format copy shop pattern sheet.
In summary, tracing a pattern allows you to keep the printed pattern intact for making different sizes or views in the future or in case you need to make any fit adjustments.
How to trace a pattern with swedish tracing paper
What is Swedish Tracing Paper?
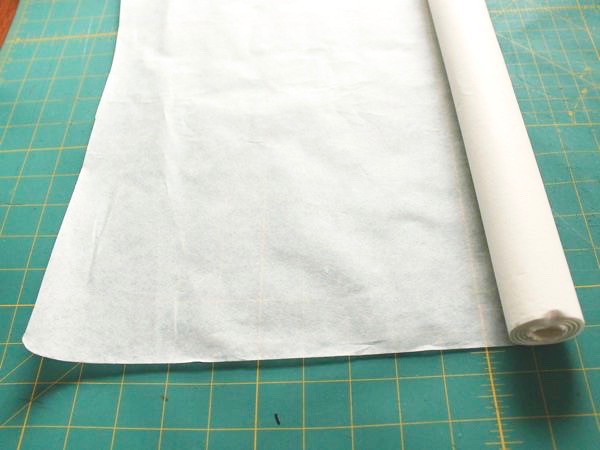
My tracing paper of choice is Swedish Tracing Paper, shown above, which is 29″ wide and comes in a 10-yard roll. This has become more readily available at shops that sell garment fabric, so check your favorite retailer and support small businesses, please! I’ve also purchased it at WAWAK and Amazon.
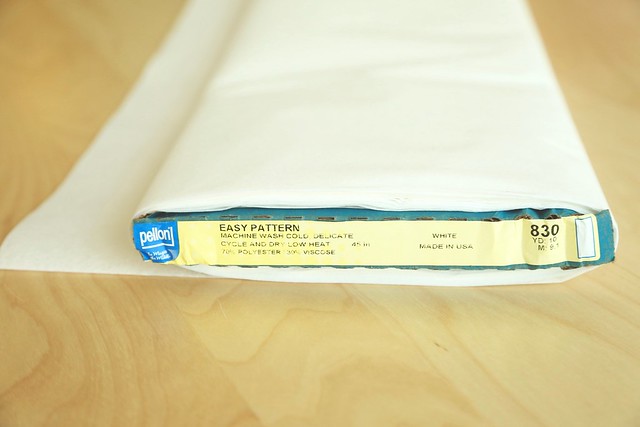
A good substitute is Pellon 830 interfacing (shown below) but it's a little thicker than STP, and usually more expensive if you calculate the price per square inch. I also prefer the 29" width of STP, which I find easier to work with than the wider Pellon.
The main reason I prefer either of these options over basic (and usually cheaper) tracing paper is that it's much more sturdy and less likely to tear, making it much more useful long-term. It's about as strong as a dryer sheet, if that gives you an idea, which means it's pretty hard to tear. If you've ever worked with a tissue paper pattern you know how easily those patterns can tear, so having a tracing that is more sturdy than the pattern you started with to me is a clear advantage.
In addition, swedish tracing paper is lightweight, easy to fold up and store, presses beautifully with an iron if it gets wrinkled, and can even be basted or pinned together if you want to do a quick "tissue fitting" (putting the pattern pieces up to your body to see how the pattern will fit).
How to trace a pattern with swedish tracing paper
How to trace a pattern
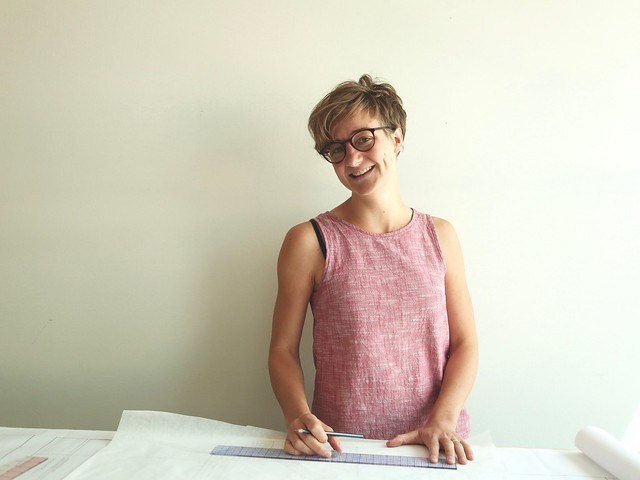
Here's Jess to help me show you how to trace!
You will need:
The pattern you want to trace
Swedish tracing paper or Pellon 830
Straight edge and pencil
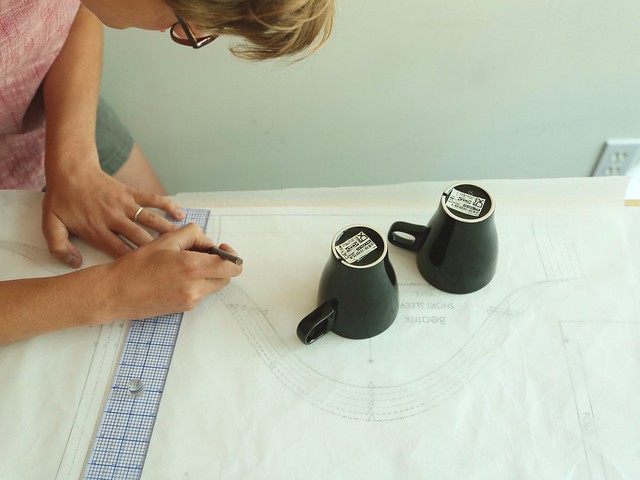
Pattern weights or other items to weigh down your tracing paper and keep it in place while tracing (we'll be using coffee mugs in this tutorial. Campy-like.)
How to trace a pattern with swedish tracing paper
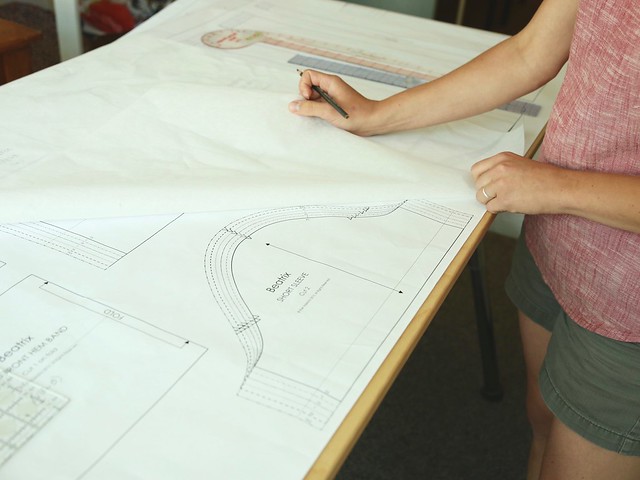
Step 1. Lay out your pattern on a large flat surface. We're using Beatrix here.

How to trace a pattern with swedish tracing paper
Step 2. Place the tracing paper over the pattern piece you want to trace

How to trace a pattern with swedish tracing paper
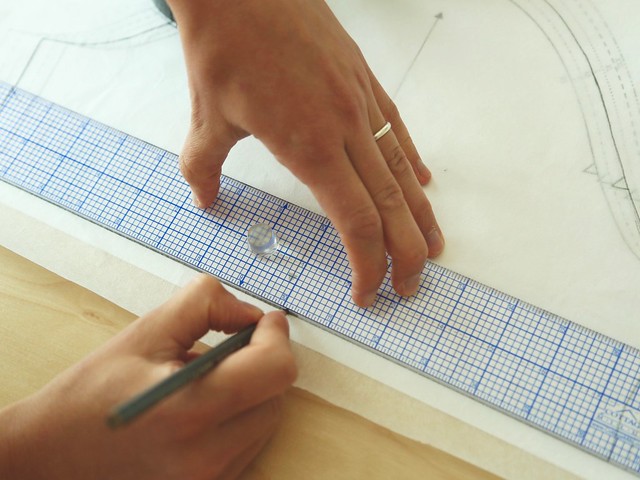
Step 3. Place pattern weights or other objects over the tracing paper so it won't move around while you trace.
How to trace a pattern with swedish tracing paper
How to trace a pattern with swedish tracing paper
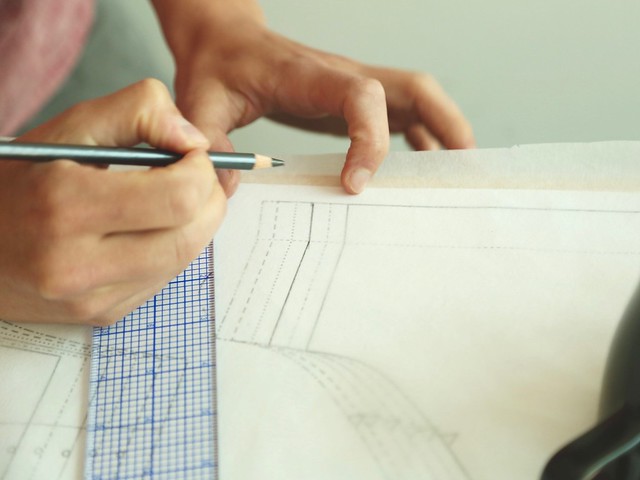
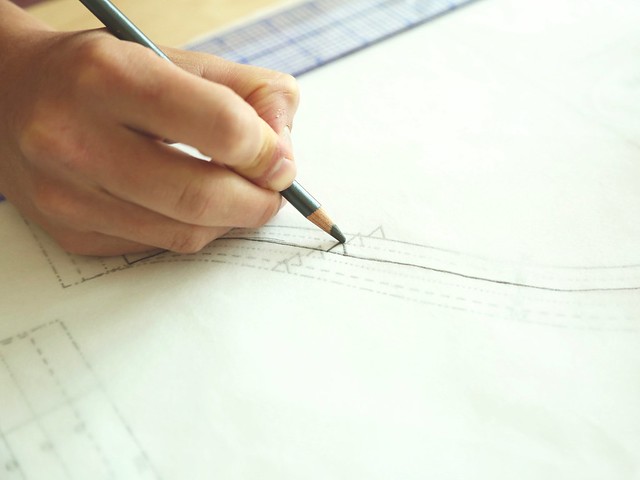
Step 4. Trace around the outline of the pattern piece. Use a pencil and a straight edge, and choose the size line you need using the key given on the pattern.
Go slowly and trace carefully. You want your lines to be nice and clear.
How to trace a pattern with swedish tracing paper
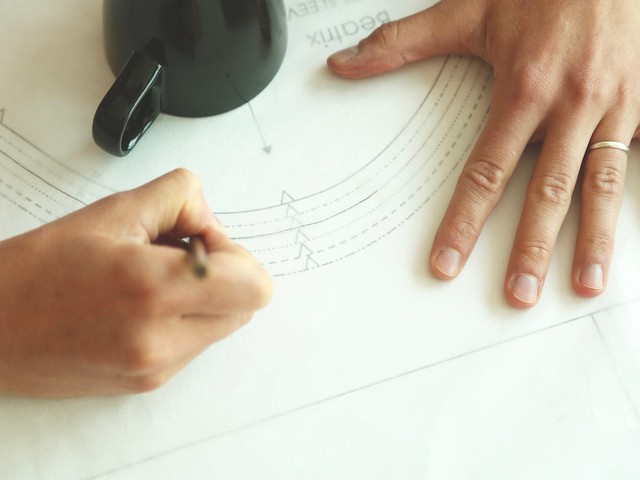
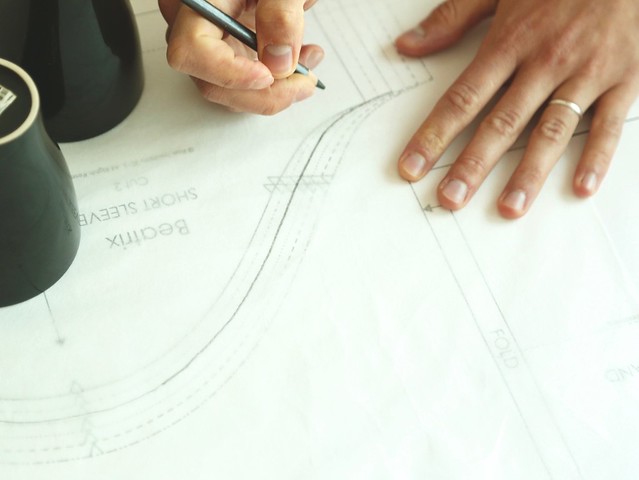
Add notches or markings along the outer edge. You can add these as you go, or after you've finished the outline of the piece.
How to trace a pattern with swedish tracing paper
How to trace a pattern with swedish tracing paper
How to trace a pattern with swedish tracing paper
Step 5. Add additional markings and labels
The grainline arrow is one of the most critical pieces of information on a pattern piece (the vertical portion of a fold arrow functions as a grainline as well). Add fold arrows, cutting lines, hem lines, darts, dots, and any other additional markings such as pocket placement lines that are present on the pattern piece. You don't want to have to go back to your original pattern sheet once you've put it away because you forgot to add an important marking.

How to trace a pattern with swedish tracing paper
Then add the name of the pattern, the size you traced (you would not believe how many times I have forgotten to do this and then wondered later what size a tracing was), and the pattern piece name and cutting indication (like "cut 2 interfacing" or "cut 2 on the fold").

How to trace a pattern with swedish tracing paper
Now your pattern piece is ready to use!