
Rose pants for Cassie
One of the best things about my job is getting to work with so many amazing women. Cassie worked for me as a studio assistant over the past couple of years while she was studying at the University of Michigan. My studio is on central campus, so it has been really convenient for students just to pop over for a few hours here and there between classes; you may remember Cassie's sister Melissa, who worked for me before Cassie (in addition to working in the studio, she modeled for the Gemma and Luna shoots), and Tashina before that.
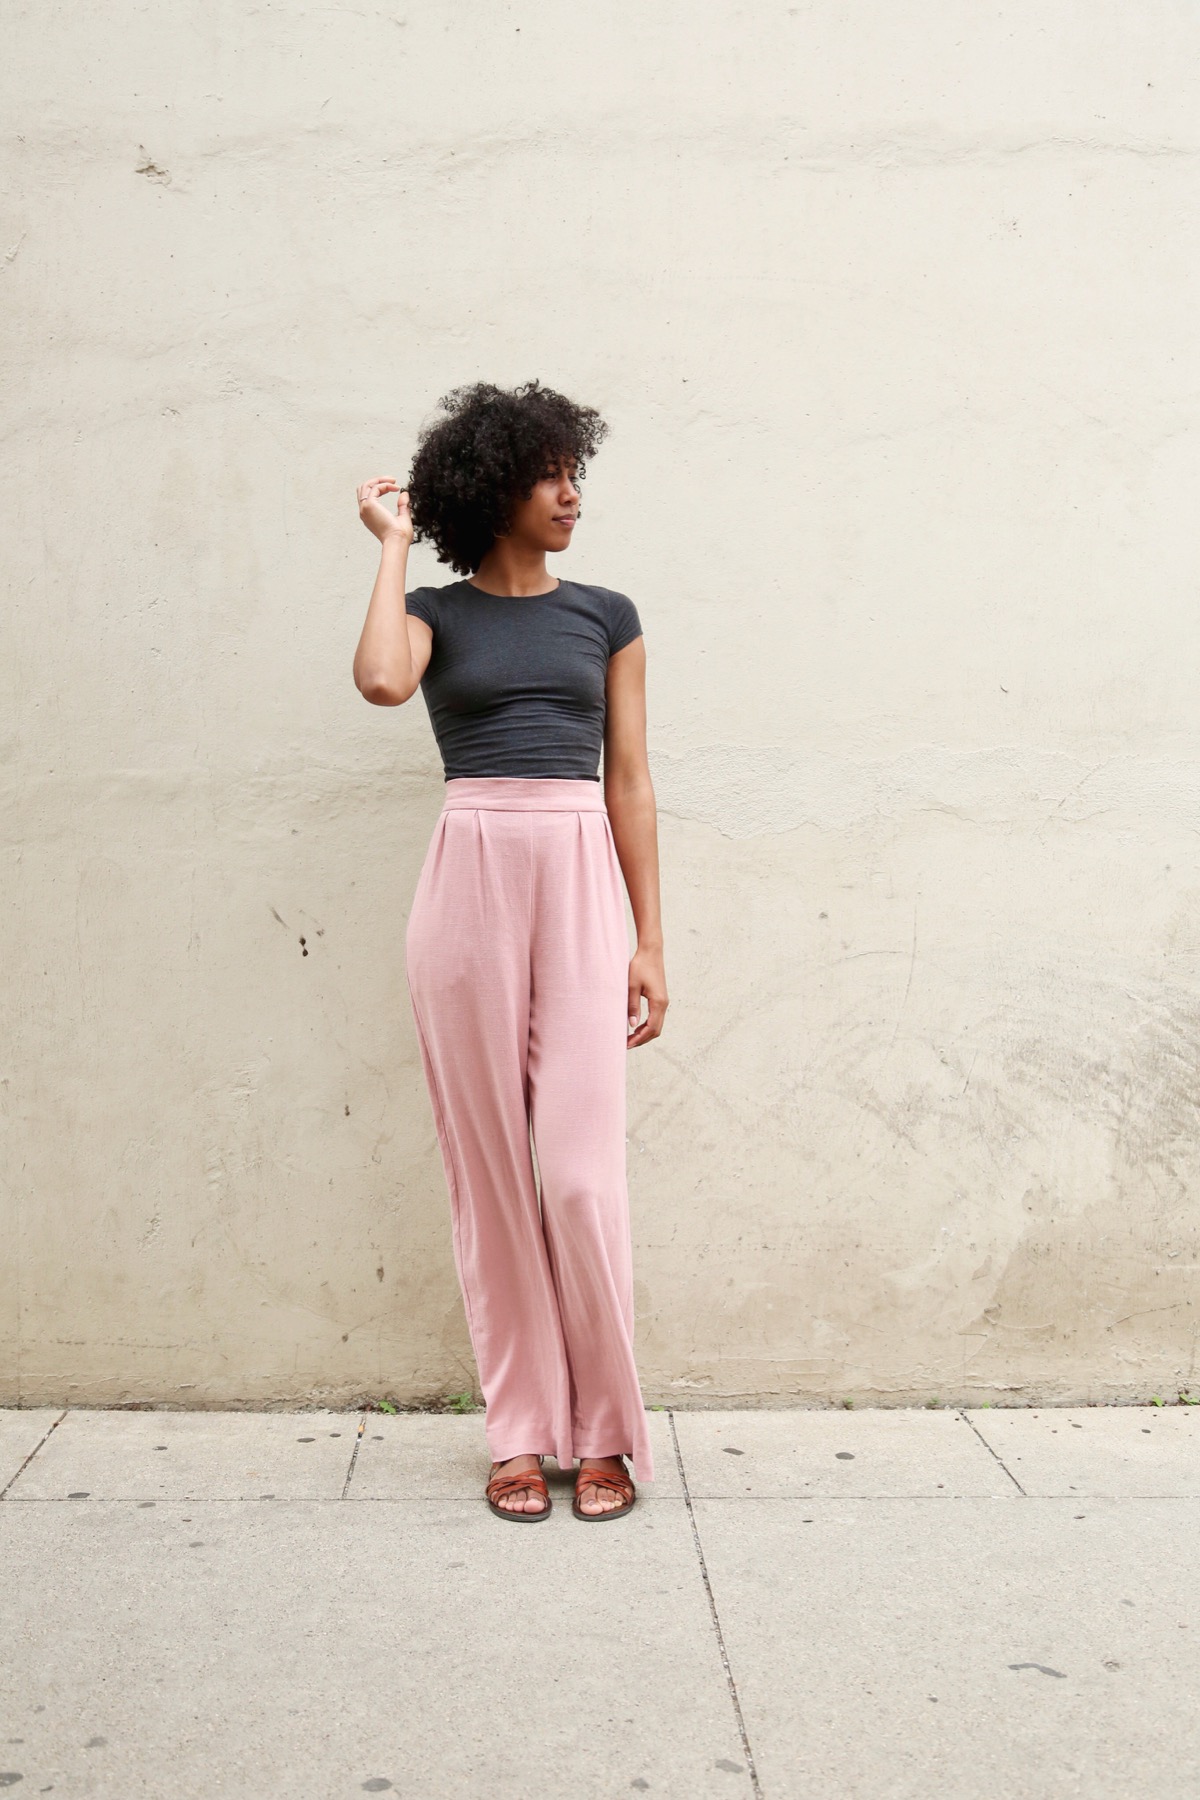
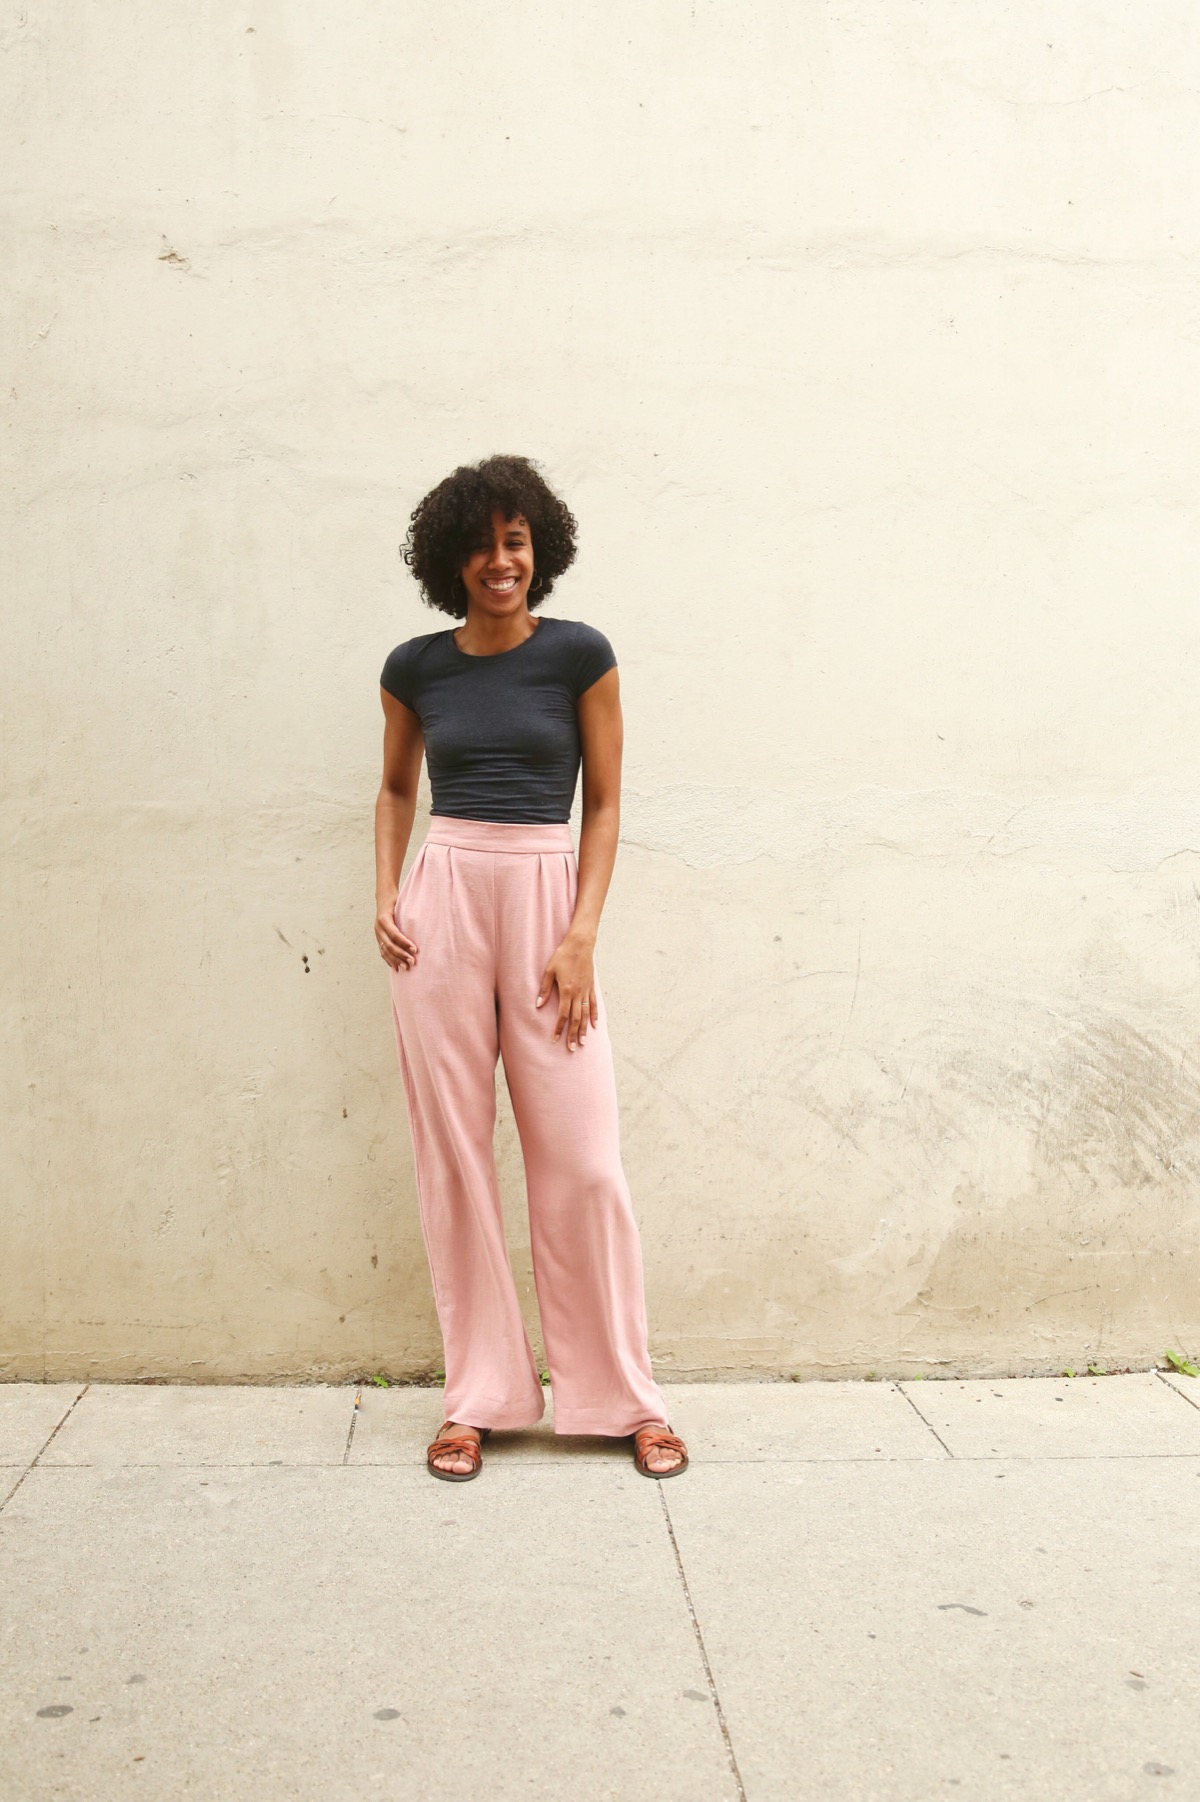
Cassie graduated in May with her degree in public health (congrats!!) and is headed off to DC this fall to start a fellowship (waaah!!). I was way behind schedule on this project, but we managed to squeeze in a Rose photo shoot before she leaves Ann Arbor. It was so fun to custom-fit and then photograph Cassie in her Rose pants. I love how they turned out, and so does she!

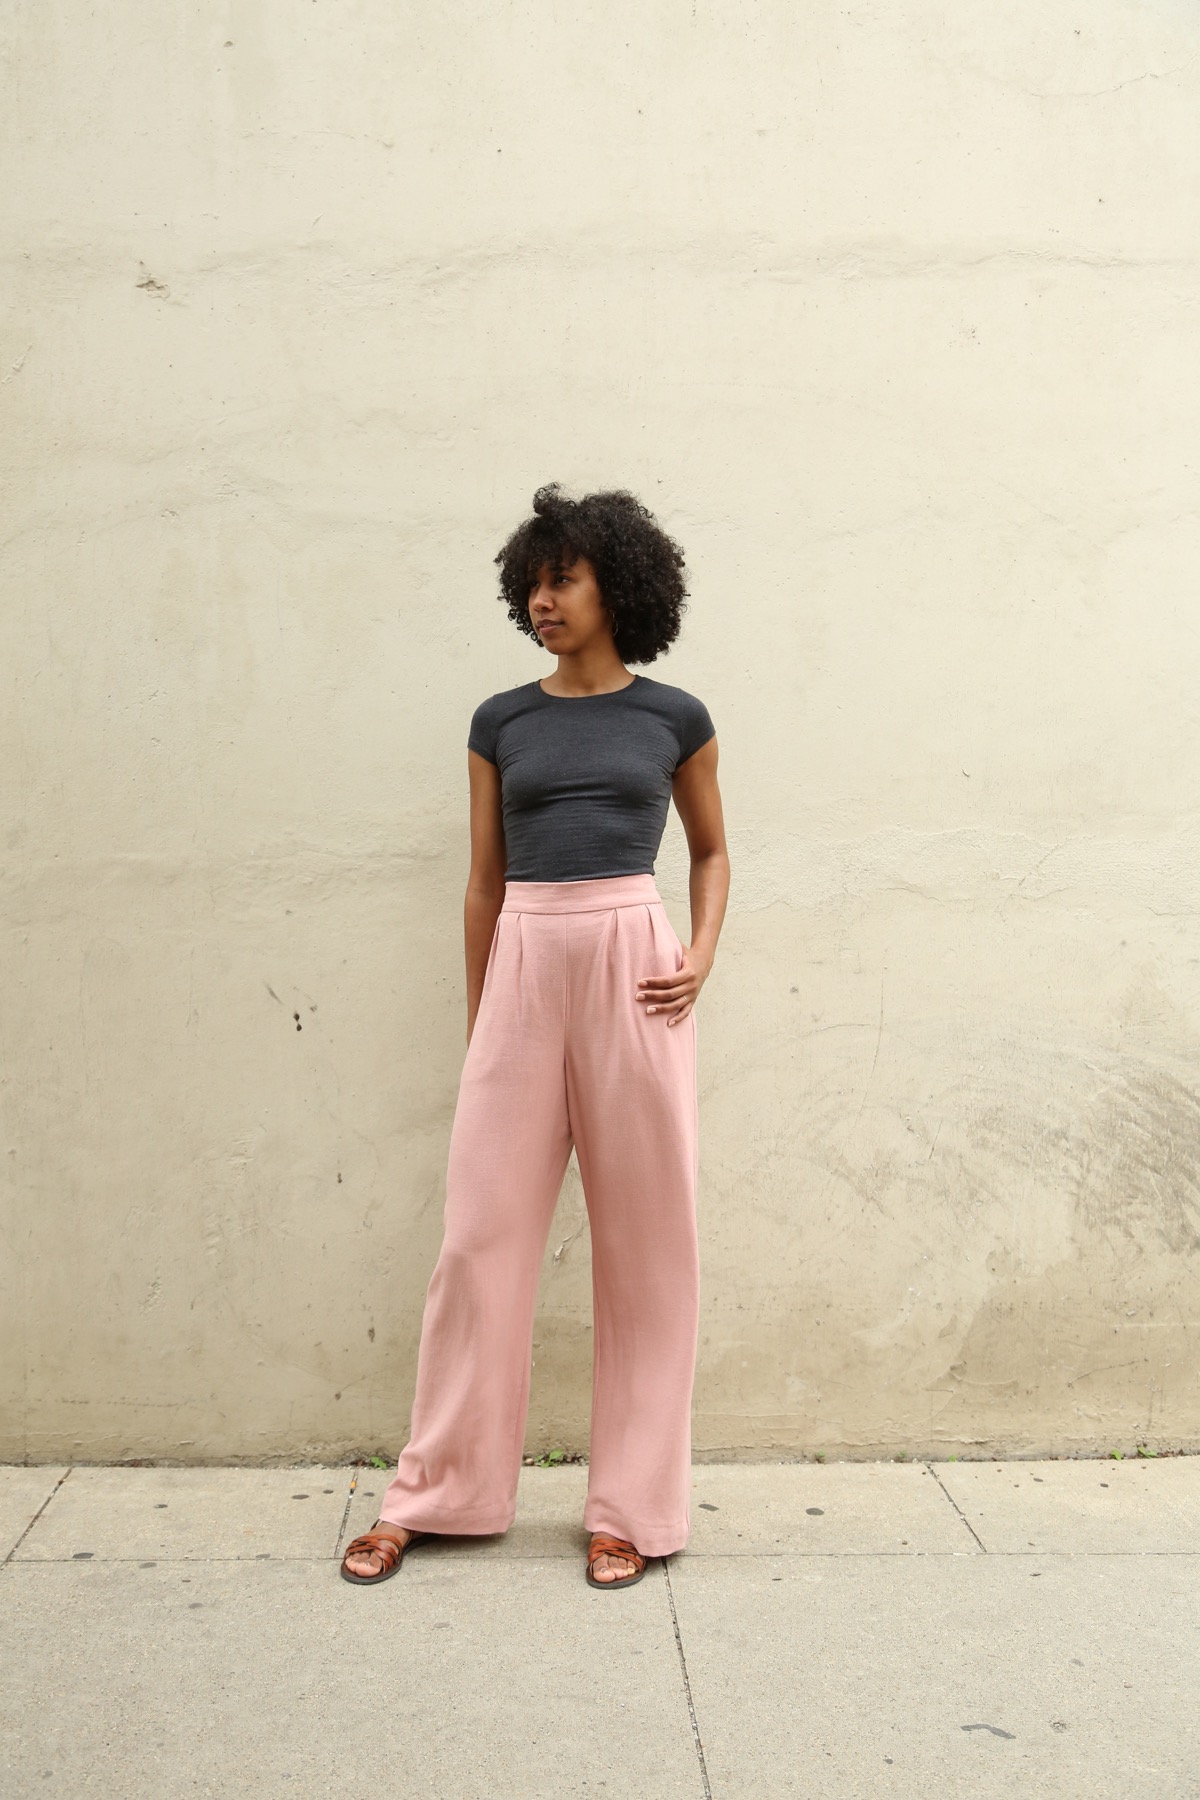
I made her Rose pants with inverted front pleats; this is one of the pleating options offered in the pattern instructions.

As far as adjustments: I added 1/2" to both front and back rise, and 2" to the length, based on comparing her inseam, outseam and rise measurements to the finished measurement chart in the pattern (note: there is an "adjusting fit" section included in the pattern which goes into detail on how to add length to both rise and length in the pattern instructions if you're interested in how to do this). For reference, Cassie is 5'9.5" - though I want to be careful to point out that height is really not the best indicator of whether you need to add length or rise.
I also graded sizes between Cassie's waist and hip size since they fell into two different sizes on the sizing chart. I want to discuss this briefly because I know that many of you have a smaller waist size than hip size and may be interested in some tips for making this easy adjustment on your own Rose pants.
As with all pant patterns, you should choose your starting size using your hip or largest circumference (size charts for Rose can be found on the Rose page). Normally when blending two pant sizes, you would simply trace from the larger size line at the hip to the smaller size line at the waist. However, because of the way that the pattern pieces are designed for Rose, it can be a bit tricky to grade between waist and hip because that's where the slash pockets are positioned on the front pattern piece.
Instead, I'd recommend grading between sizes on the back pant ONLY, and using the smaller size for both the waistbands (front and back). Then for the front pant, use the larger size, but pleat the front pants down to the size of the smaller waistband during Step 5 (this means making the pleats a bit bigger, which is quite easy to do; just remember to check the front widths carefully after pleating as the instructions remind you). I hope it goes without saying that tracing your pattern pieces is a key part of all of this -- NEVER cut into your pattern printout unless you are absolutely sure!
If you don't like the idea of larger pleats in front, one other option is to gradually shave off a small bit of width from the top corners of the front pant pieces from just above where the pocket meets the side seam to the waist. This will effectively grade between sizes without having to mess with the pocket.
No matter what you do, remember that since Rose is a pull-on pant (or short), you do have to be careful when grading down to a smaller waist size since you risk not being able to pull them on over your hip if the waist is too small.

Making pattern adjustments to custom-fit a pattern to your body is something that takes some patience. I started work on a pant-fitting guide for Rose this spring, and I'll be honest, I got a little overwhelmed trying to put it together before the pattern launched, but I still hope to finish it once I have a bit more work time (summer, y'all!) and make that available soon.
In the meantime, hopefully this gives you an idea of some basic adjustments that are pretty straightforward to execute. It was really fun to experiment with this cute pink pair.

And seeing how excited Cassie was about her new pants was seriously the absolute best. Can't wait to see what she does next (in her fabulous pants. of course)!!
PS. For fabric, I used the same favorite viscose-linen blend we've been posting repeatedly about -- read more in this post!