
Jess' Boatneck Trillium Maxi Dress + how to
Please note: The pattern previously known as “Washi” has been renamed “Trillium.” Read about the name change here. It’s the same lovely pattern, just with a new name!
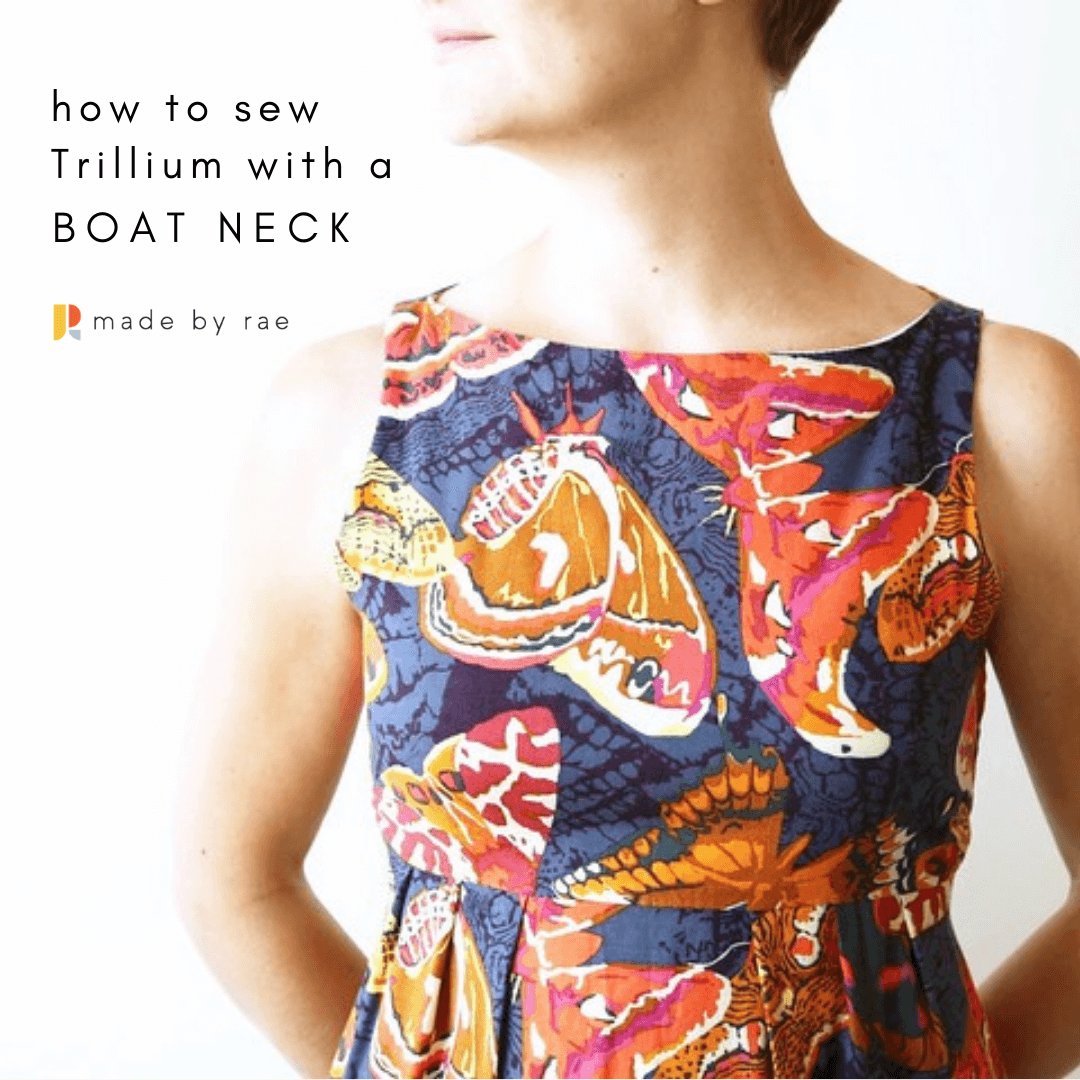
When I posted my boatneck maxi version of this dress a while ago, I promised to share the version that Jess made last summer that inspired me to make mine. This fabric is “Sinister Swarm” rayon from Anna Maria Horner’s Field Study collection of a few years back.

I just love this dress! It’s stunning and flowy and it looks fantastic on Jess. I definitely recommend using rayon if you want to try a boatneck maxi version of Trillium because it makes the long skirt drape nicely in addition to being super comfortable to wear.

If you want to make your own, here’s a quick how-to!
How to make a Boatneck Trillium
You will need:
1 yard of extra fabric if you’re also making a maxi version (optional!)
swedish tracing paper
clear ruler + pencil
Trillium Dress Pattern
First you’ll need to trace a new Front Bodice Piece with the following modifications:
1. Extend the center front (fold) line up 4″ at the top, then square the corner at the top. This corner needs to be 90 degrees so that it doesn’t create a peak or a dip when it’s cut on the fold.
2. Mark the midpoint of the shoulder edge. This will be the new neck edge of your pattern piece. From this point, measure out 2 1/4″ along the top of the shoulder and mark. The new shoulder line will now extend a little past the previous shoulder edge of the pattern.
3. Draw a new armhole and neckline. For the armhole, draw a smooth line that eventually meets up with the original armhole close to the sleeve notch marking. For the neckline, connect the new neckline shoulder point with a curve to meet the center front at a 90 degree angle.
In this photo, the green lines are the original pattern piece tracings, with mods shown in pink.

Next, use the new Front Bodice as a template to modify the top part of the Back Dress, making sure to change the neckline and armhole in the same manner as shown above. You want to make sure front and back match!
Now you’re ready to cut out your pieces and assemble your dress using the Trillium Dress instructions.
To make the boatneck into a maxi, follow my Trillium Maxi Dress Tutorial to lengthen and slightly widen the Front Skirt and Back Dress.
To add a lining, follow the Washi Dress Bodice Lining Videos for instructions on how to use my “sausage” lining method for this. If you wish to line the entire dress, the Maxi Dress tutorial linked above has notes about how to do that (we lined just the bodice for this dress and my Observer maxi dress.)
Even with the added width in the skirt, I’ve found that leaving side slits from just below the knee down to the hem makes walking a lot easier in such a long dress.

I know that’s a ton of details to apply to one pattern modification. Honestly it’s almost entirely a new dress pattern, so I’d really only recommend this if you really feel comfortable hacking patterns and you’ve made the Trillium Dress before! Please leave a comment or send me an email if you have any questions or need clarification. And as always, I love to see what you’re making with my patterns. The #mbrtrillium tag on Instagram is full of awesome versions of this dress!
