
Garnet Dress (with a how-to)


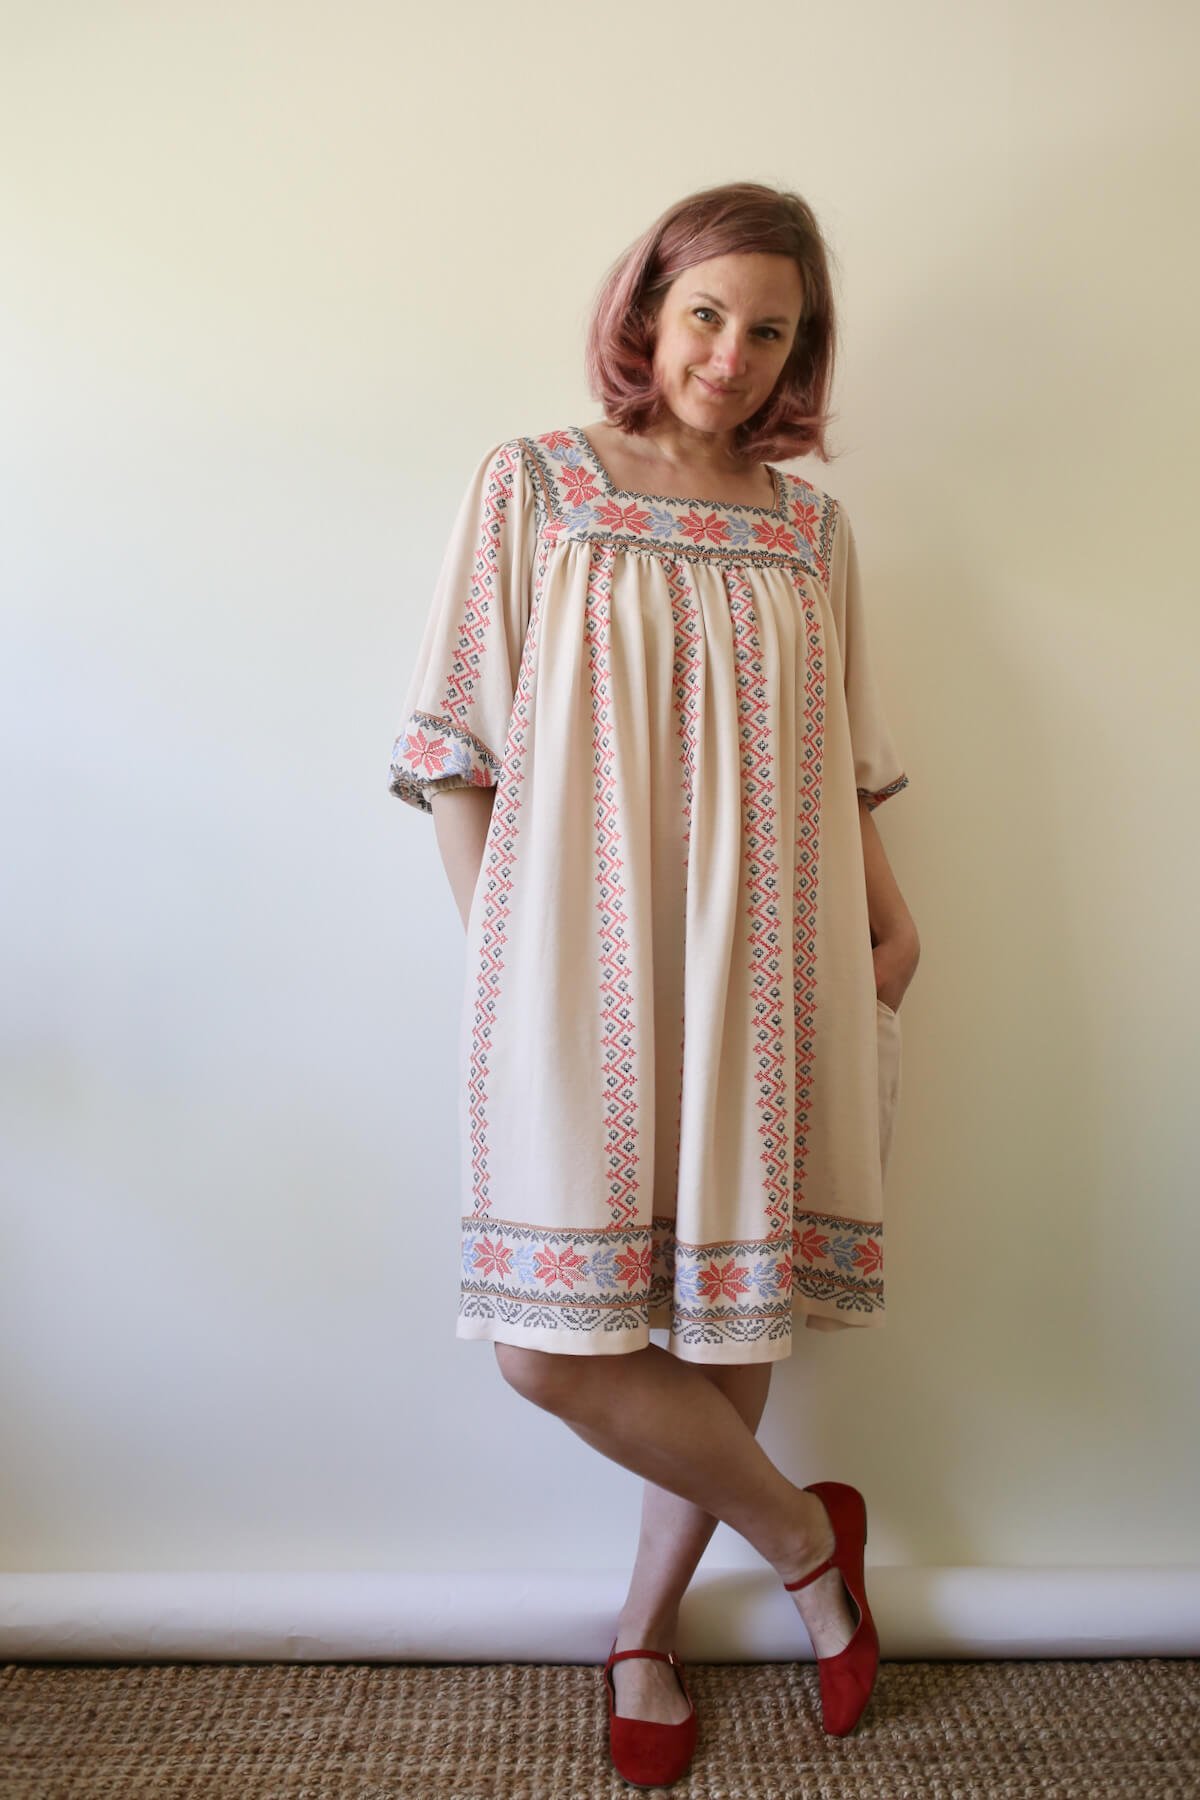
If you were wondering if you can make my newest pattern, Garnet, into a dress, YES! it’s super easy. Here’s one I made last spring out of a lovely rayon deadstock I found at Bolt online (one of my many favorite spots to hunt for good apparel fabrics - bookmark it!!), along with a few notes on how I made mine:

HOW TO LENGTHEN GARNET INTO A DRESS
To lengthen Garnet, simply find your front/back pattern piece, cut it along the “lengthen/shorten here” line, and add 18” to the length if you traced view a, or 15” to the length if you’ve traced view b.
Then cut out your front and back on the fold, and follow the instructions as usual!

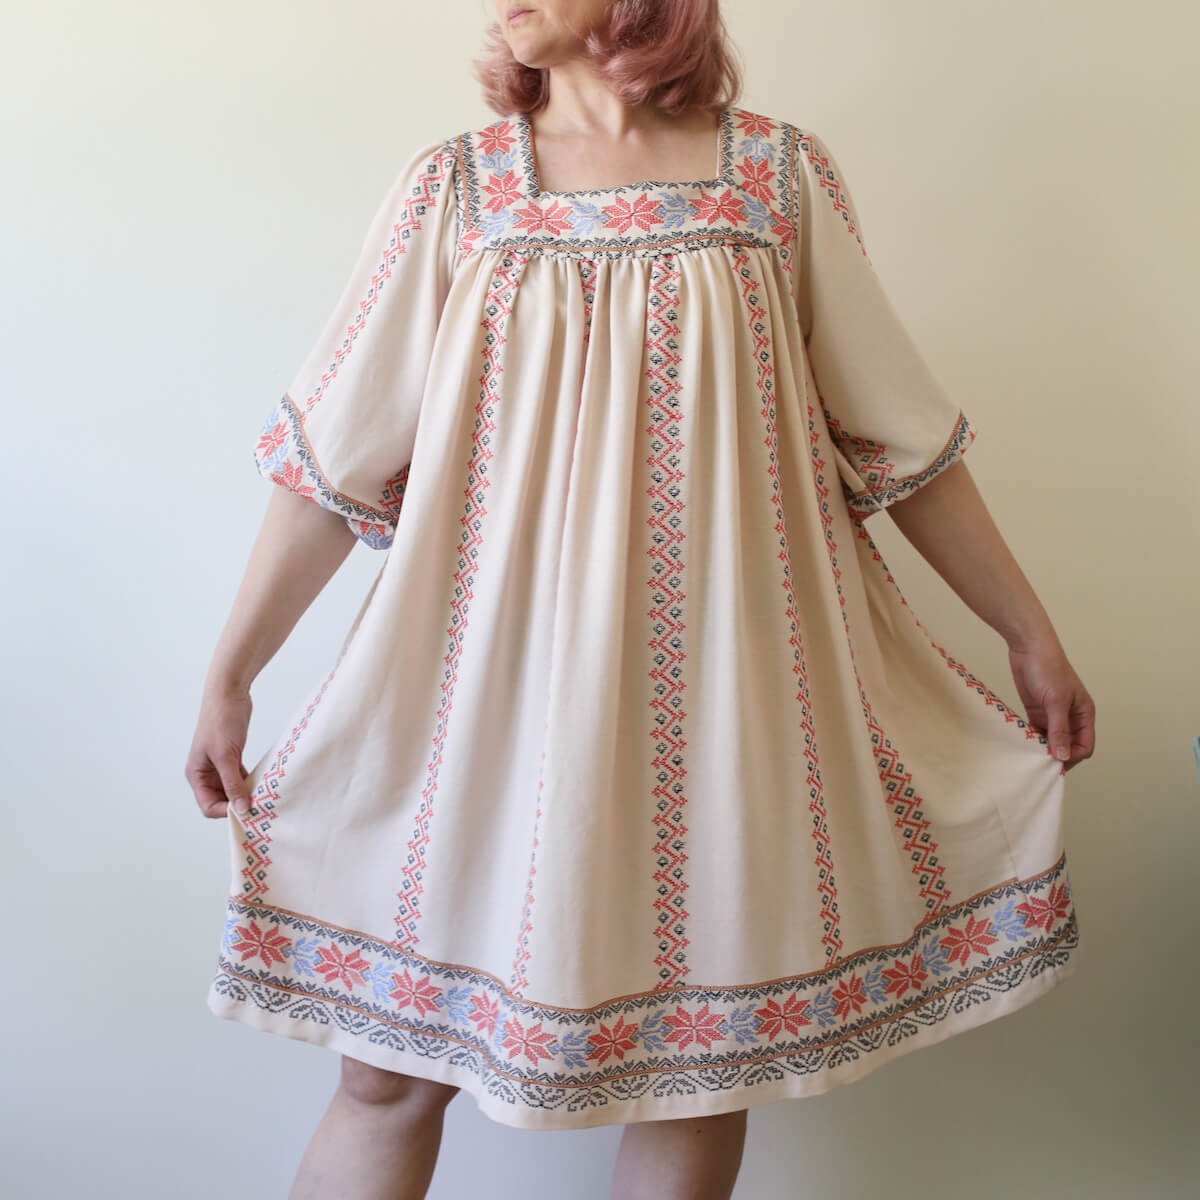
NOTES ON THE PIECED YOKE
I loved the embroidery on this border print, so I wanted to figure out a way to piece the yoke together rather than cutting it all out from one piece in front and one piece in back.
To do this, I drew a diagonal line from corner to corner on each of the yoke pattern pieces (where the seams are in the photo above and below). Then I traced each segment separately and added a seam allowance along the diagonal line (so I had four pattern pieces - front bottom, front side, back bottom, back side).
Then I cut out each of the bottom yoke pieces on the fold (2 pieces, front and back), and cut 2 of each of the side pieces (2 front side, 2 back side), so I had six pieces total, and pieced them together to create a single front yoke, and a single back yoke, and then constructed Garnet as instructed in the pattern instructions.

NOTES ON THE POCKETS
Since it’s a top pattern, Garnet doesn’t come with a pocket pattern piece, but if you have my Trillium, Cleo, or Emerald pattern, you can easily add the pocket piece from one of those patterns. Cut four as usual and follow the instructions given in those patterns to attach them at your prefered height before sewing the side seams.
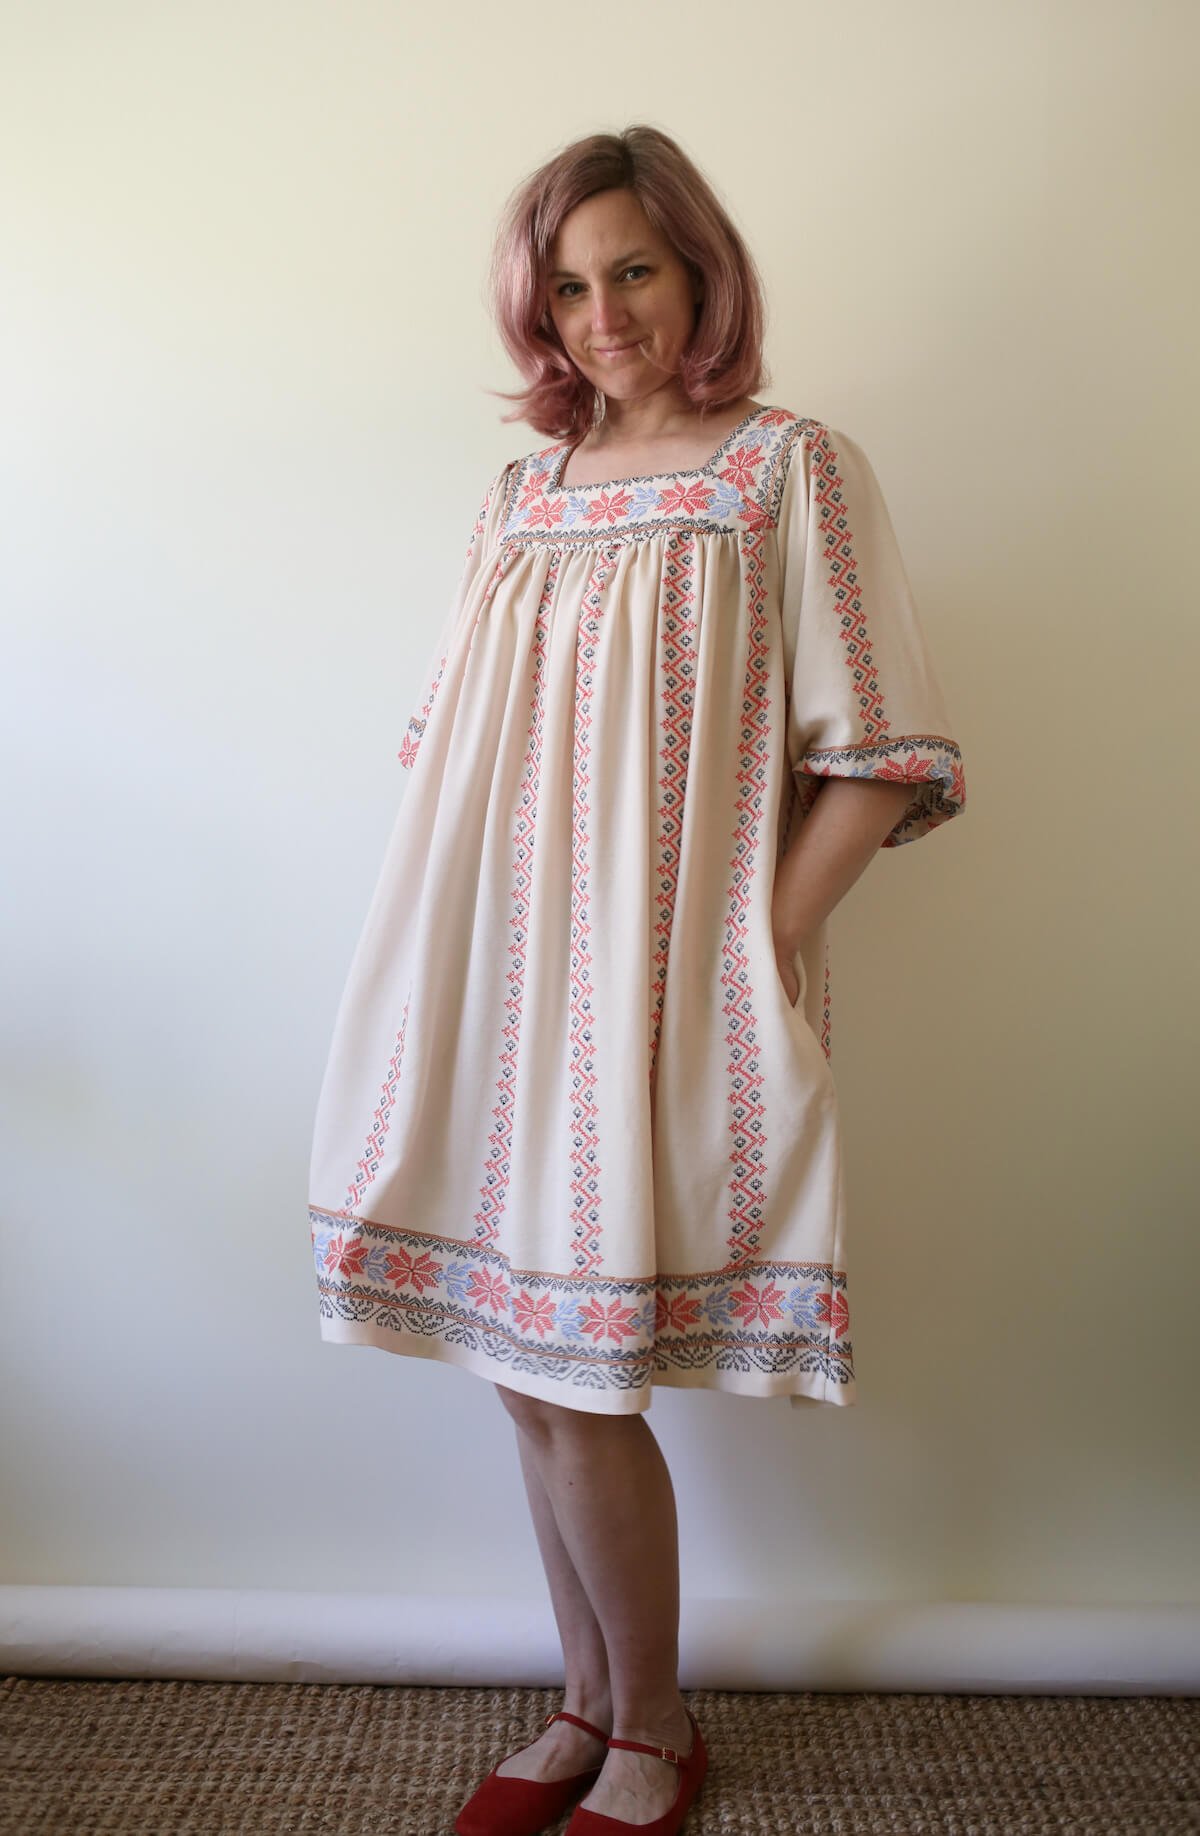
NOTES ON THE WIDTH
I also added 20” to the hem circumference (add 5” at the fold to each of the front/back pieces to add 20” total) because I had a really flowy fabric and a lot of it. If I had been using double gauze or lawn for this dress, it think it would be too voluminous for my taste. As it is, I probably went a bit overboard with the width, but that’s OK…I still love it!
More details about the Garnet pattern, including sizing and yardage charts, can be found on the Garnet Page on my website. You can also find everything you need to make Garnet - check out the “Get Ready for Garnet” post on my blog.
Garnet is available as a digital pattern in my shop, in our extended size range (max 66” chest, max 70” hip).
