
5 ways to combine Ruby and Garnet
Ruby and Garnet are sibling patterns, which means you can mix and match the pieces of these two patterns to create a number of fun variations, just like Jade and Isla. Here are five possible Garnet+Ruby mashup options, along with notes on how to recreate each look, to provide you with ideas for combining these two patterns!
Both patterns feature a yoke attached to a gathered body, but there are a number of differences between the two patterns:
Ruby has a curved neckline, an unlined yoke (though you can use the Garnet pattern instructions to line the yoke if you like), and two length options for the front/back pieces: top or dress. There’s no sleeve in this pattern; rather the armholes are finished with bias binding. The body of Ruby (front/back) has less volume than Garnet, which you might prefer depending on what kind of fabric you are using.
Garnet has a square neckline, a lined yoke, more fullness (volume) in the front/back pieces than Ruby, and a big sleeve, which can be finished with either elastic or a flat cuff. Garnet also has the option to add tucks - something that isn’t shown in this post, but you can see the tucks in the view b pics on the Garnet page (scroll down to the Garnet gallery).
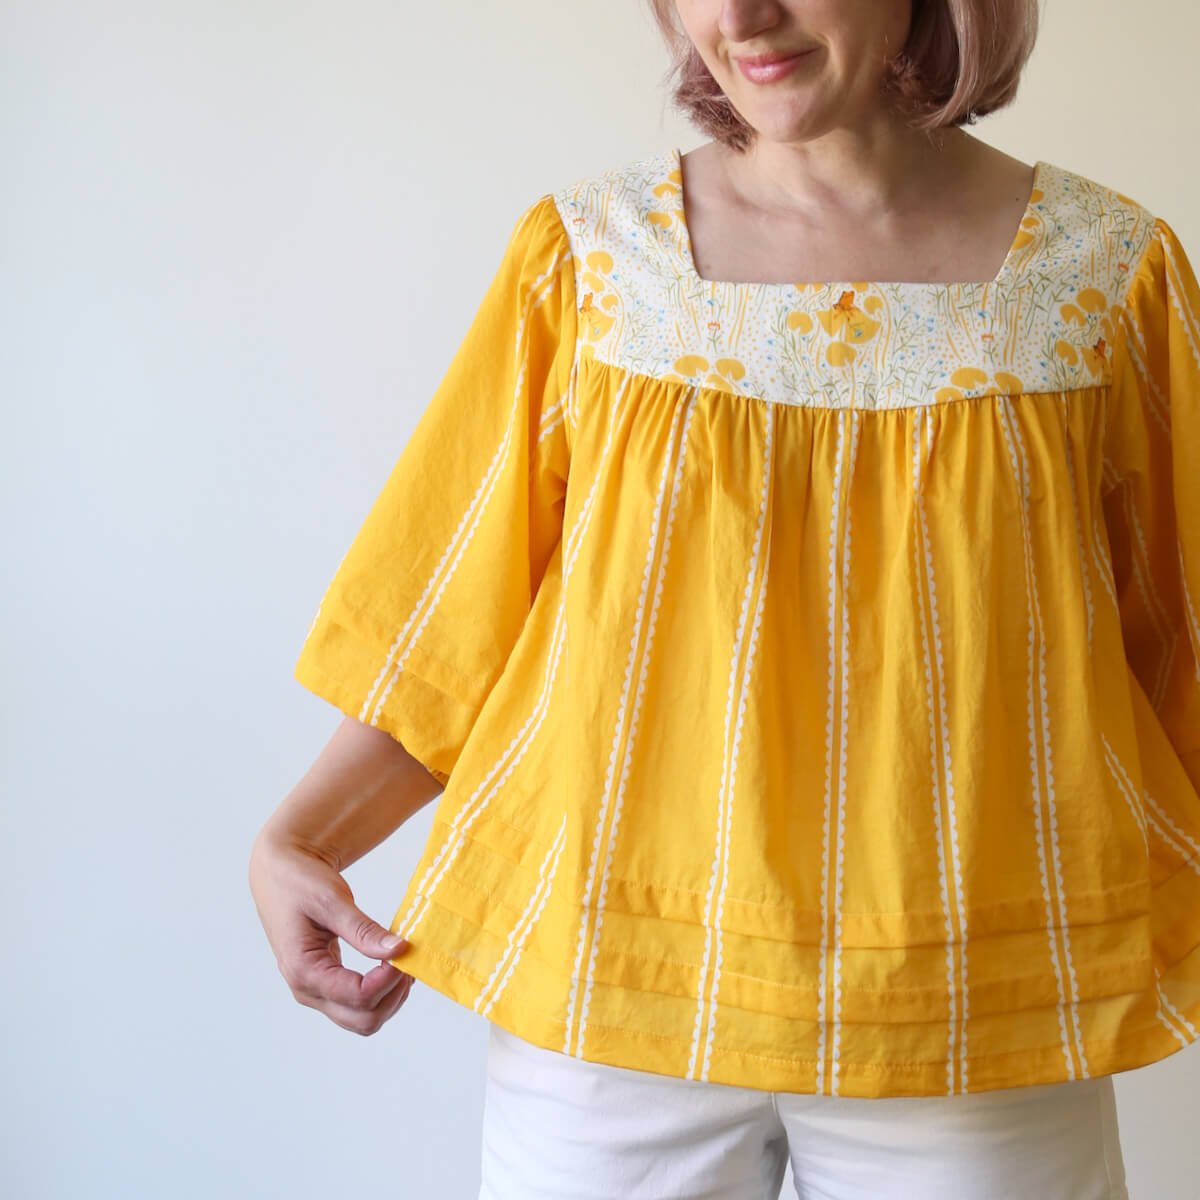
OPTION 1 - Garnet with an unlined Ruby yoke


For both the striped top (above) and the lace top (below), I used the following pattern pieces:
Garnet front/back
Garnet sleeves
Ruby yokes (cut one of each for a single layer yoke - finished with bias tape)
To construct it, follow the Ruby instructions, adding the gathered Garnet sleeve after Step 4. See how to gather and attach the Garnet sleeve in Step 7 of the Garnet pattern instructions.
For the striped version, I used a flat cuff piece to finish the sleeve — you can use the cuff pattern piece from Garnet - but make it 1” narrower if you want it to look like mine here. I did skip interfacing though and you can kinda tell (it looks a little wobbly in the photos), so I don’t recommend skipping that step!
For the lace version, I attached pre-gathered eyelet to the outer edges of the yoke — you can see a photo of it in-progress in this post if that helps. I also lined the front and back (cut a second front and back out of lightweight batiste, sewed the sides together and then gathered it as one layer with the lace front/back before adding it to the yoke). I also also added 3” length to the sleeves and 1” to the front/back pieces, and then folded up 2” at the hems and ends of sleeves to create the more dramatic hems.
-> see more pics of the striped version here and the lace version here <-


OPTION 2 - Garnet with a lined Ruby yoke


This is similar to the versions above except that rather than finishing the yoke with bias binding, you cut two sets of Ruby yokes instead of one, and then follow the Garnet yoke instructions (burrito method, y'all!!) for the lined yoke. Here are the pieces you need for this one:
Ruby yokes (cut two of each, front and back)
Garnet sleeves
Garnet front/back
To construct this version, you simply follow the instructions for Garnet but swap in the Ruby yoke pieces. I finished the sleeves with the elastic cuff for this version using the instructions from the Garnet pattern.
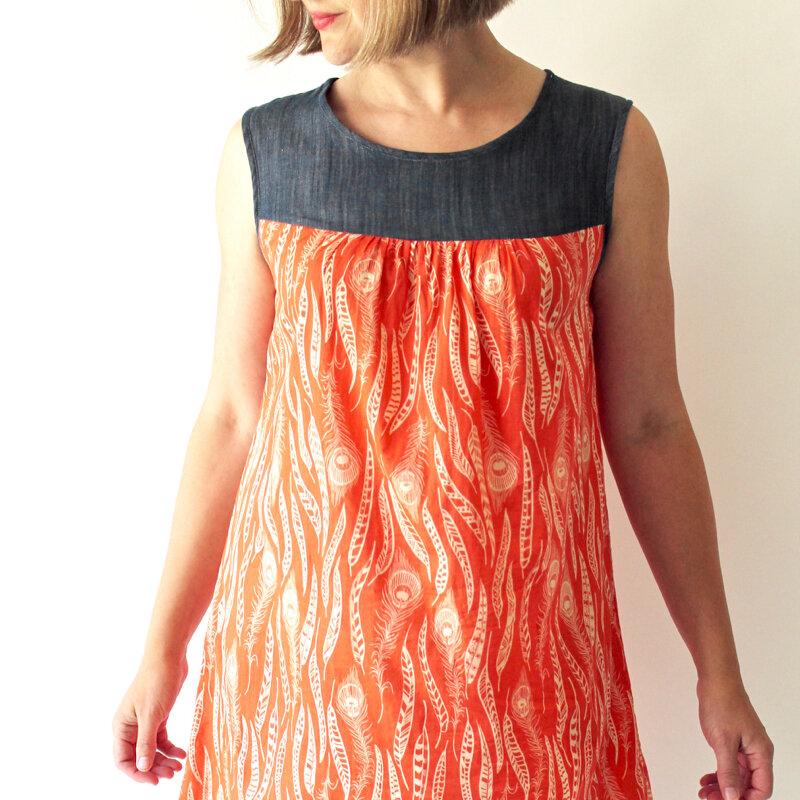
OPTION 3 - Ruby with Garnet sleeves and A lined yoke

For this version, Amy wanted a dress-length Ruby with a lined yoke and the Garnet sleeves and cuffs, so she cut the following pieces:
Ruby yokes (cut two of each, front and back)
Ruby front/back
Garnet sleeves & cuffs
Once you’ve cut out your pieces, you simply follow the sewing instructions for Garnet (substituting the corresponding Ruby pieces where applicable) to construct this version.
OPTION 4 - Ruby with Garnet sleeves and an unlined yoke
Ok, so technically I’m cheating a little here because the sleeve shown here in the photos is actually the Trillium sleeve (which you can get for free via this post), but just imagine that you could add the Garnet sleeve to this version for a fuller sleeve with the less-full Ruby body pieces and yoke.
Like Option 1 above, this variation skips the somewhat-tricky yoke lining method (BURRITO!) and hence is one of the simplest way to combine the two patterns.
For this version, cut out these pieces:
Ruby yokes (cut one of each for a single layer, finished with bias tape)
Ruby front/back (top length is shown)
Garnet sleeves
Follow the Ruby instructions for construction, adding the gathered Garnet sleeve after Step 4. See how to gather and attach the Garnet sleeve in Step 7 of the Garnet pattern instructions.


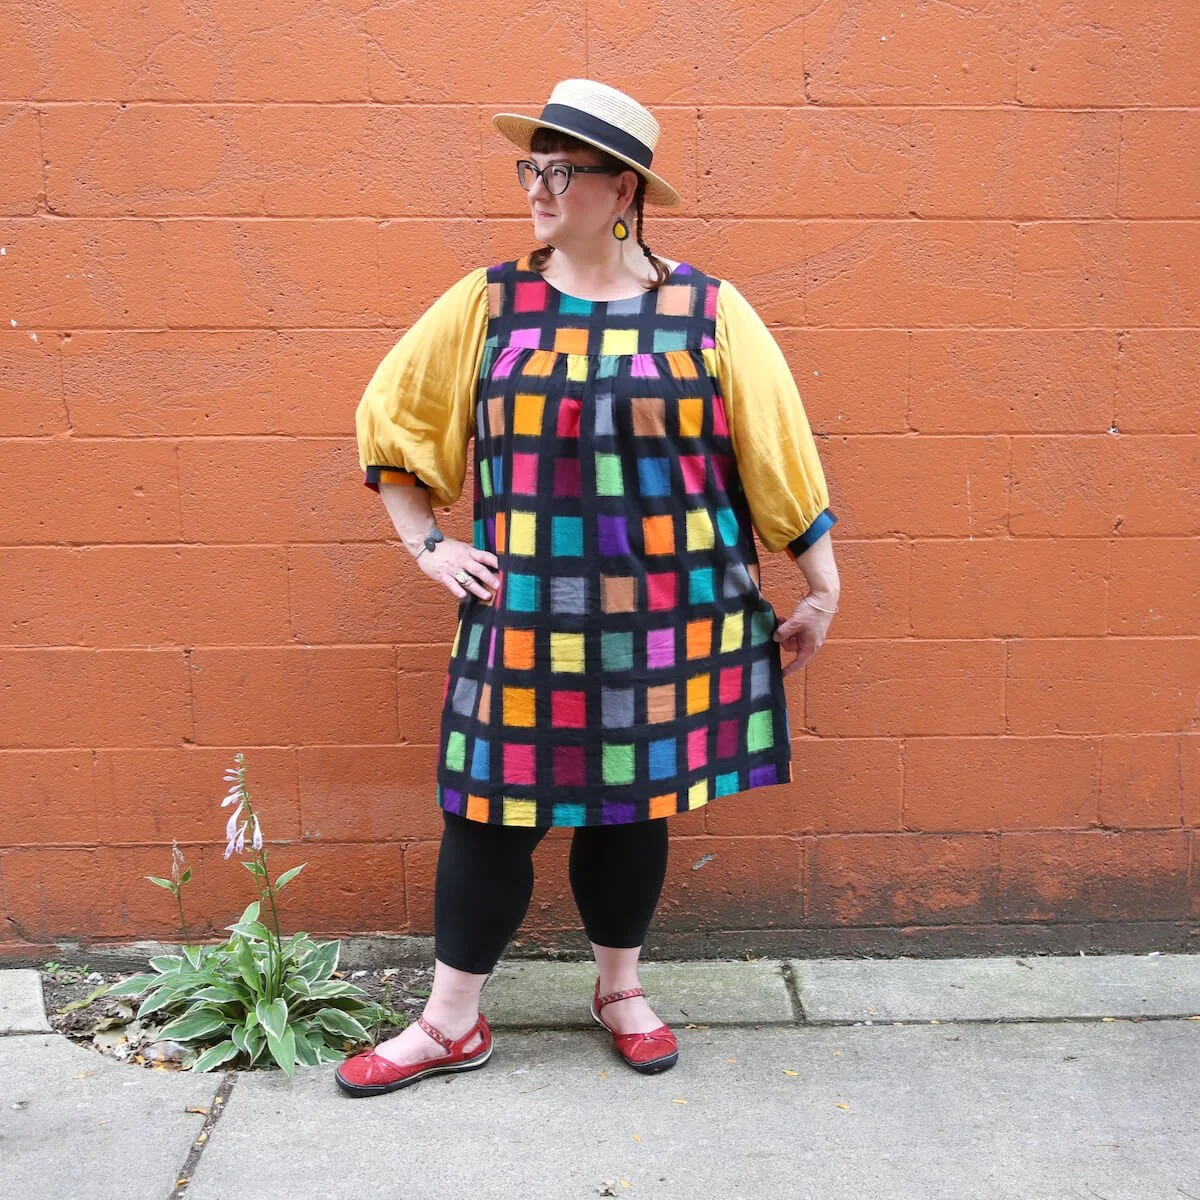
OPTION 5 - Garnet yoke and sleeves + Ruby DRESS

For this gorgeous owl-y version, Amy cut out everything from Garnet except for the main body (front/back) pieces, which she cut out the dress length:
Garnet yokes
Garnet sleeves and cuffs
Ruby front/back - dress length
To construct, follow all steps for Garnet except swap in the front/back for Ruby.
One last note:
You may have noticed that of the variations in this post, I didn’t include a Garnet without sleeves, or a Garnet with an unlined yoke. This is because Garnet’s square neckline necessitates a lining (though it’s possible you could use bias tape to finish the square neckline? I haven’t tried it!), and that makes finishing the armholes a little bit more tricky without a sleeve.
BUT! in my How to sew Ruby with a lined yoke video series, I do show how to finish both the neckline and outside edge of a lined yoke, and if you’re feeling ambitious and want to make a Garnet without sleeves, it’s definitely possible!! Send me your results if you can - I’d love to see it!!
Special thanks to Amy Cameron @modernpearlco for helping me test and model Ruby and Garnet, and for her enthusiastic experimentation combining these two patterns.
GET THE PATTERNS
Currently these two patterns come in digital format with layered print at home and copyshop (and soon projector!!!) files in size A-N (including plus sizes), designed for max bust 66” & hip 70.”
Would be amazing to be able to print (or reprint, in the case of Ruby) these patterns? Of course! But pattern sales have been down the past few years so please consider BUYING A PATTERN AND SUPPORTING MY WORK so I can make that happen!! Thank you!!
Another way you can support my work is by sharing your photos online - be sure to tag me @madebyrae, and add the tag #MBRruby or #MBRgarnet if you make either of these patterns.