
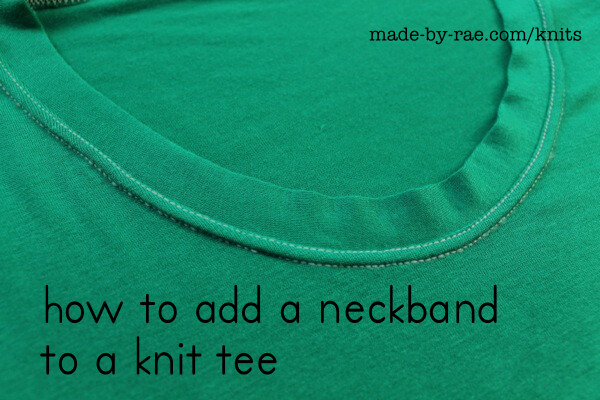
Knit Necklines Part I: Adding a neckband to a tee
Along with hemming, I think finishing knit necklines might be one of the more difficult techniques to master when making clothes from knit fabrics. So I’ve made three different knit neckline finish tutorials for you! This one — adding a standard knit neckband — will be the first of the three. This happens to be the default way the neckband is finished in my Flashback Skinny Tee sewing pattern, though that pattern also includes a few other alternate neckline finishes as well. I think you’ll find that this will work for pretty much any knit tee with a round-ish neck hole (in other words, you would need to modify this for a v-neck or boatneck tee).
Array
I also want to say that my sample necklines in the photos are by no means perfect (see the ripples at the bottom portion of that neckband above??), so I'll try to talk about what I could have improved as well...sometimes it's good to show and talk about mistakes, right? That's how we learn!! And actually, this tee looks totally fine when I wear it because it's fitted, so the neckband ends up stretching out perfectly when it's on my body.

knits
First, let's make sure you're ready to sew:
put a ballpoint or stretch needle in your machine
stitch length is set to a slightly longer straight stitch
I HIGHLY recommend stretch thread (be sure to read my post on stretch thead if you haven’t already!). If you can’t rustle up some stretch thread, set your machine to a long-ish narrow zig-zag stitch (so: stitch length somewhere between default and basting, stitch width close to 0) and use a standard polyester thread in your machine.
Start by sewing the tee together at the shoulder seams (I also went ahead and sewed the sleeves and side seams too, but you really only need to do the shoulders before you finish the neckline.
Step 1: Measure neckline and cut out neckband

Array
Measure around the neckline with a measuring tape. Now you'll need to cut out a neckband that will be a bit shorter than that number, because we want the neckband to stretch a bit to fit the neck hole, otherwise it will look stretched out. My general rule of thumb is to cut the neckband about 2-3" smaller than the neck hole circumference. As far as width, I usually cut it 1.75"-2" wide.
This neckband is 1.75" wide by 20" long, because my neckline measured 22" around. In retrospect, it could have been a little bit shorter and worked, because it was a super-stretchy knit and as you can see, the bottom of the neckband ended up being a little loose, hence the ripples. The thing is, there's no SET RULE for how long to make a neckband, because it has a lot to do with how stretchy your knit is (I know, frustrating!!), but I find it helps to gently walk the neckband around the neck hole, stretching it slightly as you go, and see how long it needs to be that way.
VERY IMPORTANT: Cut the neckband so that the length of the neckband runs in the direction of most stretch, or from selvage to selvage. This direction of stretch is perpendicular to the grain. AHEM I messed up and cut this one out along the grain, which is another reason it looks a little weird at the bottom. Again, not trying to be nit-picky, just want you to learn from my mistakes!
Step 2: Sew the neckband ends together and press it in half

Array
Now sew the ends of your neckband together with a 1/4" seam, then press that seam apart. Now fold the neckband in half along it's entire length, so it's a double layer, and press that fold to create a crease down the middle of the neckband.
Step 3: Attach the neckband to the tee

Array
Pin (or use Wonderclips, as I did in the photo here) the neckband through both layers to the RIGHT SIDE (outside) of the tee around the neck hole. The two raw edges of the neckband should be lined up with the edge of the neck hole, and you should stretch the neckband out around the neck hole as evenly as possible. Remember, your neckband should be shorter than your neck hole, so you want it to be evenly spread around the neck hole, but it won’t fit perfectly.
Hint: If your tee is a scoopneck, try to stretch it out a bit more at the curviest places (at the bottom, for instance), and less where the curves are less pronounced. If your neck hole is pretty much a perfect circle, you can fold the neckband in half to mark center front/back and the two side midpoints, then fold the neck hole in quarters and mark those, then match those points up and then stretch the neckband between them.

Array
Now sew the neckband to the neck hole with a 1/4" seam. Remember that you'll be sewing through THREE layers, the two neckband layers + the tee, so keep all edges even as you go. It's also a good idea to stretch everything out just a little bit as you sew, so that the neckband matches up with the tee. I don't recommend using a walking foot on your sewing machine for this, because it can make the stitches pretty tight, which will make it harder to pull the neckband over the head.

Array
Step 4: Press neckband away from neck hole and finish if desired

Array
The last step is always to press it. DO. IT!!! It will always look better once its pressed! I also took a double needle and sewed around the entire neckline seam, which has the advantage of finishing the inside as well with that nice zig-zag stitch from the bobbin. Topstitching with a single line of stitches also looks very nice.

Array
Voila! Beautiful neckband!!! Tune in next time for a bias-bound neckline!

Array