
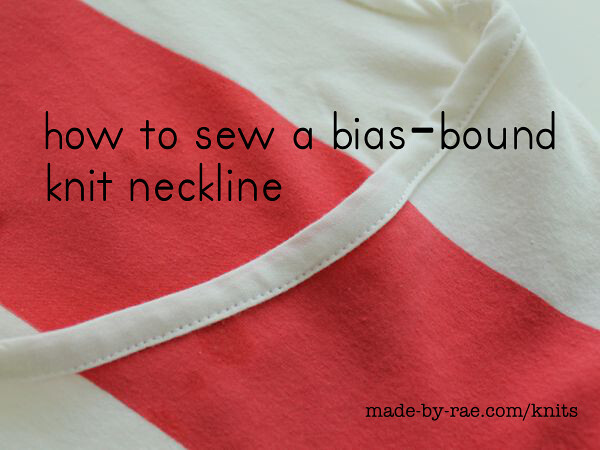
Knit Necklines, Part II: Bias-bound
Array
Today’s Knit Necklines tutorial will show you how to finish a knit neckline with a strip of knit fabric. This is a standard knit edge finish that you’ll find is very useful for more than just necklines! I also recommend that you also read yesterday’s tutorial on adding a standard knit neckband if you haven’t already.

knits
First, let’s make sure you’re ready to sew:
put a ballpoint or stretch needle in your machine
stitch length is set to a slightly longer straight stitch
I HIGHLY recommend stretch thread (be sure to read my post on stretch thead if you haven’t already!). If you can’t rustle up some stretch thread, set your machine to a long-ish narrow zig-zag stitch (so: stitch length somewhere between default and basting, stitch width close to 0) and use a standard polyester thread in your machine. In this tutorial I used stretch thread for all of the stitching shown (except for serging the tee together before I began), so if you use regular thread you’ll need to use the zig-zag stitch instead.
Start by sewing the tee together at the shoulder seams (I also went ahead and sewed the sleeves and side seams too, but you really only need to do the shoulders before you finish the neckline).
Step 1: Measure neckline and cut out knit “bias strip”

Array
I put “bias strip” in quotes here because with knits, you don’t actually have to cut the strips on the bias, because it already stretches so much, but this way of attaching the strip to the neckline is very similar to finishing a neckline with woven bias tape, so I’m calling it “bias-bound” even though there’s no bias involved. Maybe there’s a better name for it, but I can’t think of one right now.
For woven fabrics, when you’re making a strip of fabric to bind a neckline or armhole, you cut the strip on the bias (diagonal to the grain) because that makes it more stretchy and creates a smoother finish around your neck hole. But with knits, you really just need to cut the strip of fabric you want to use in the stretchiest direction on the fabric, which is across the fabric from selvage to selvage. This is called the “direction of stretch” and is perpendicular to the grain. SO REMEMBER: CUT OUT YOUR KNIT STRIP ALONG THE DIRECTION OF STRETCH as shown in the image above!
A note about fabric selection: I think you’ll find that you like this finish best when you use a thinner, stretchier knit for the bias strip. Rib knits are great as long as they aren’t too thick; jerseys can also be nice for bias finishes as long as they have a good deal (at least 50%, but 100% is even better) of stretch. My personal preference is a lighterweight 1×1 rib knit.
How long? Cut the strip as long as your neck hole. You won’t need the whole length but it’s easiest just to start with this much.
How wide? I like to cut my knit bias strips at last 1.75″ wide; this makes a finished width of about 1/2.” I don’t usually cut knit bias any wider than 2.”
Step 2: Attach the knit strip to the inside (wrong side) of the neck hole with a 1/4″ seam

Array
Beginning at a shoulder seam and folding over the end by about 1/4,” sew the strip to the neck hole with a 1/4″ seam. The RIGHT side of the knit strip should be facing the WRONG side of the neck hole. As you go, gently stretch out the strip of knit out a bit (but not too much!).
DISCLAIMER: This is a stretch-as-you-go technique that I tend to prefer because it’s faster than sewing the ends of the strip together, stretching it out around the neck hole evenly, and then attaching it with the ends already sewn. But I will readily admit that this takes a bit of practice to get the stretch just right. If you stretch too little, the neckline will look stretched out when you’re finished. If you stretch it too much, you’ll get a gathered look around the neckline. If you’re unsure, try walking the knit strip around the neckline while stretching it gently, cut the strip to the length you want (plus a seam allowance at each end), sew the ends together, press the ends apart, and then attach it with a 1/4″ seam by pinning/clipping it to the neckline first, as shown in yesterday’s tutorial.
Step 3: Overlap the ends

Array
When you get back to where you started, overlap the ends of the strip by 1/4" - 1/2" and trim the rest of the knit strip away. Again, I will say that while this is super fast and quick, it also makes for more bulk at the endpoints than if you would take the time to sew the ends of the strip together as discussed in the previous step, so you might want to try that instead if you're finding that your knit strip is too thick to get a nice fold at the starting/ending point.

Array
Step 4: Press it!

Array
Use an iron to press the entire knit strip away from the neckhole, and then fold and press the top edge 1/4" under, towards the wrong side, around the entire strip.
Step 5: Stitch the bias strip down to enclose the neckline

Array
Fold the bias strip in half so that the pressed-under edge just covers the original neckline seam and pin in place around the entire neck hole. Then stitch it down along the fold; this is called "edgestitching."
Array
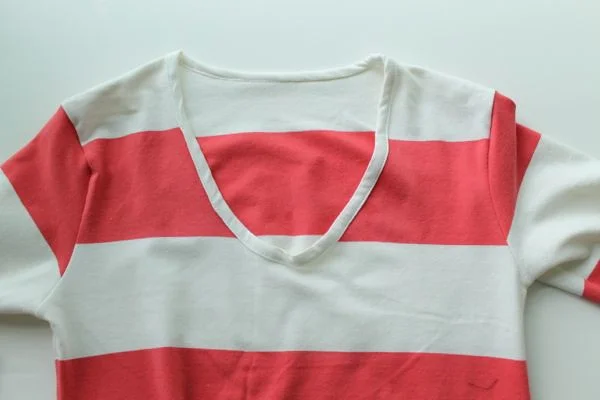
Voila! Beautiful bias-bound knit neckline!!! Tune in next time for another bias-finished neckline, but this time it’s inside the garment! PS. You can see pics of this tee on me in my Two Knit Maternity Tops post.

Array