
Cleo Skirtalong Day 4: Attach waistband

Cleo skirtalong Day 4 / attach waistband
Welcome to Day 4 of the Cleo Skirtalong! If you’re just joining us, see all of the skirtalong posts here.
Today we’ll gather the front skirt, sew the waistband together, attach the waistband, and close the back waistband.
Step 4. Gather front skirt
Set your machine to longest stitch length possible and tension to highest setting. On FRONT SKIRT ONLY, sew two lines of stitches on the wrong side of the front skirt, 3/8″ and 5/8″ away from the top edge. Leave long tails on the ends of your thread so they will be easy to pull for gathering.

Cleo skirtalong / attach waistband
Remember: just the FRONT SKIRT, not the back skirt!
And here’s a hint: if you have elastic thread, you can use shirring to gather the front of the skirt! That’s been my recent gathering shortcut, my friends, because, I’ll be honest, I don’t love gathering. I set my stitch length to about 4mm (my machine goes up to 5), hand-wind elastic thread on my bobbin, and stitch just as if I were gathering. Shirring makes it SO much easier to distribute the gathers evenly. Check out my Shirring Tutorial for a more detailed how-to.
Step 5. Prepare waistband
Sew the front and back waistbands together along their short ends. You’ve already pressed the center crease and the bottom edge up, but make sure you sew these together unfolded. Press the seam allowances open.

Cleo skirtalong
Step 6. Attach skirt to waistband
With skirt right side out, place waistband over the top of the skirt with right sides together, pinning them together at notches and side seams (so your waistband will be inside-out for this). Pull gathering threads until front skirt is same width as front waistband. Distribute gathers evenly and finish pinning.

Cleo skirtalong / attach waistband
Sew the waistband to skirt with gathers on top. Since you need a 1/2″ seam, it’s easiest to sew right down the middle of your two rows of gathering stitches.

Cleo skirtalong / attach waistband
Press seam allowances toward waistband, press waistband away from the skirt, and remove any visible gathering stitches with your seam ripper. If you used the tension trick I mentioned earlier to gather, you’ll find it’s super easy to pull these out if you pull them from the wrong side.
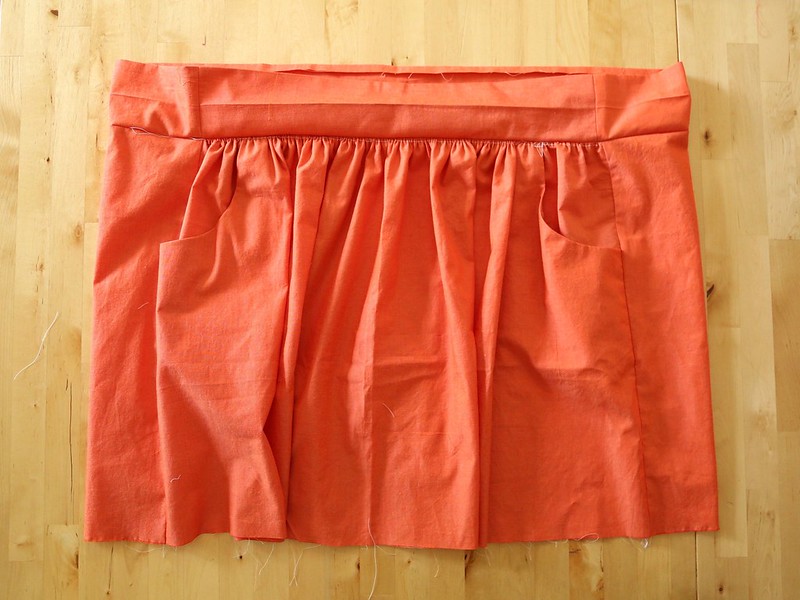
Cleo skirtalong / attach waistband
Step 7. Sew back waistband casing
Fold the back waistband (JUST THE BACK!) down toward the inside of skirt along its center foldline so the bottom folded edge lies 1/8″ below waistband seam. Pin it in place (Hint: I find it works well to pin it from the outside right along the seam line, catching the edge underneath). Then stitch in the ditch from the outside of the skirt, catching folded waistband edge to form an elastic casing.

Cleo skirtalong / attach waistband
VERY IMPORTANT: Sew ONLY the back waistband shut; leave the front waistband open so we can add the elastic tomorrow!
Only one more day left! Tomorrow we’ll add the elastic and finish the hem.
Questions or comments? Leave them here on the blog, or join the conversation on Facebook or on Instagram! And we’d love to see your photos (use the #cleoskirt tag)!