SPRING TOP WEEK Day 2: Rae's Smashing Smock Muslin

First, let me make sure everyone knows what a muslin is. It's basically a trial version made out of cheap fabric (hence the name) to make sure a pattern fits correctly before you cut into the fabric you really like. Since I started purchasing designer fabrics a few years ago, I've wasted too much of it to think about on tops that didn't fit quite right. As a result I've started accruing cheap fabric to make muslins with. My secret source for muslin fabric is Urban Outfitters' "bedspreads" (although I have yet to see one used as such); every so often they go on sale, and for about $20 or less you can get roughly 6 yards of fabric in really cute prints. That's a little over $3/yd for those keeping track, still pricier than buying plain muslin, but much more wearable if you end up liking attempt numero uno of what you're making. The downside is that it's pretty rough material, certainly not smooth or anything, but the loose weave actually gives it a good drape and softness which is nice for garments. I've noticed that many of you have also been using thrifted sheets as muslins, an idea which I would gladly steal had I a decent source for thrifted sheets.
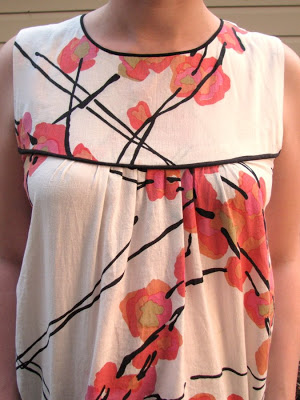
 You can truly see the muslin quality of this garment above; that ginormous gather on the right was NOT intentional; if I had known how much I would like this finished product I would have spent more time evening out the gathers. Oops. Throw this one back on the pile!
I used store-bought piping around the top pieces. I *heart* piping. It makes everything look automatically snazzy. I get the impression that it scares some people, but really, how hard is it to baste it around the edge of a pattern piece before sewing it to the next one?
Quick Piping Tip: store-bought piping has a 3/8" edge (the part you sew on), so I usually go around my pattern piece and mark off 1/4" first. Then I place the piping along that line and sew it down; this positions it at exactly 5/8" (quick remedial math lesson: 1/4 + 3/8 = 5/8), which works for any pattern which calls for 5/8 seam allowance.
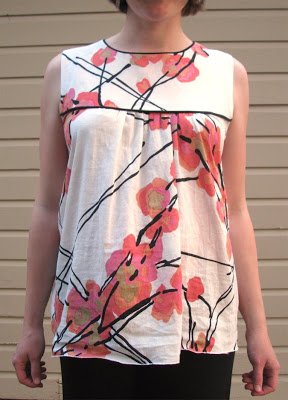
Pattern: Unless you've been living in a hole you've been seeing Anna Maria Horner's Seams to Me all over craft-blogland. This Smashing Smock pattern is pretty great. You may have noticed that more than a few of the Spring Tops this week have been Smashing Smocks. One thing I and others have noticed is that the sizing is a little small; I added a few inches of width to the pieces to make it fit.
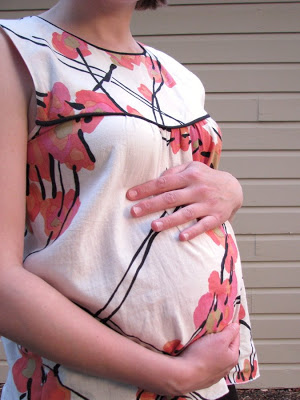
Modifications: I can't leave a pattern alone, I just have to tweak it. This time (and on the designer-fabric version you'll see later this week) I curved the bottom of the bodice piece by adding 2 inches to it's bottom center and cut a curve instead of a straight line across to the original corners. I cut out the same amount from the top of the bottom pieces. The end result is not that noticeable, but I like the look the curve creates. And here it looks even more curvy:

Look at that belly! All 26 (28?) weeks or so. I don't actually know if that's right...second child laziness all the way, baby! I'm already slacking by taking less pictures of this belly than the last belly. Poor child.
My goal for this week was to make a few tops that could potentially function as maternity-wear, while still working as normal tops as well. I think this top will work great for both!

