
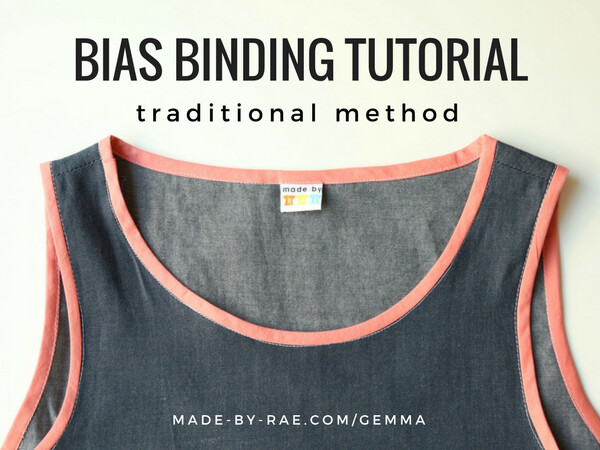
Bias Binding Tutorial (traditional method)
bias binding traditional
You will need:
1.25" wide bias binding* (see my handy tutorial to make your own)
a garment with an unfinished neckline and/or armholes
iron + ironing surface(optional) clear quilter's ruler
your sewing machine
*also called bias tape or bias strips
Step 1. Press 1/4" under along one edge of your binding
Using your iron, carefully press 1/4" towards the wrong side along one long edge of your bias binding. If you're new to using bias binding, you may want to have a clear ruler handy to help you figure out how wide 1/4" is. This is something that goes slow at first, but will go faster and faster once you get the hang of it. You can see the bias binding in the photo below has one edge folded under by 1/4."
Step 2. Make sure you have enough
Take your garment and make sure you have enough length to go all the way around your neckline and/or armholes. (Note: for this tutorial, I will use the neckline.) Notice that I'm also checking to see where the seams in my bias will land on the neckline. This is important; since this binding is visible from the outside, you want to try to position your bias binding so that the seams don't land in the very middle of the neckline. I often trim the binding before I begin so the seams will land where I want them to.

Made By Rae Standard Bias Binding
Step 3. Staystitch
If you haven't already, staystitch the neckline and armholes. Use a regular stitch to sew around the openings 1/8" away from the edge. This will prevent the edges from stretching out when you add the binding.
Step 4. Fold under the starting end
Take your binding and fold the end of the bias binding 1/4" toward the wrong side, and place it at one of the shoulder seams. Note that the folded edge you pressed in Step 1 is on the left side, and the unfolded edge is on the right. If you are binding an armhole, use the side seam as a starting point.

Made By Rae Standard Bias Binding
Step 5. Sew!
Keeping the edge of the garment lined up with the edge of the bias binding, sew them, right sides together, together using a scant (that means just a hair under) 1/4" seam allowance. For my machine, this is not the same as where the edge of my presser foot is, so I have to keep a close eye on the marks on the throat plate to make sure I don't go over 1/4." It's really important to go slow, keep the edges even, and not go over 1/4." I don't pin, and I don't try to stretch the bias out as I sew; maybe just a tiny bit to get the bias nice and even with the curve of the neckline. If you feel more comfortable pinning, that's fine...I just haven't found pinning to work any better than just going for it.

Made By Rae Standard Bias Binding
Continue sewing around the entire neckline or armhole.

Made By Rae Standard Bias Binding
Step 6. Overlap the ends and trim
When you get to the point you started at, continue sewing until your stitches overlap the folded portion you began with by about 1/4". Backstitch to secure your stitches...Then trim the end so that it's even with the edge of the folded portion.

Made By Rae Standard Bias Binding

Made By Rae Standard Bias Binding
{A note about those ends: In this case, the ends of the bias binding are simply overlapped and stitched down. In the French method bias binding tutorial, I show you how to join the ends before attaching the binding so you'll get an even smoother finish.)

Made By Rae Standard Bias Binding
Step 7. Press binding away from garment
Press the binding and seam allowances upward, away from the garment. Be careful not to un-press (is that even a word??) the folded edge. Notice that there are two lines of stitches; the top one is the staystitching, and the bottom one is the binding seam.

Made By Rae Standard Bias Binding
Step 8. Pin binding to inside of garment
Fold the binding into the garment so that it just covers the seam you just sewed. Pinning from the outside of the garment, secure the folded edge of the binding by catching it with the pins just below the edge of the binding seam. Tip: Pin with the pins pointing clockwise when viewed from the outside; this will make it easy to pull them out as you sew!
Tuck the overlapped ends together at the shoulder to reduce bulk.

Made By Rae Standard Bias Binding

Made By Rae Standard Bias Binding
Add a tag to the back of your neckline if you want. Aren't these little logo tags cute? Beth at Custom Labels 4U made these for me; their woven tags are fantastic quality and the colors are spot-on!

Made By Rae Standard Bias Binding
Step 9. Stitch in the ditch
Stitching from the outside of the garment and removing the pins carefully as you sew, stitch in the ditch of the neckline seam, catching the folded edge of the bias binding underneath. This step takes some practice and patience! I sometimes gently push the binding just a tiny bit to the right before it goes under the presser foot so that when the binding relaxes back, the stitches will barely be visible.

Made By Rae Standard Bias Binding

Made By Rae Standard Bias Binding
Step 10. Press
Give your binding a final press, step back, and admire!

Made By Rae Standard Bias Binding
A note about thread color: I used white thread for this tutorial so that you can see the progress of each step. Choose a thread that matches the garment to make this method's stitches virtually invisible.

Made By Rae Standard Bias Binding
Check out the other tutorials in this series:

bias binding tutorials made by rae