
How to add a ruffle to the Gemma Tank

How to add a ruffle to the Gemma Tank
One of my favorite mods for the Gemma Tank has been adding a ruffle to the hem. It’s super easy to do, and it doesn’t even take any extra yardage!

How to add a ruffle to the Gemma Tank
Step 1: Crop the back bodice pattern
You’ll need to shorten the bodice and straighten the hem to add the ruffle. Measure 8″ down the side seam of your bodice pattern piece, beginning at the armhole, and draw a horizontal line perpendicular to Center Back at that spot. Discard the rest of the pattern or fold it up if you want to keep it intact. 8″ is my preferred crop length, but you may want to experiment. Every torso and body is different, and a slightly longer or shorter crop may look better on you!
Step 2. Crop the front bodice pattern
Repeat for the front bodice. VERY IMPORTANT: Remember to skip the dart when measuring along the front side seam!
Now cut out your front and back pieces using your modified pattern.
Step 3. Cut the ruffle pieces
Cut two rectangles out of your fabric for the ruffle. These should be about 10″ tall (again, you may want to experiment with this). The width will depend on your size. I like to use my waist measurement (if you want a nice even number, use the “waist” measurement from the size chart: look under “body measurements” and use the number under “waist” for your size). I like the proportion that this width lends to the ruffle, but if you want a fuller ruffle, you could also use the “hip” number for your size.
Step 4. Assemble the tank
Using the pattern instructions, sew the darts, shoulders, and side seams of the bodice and finish the armholes and neckline with bias binding.
Step 5. Assemble the ruffle
Next, sew the two ruffle rectangles together at the sides with a 1/2″ seam. Then add two lines of gathering stitches along the top of the ruffle, 3/8″ and 5/8″ away from the top edge. I use the longest stitch length and highest tension on my machine for gathering.
Step 6. Attach the ruffle to the tank
With right sides together, pin the ruffle to the tank, matching side seams and pulling on the gathering threads until the top of the ruffle is the same size as the bottom of the bodice. Distribute the ruffles evenly and pin like your life depends on it. No such thing as too many pins here!!! Then sew together with a 1/2″ seam, remove pins, and press seam toward bodice.
Step 7. Hem ruffle
Press under 1/4″ and then 3/4″ along bottom edge of ruffle (or desired amount — I like to try it on and mark the finished length I want before I do this). Press and pin around entire hem, then edgestitch to finish.
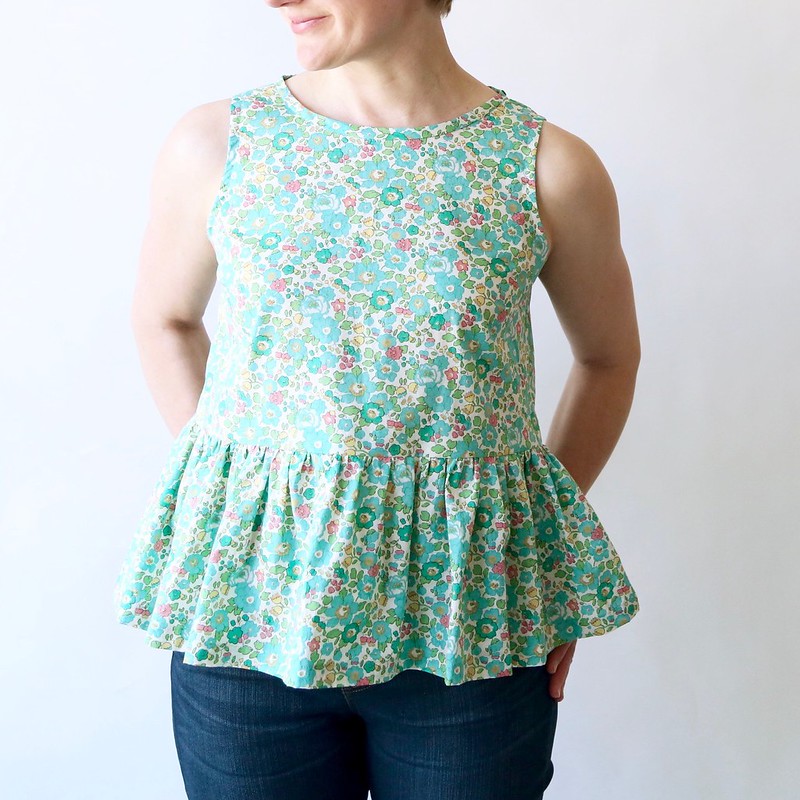
Liberty Gemma Tank with ruffle
Voila! Finished ruffle tank!
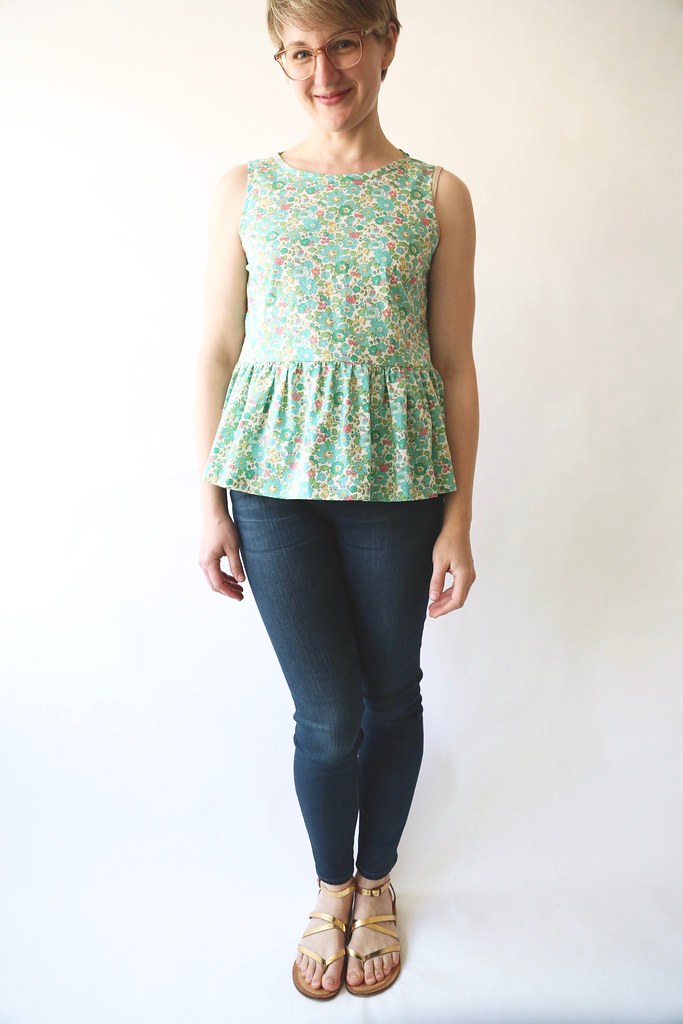
Liberty Gemma Tank with ruffle
You can see more pics of this Gemma tank in action over at this post. All of the Gemma tutorials and mods can be found on the Gemma page, and you can buy the Gemma sewing pattern in my shop!