
How to sew Luna Shorts
Rae here - I’m excited to introduce this guest post from Cristy Stuhldreher of Love You Sew today! Cristy has been wonderful enough to collaborate with us on a fantastic tutorial which is absolutely perfect for summer: How to turn the Luna pants pattern into shorts. When Cristy posted her Luna shorts and mentioned she was taking photographs to document the steps, I knew she would be the perfect person to ask to do a guest post on this, since I know more of you would love to turn your Luna pattern into a shorts pattern to beat the heat!

Here’s Cristy to show you how:
Last summer, we wear all stuck at home with every state in lock-down. I just remember that while the temperatures rose here in the Midwest, all I wanted to do was be outside…out of the four walls used for school, work and family zoom calls. So it was important to have comfortable lounge clothes while we were all home that were easy to get on and off…yet could still handle being outdoors with kids and the heat. So that’s when I looked to the Luna Pants….for shorts!

The Luna Pants were one of my early garment makes (you can find a review here: Luna Pants Pattern Review), and is still a closet favorite made in a fun graphic lightweight lawn. It has a great relaxed fit (that goes up to a 59” hip!) has inseam pockets for a clean look, and an elastic waist for that easy pull-on wearability. The pattern is designed for wovens and is drafted with a great contoured waistband for a better fit than other pull-on pant designs, IMO. Since I was looking for all of these features, it only made sense to turn this great pattern into shorts.
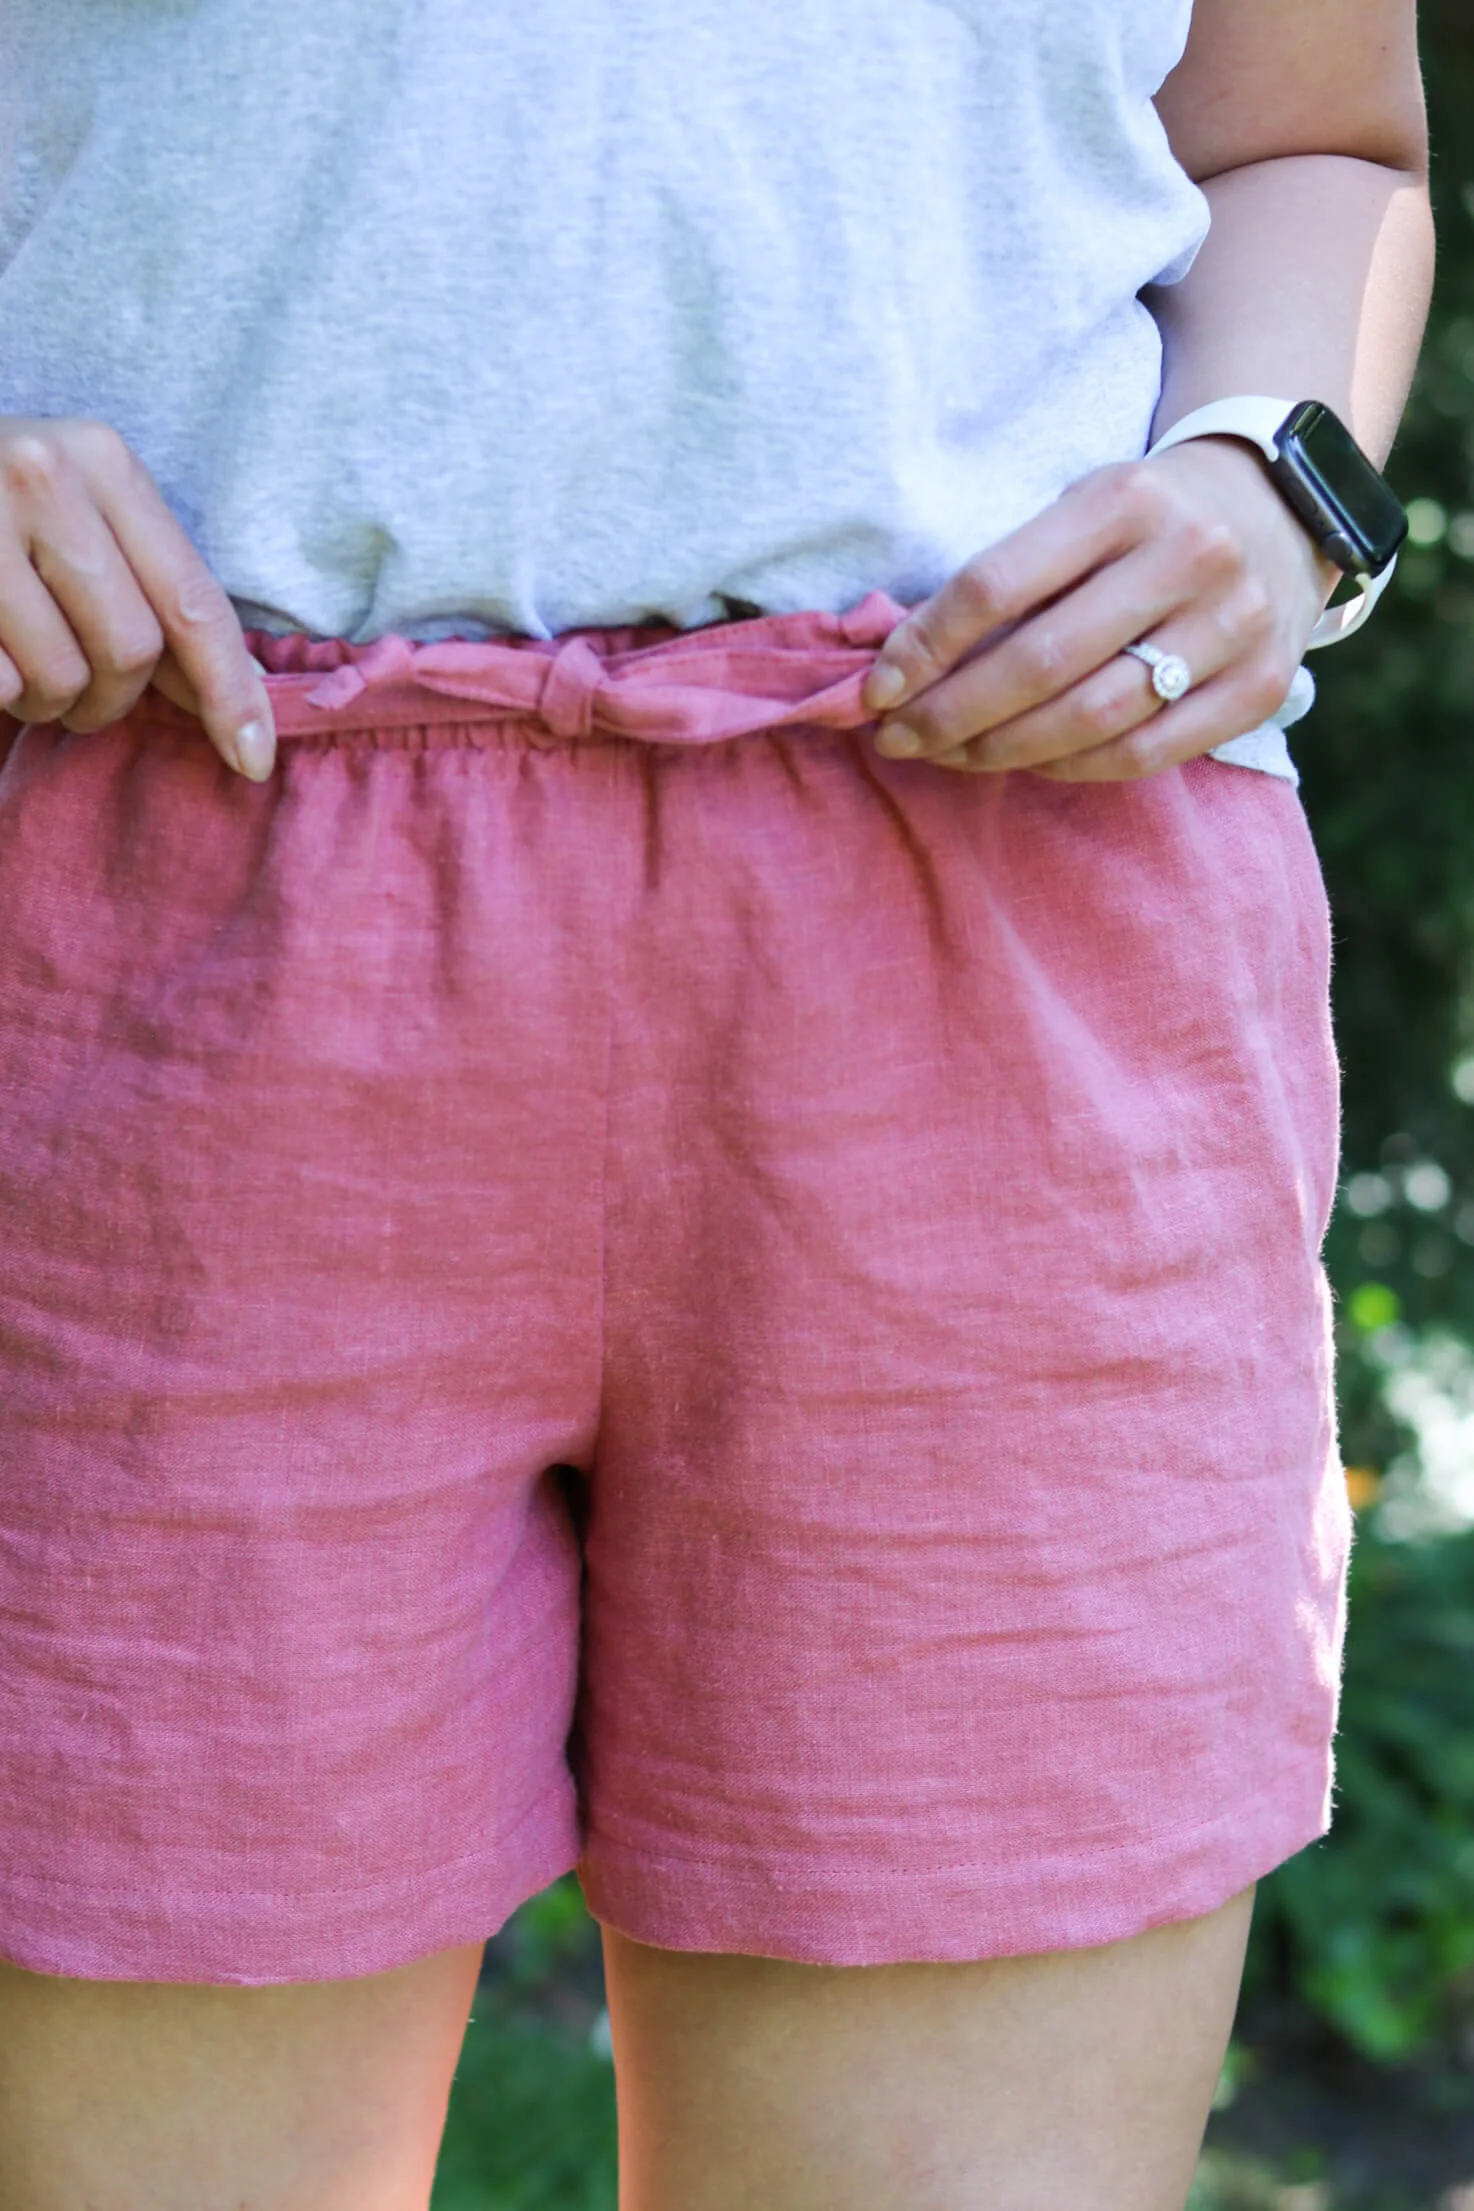
I wish that just shortening the legs and sewing a hem would be it for Luna shorts, but the process is slightly more involved (but still SIMPLE!) This tutorial will take you through how to adjust the hem to accommodate the tapered leg drafting and how to add ties to either the front or back of the waistband. Are you ready to get started? Well, let’s go!

PREPARE PATTERN PIECES
Cut out or trace all of the pattern pieces according to your measurements and pattern instructions. Make any other fit adjustments at this time. I fit into a S waist and a M hip, but cut a straight M since the elastic can be adjusted later to fit the waist.

DETERMINE INSEAM, ADJUST HEM + POCKET
As you can see with the leg templates, while the fit has an ample amount of ease, they are still tapered. In order to make a hem for the shorts, we need to adjust its width to fit the leg when folded (mirror the turnback of your seam allowance) or else you would end up with not enough fabric and wrinkles trying to sew the hem.

With the Front Leg, draw a perpendicular line with the grain line from the crotch all the way to the side seam. This will be your reference line for an inseam.
Determine your inseam/how long you want your shorts to me. This can be anywhere from 3”-10”. (I made mine at 4.5” and I’m 5’3” for reference.) Draw another line for your finished inseam from the crotch point down.
From there, draw a line 1.25” above it (for the cuff line) and another line 1.25” below it (for the cut line.) You can now fold back the rest of the front leg to keep it out of the way and intact for future use.

4. Tape a piece of scrap paper one side of the leg and extend the finished hem (purple dotted) line out onto the scrap paper.
5. [OPTIONAL] As mentioned before, there is a good amount of ease already drafted into the Luna pattern and if you are happy with it, skip down to Step #7. However, if you are like me and have thicker thighs relative to my hips, then I also added more width to the finished hem. For the front leg (shown) I added 1/4” to the inside leg and 3/8” to the outer leg (not shown, but same steps.) Make a mark on the finished hem line.
6. Grade the leg from crotch to the new hem width. This will be your new inseam.
7. Extend the Cuff (green) line and well as the Cut (solid purple) line out to the scrap paper.
8. Place your ruler’s edge so it is perpendicular to the Cuff line.

9. Mark on the Cut line directly aligned with the Cut mark.
10. Connect the new Cut Mark to the Finished Hem and now you will have a properly mirrored hem.
11. Cut along your new pattern lines for your shorts pattern. Repeat Steps #4-8 along the side seam of the Front and then repeat all steps for the Back Leg.
12. If you are going 5” or shorter for your inseam length, I HIGHLY recommend shortening the pocket. This is important so that your pockets don’t peek through the hem when you sit down. To do so, measure 3/4” up from the bottom (this allows you to retain the drafted notches) and re-draw the curve to blend back into the side seam.

CUT OUT FABRIC + SEW SHORTS
You are now ready to cut out your fabric according to the instructions and adjusted pattern pieces.
Additionally, you will need the following for waist ties:
2” x (Waist measurement + 20”) E.g. My waist is 30” and I cut a strip that was 2” x 50” long.
Sew the shorts together following the pattern instructions up to and including step 4.

MAKE TIE
For the first two pairs of Luna Shorts I made, I made faux ties. But after weight fluctuations and wear (I almost got shanked/pantsed by a door handle catching my pocket a few times!) I decided more security was needed with a proper waist tie.

To make the tie:
A. Fold the tie in half, wrong sides together (WST) lengthwise and press. Open with WS facing up. Fold the tie lengthwise again, but this time bringing the each edge to the center. Press.
B. Open with WS facing up and fold each short end in by 1/2” and press.
C. Trim corners to reduce bulk for top-stitching.
D. Refold the tie to enclose all raw edges. Clip/Pin into place and edge-stitch around the entire tie to secure tie together. Set Aside.
CREATE TIE OPENINGS
You have two options for the waist ties. You can have them tie on the outside OR on the inside of the shorts. To be completely honest, I forgot the waistband folds to the inside of the shorts (I wanted the ties to be on the outside) and had already made the buttonholes….so you get both options!

For waist ties hidden inside the shorts (shown above):
Top: Find the center on the Front Waistband and mark on both the wrong and right side of the fabric.
Center: Fuse a 1 1/2” x 3” piece of interfacing centered over the marking on the WS.
Bottom: Make two horizontal 1/2” buttonholes 3/4” apart centered over front marking. *If you don’t like buttonholes, eyelets would work too!

For waist ties on the outside of the shorts (shown above):
Top: Find the center front seam, measure and mark 1 1/4” down from the top raw edge on the right side of the shorts.
Center: Fuse a 1 1/2” x 3” piece of interfacing on the wrong side of the shorts, centered behind the marking.
Bottom: Make two horizontal 1/2” buttonholes 3/4” apart centered over front marking.

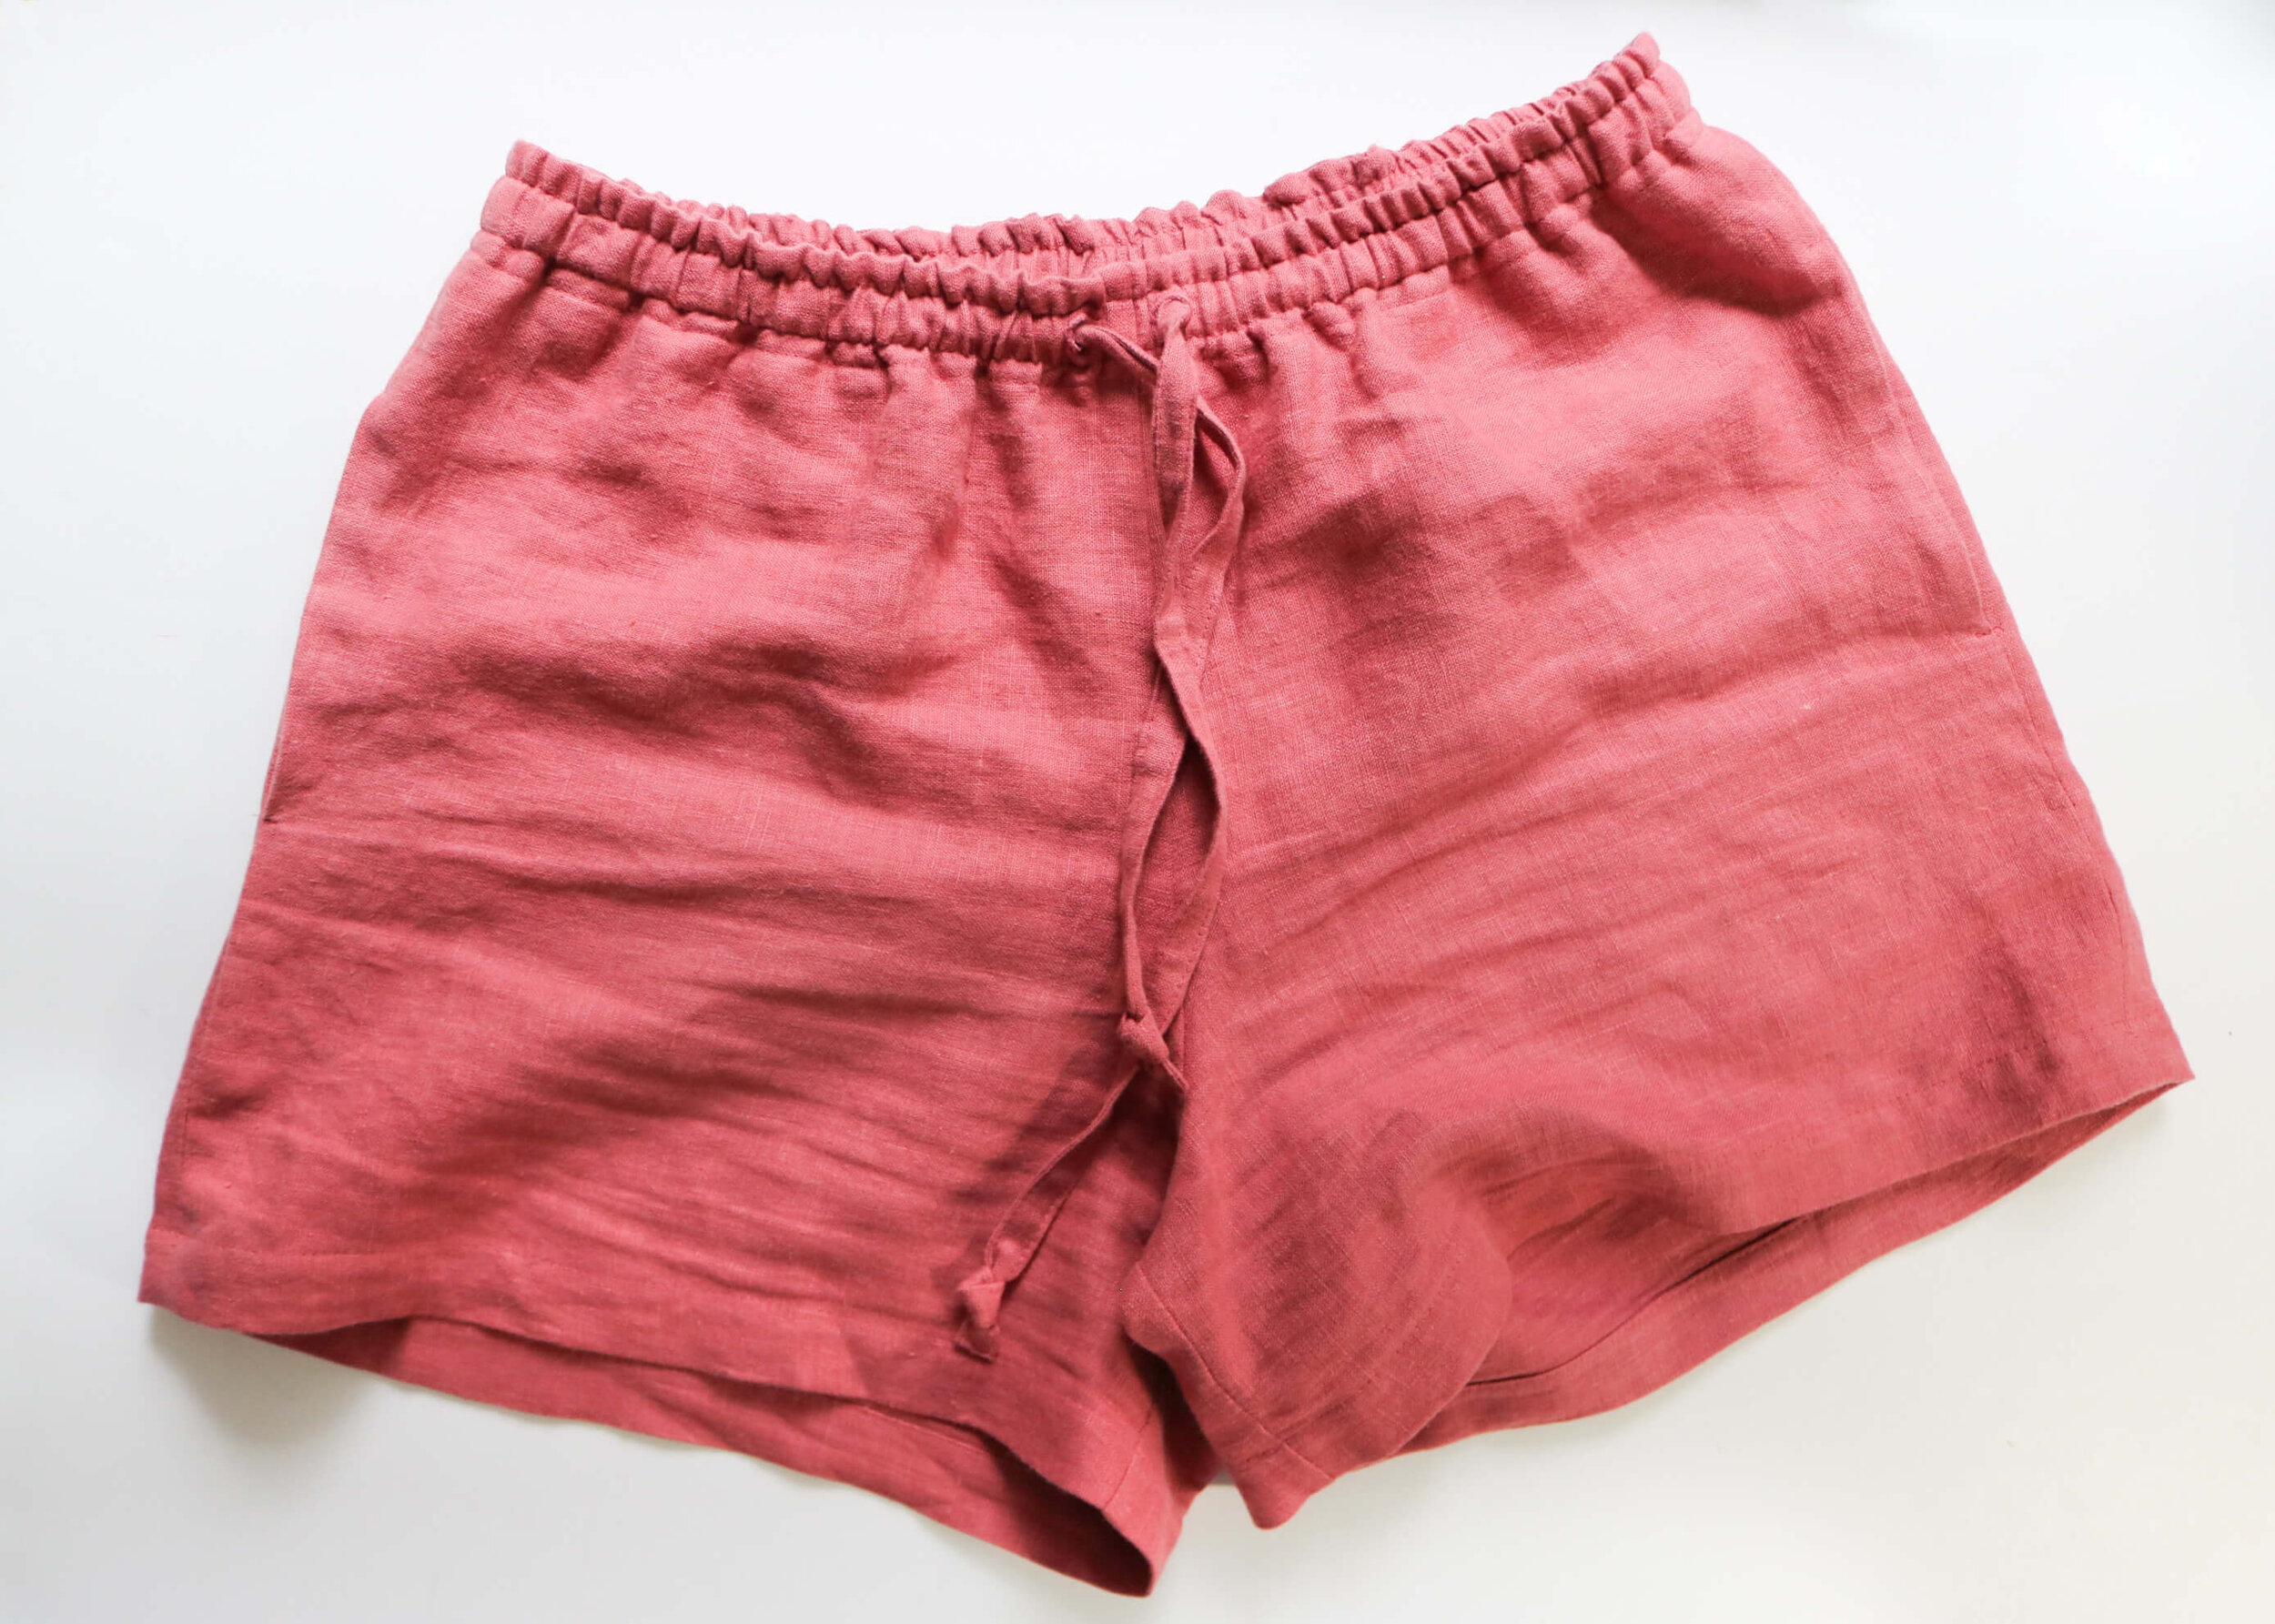
Attach the waistband and insert the elastic following the pattern instructions (skipping the understitching.) Once you are finished, on the WS of the waistband, topstitch about 3/8” from the top and the bottom edges, pulling to flatten the waistband as you go. This should leave ~ 1/2” channel for the tie. Use a safety pin or your preferred method to insert the waist tie. Make a single knot on each end of the tie to secure.

SEW CUFFS
Follow the pattern instructions for the cuff, except you will fold up 1” instead of 1 1/4”. Stitch around the first fold to secure it entirely in place. There is no additional elastic to insert.
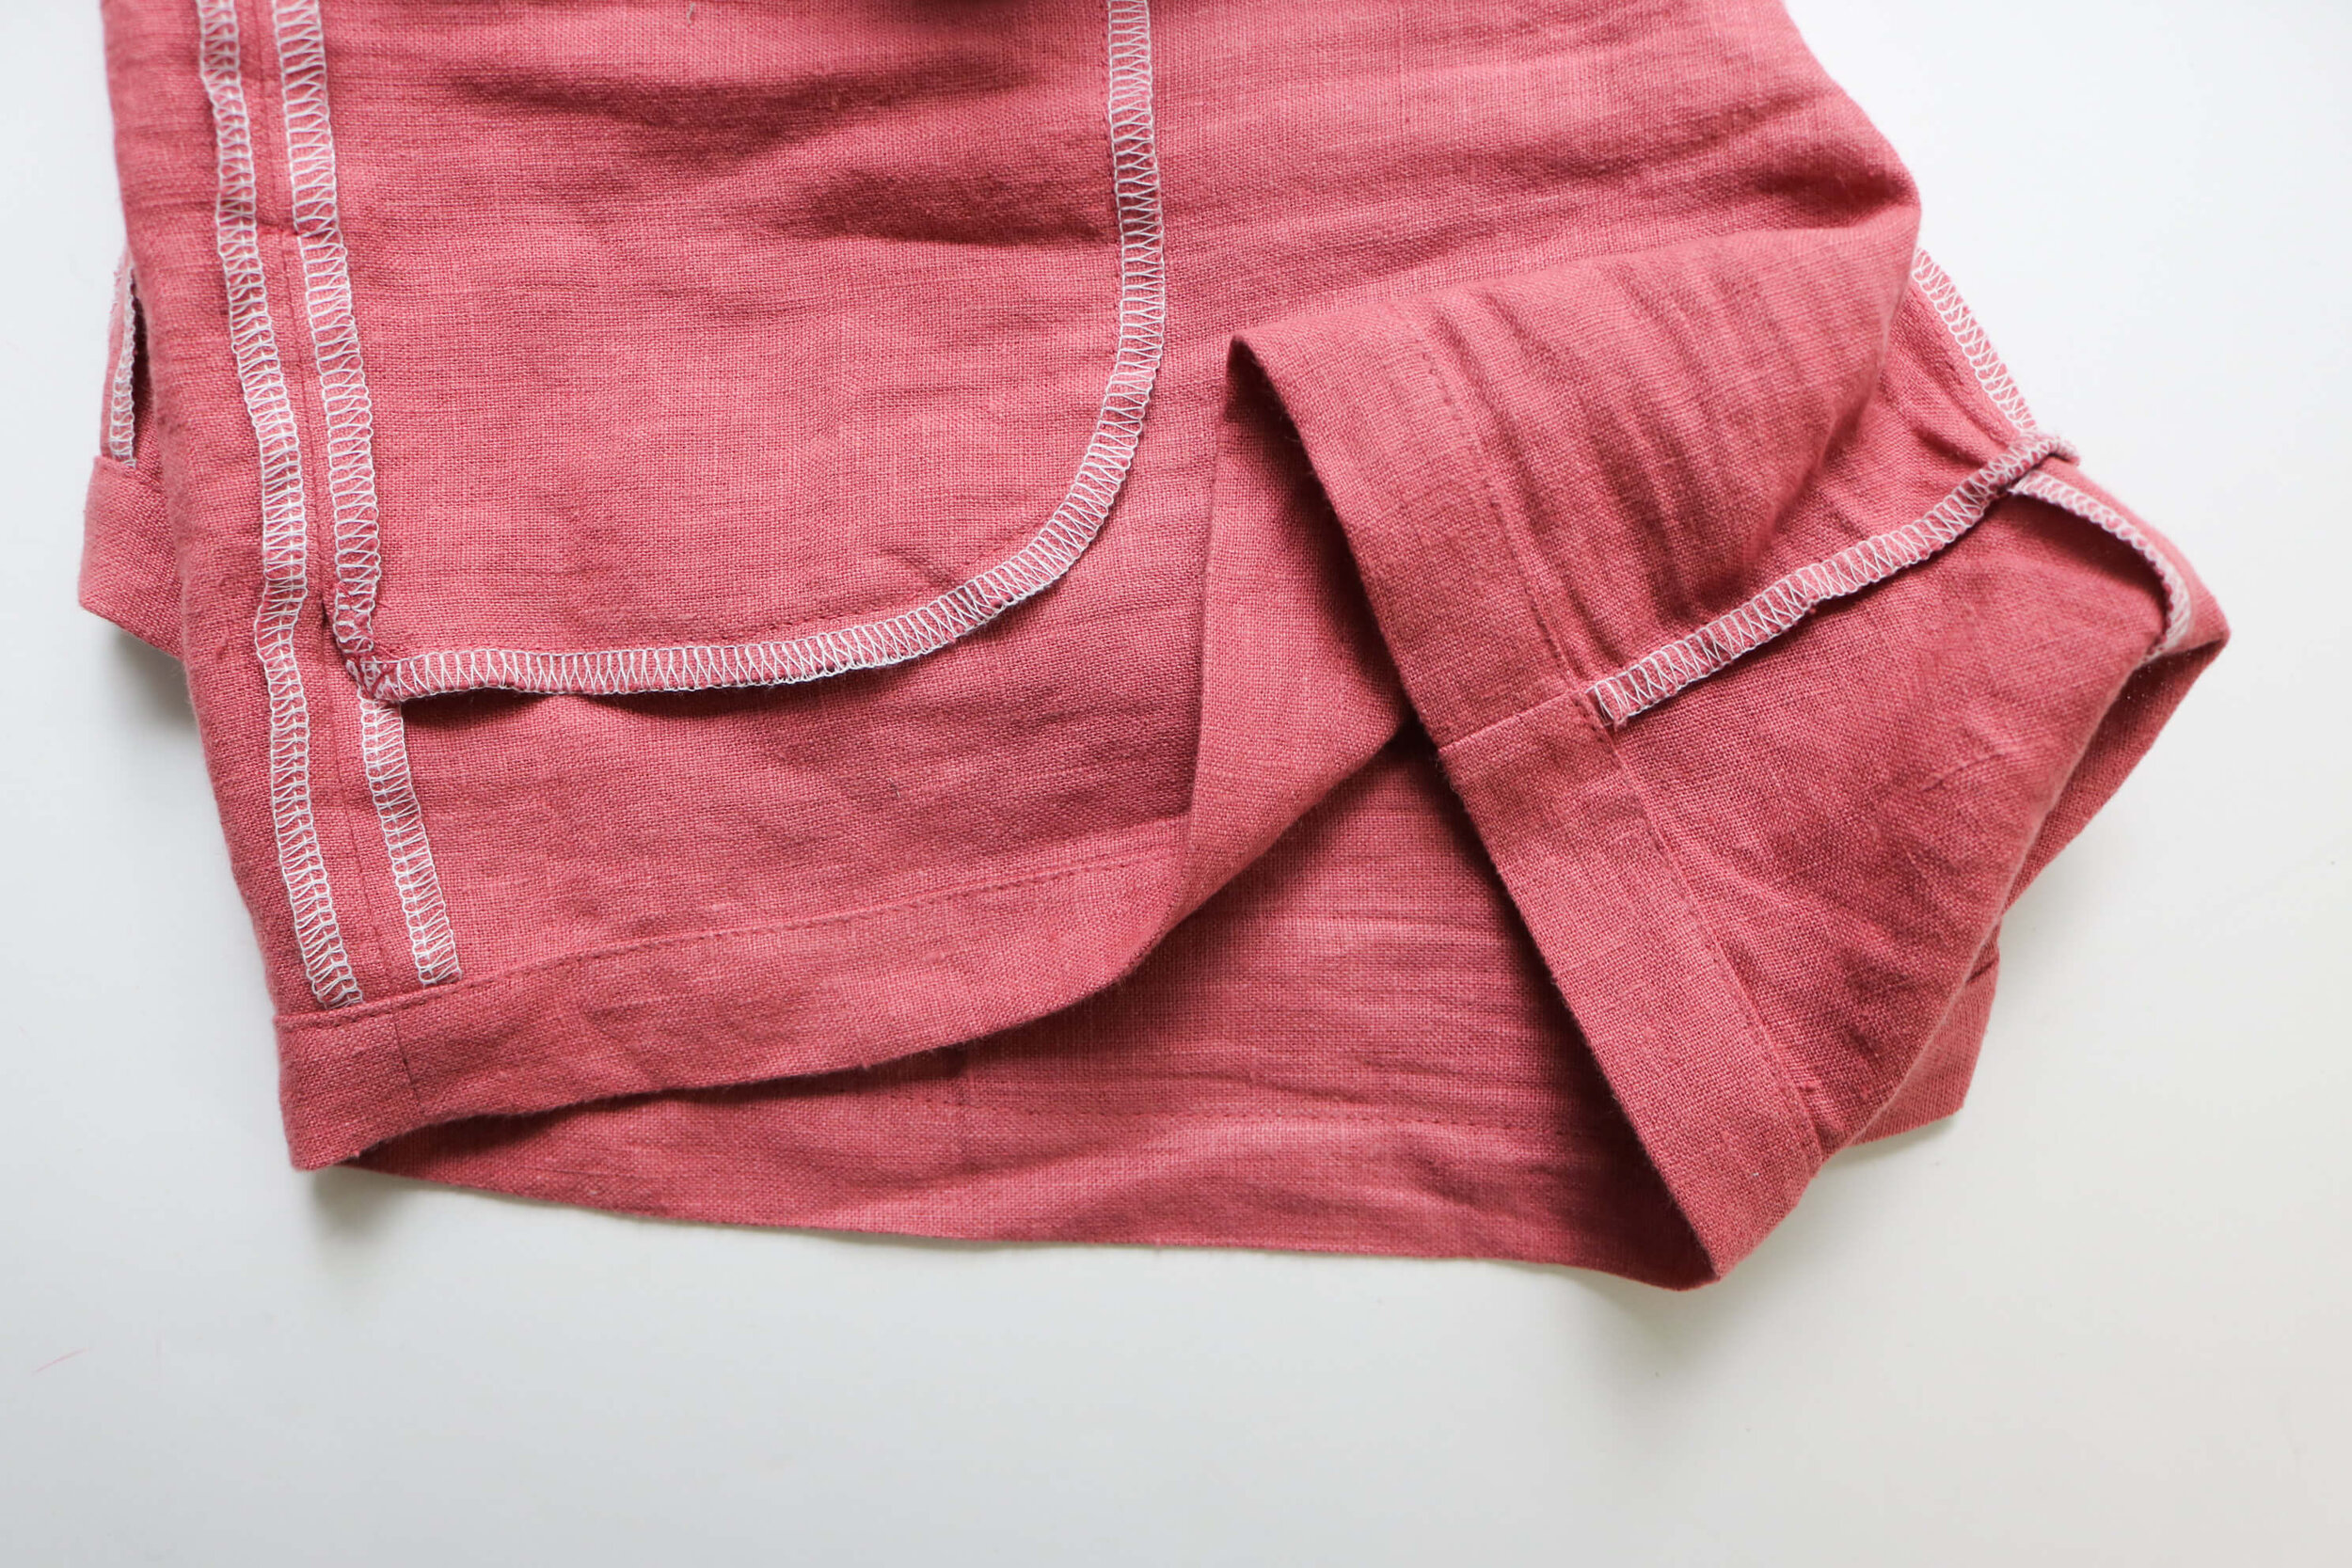
Congratulations of your new summer staple!
If you would like to see more tutorials and inspiration, including how I made a faux jumpsuit using these exact shorts, you can find me at www.iloveyousew.com and follow me @loveyousew_ on Instagram.
Happy Stitching,
Cristy Stuhldreher
The Luna pants pattern is available in both print and PDF formats in the shop. More Luna tutorials plus a full Luna Pantsalong can be found over on the Luna Page.