
Rose Pants Sewalong: Steps 2-4
Welcome to Day 3 of the Rose Pants sewalong! Today I’m covering Steps 2-4 of the pattern. In these steps, you’ll sew the center crotch seams and attach the pockets.
Here are the previous Pantsalong posts just in case you need to go back:
Get Ready for a Rose Sewalong
Rose Sewalong: Print, Assemble, Trace your pattern (Day 1)
Need the Rose pattern? Buy it in my shop: Rose Pattern PDF (we also have printed Rose pattern sheets available!!)
Before we start sewing, I want to remind you that the seams are sewn with a 1/2″ [1.3 cm] seam allowance and with fabric right sides together unless otherwise noted. After sewing each seam, press and then finish as desired (unless otherwise noted). You can download and print my free Seam Finishes PDF for reference. I’ve also posted about some of my favorite seam finishes in this post.
Let’s get started, shall we?
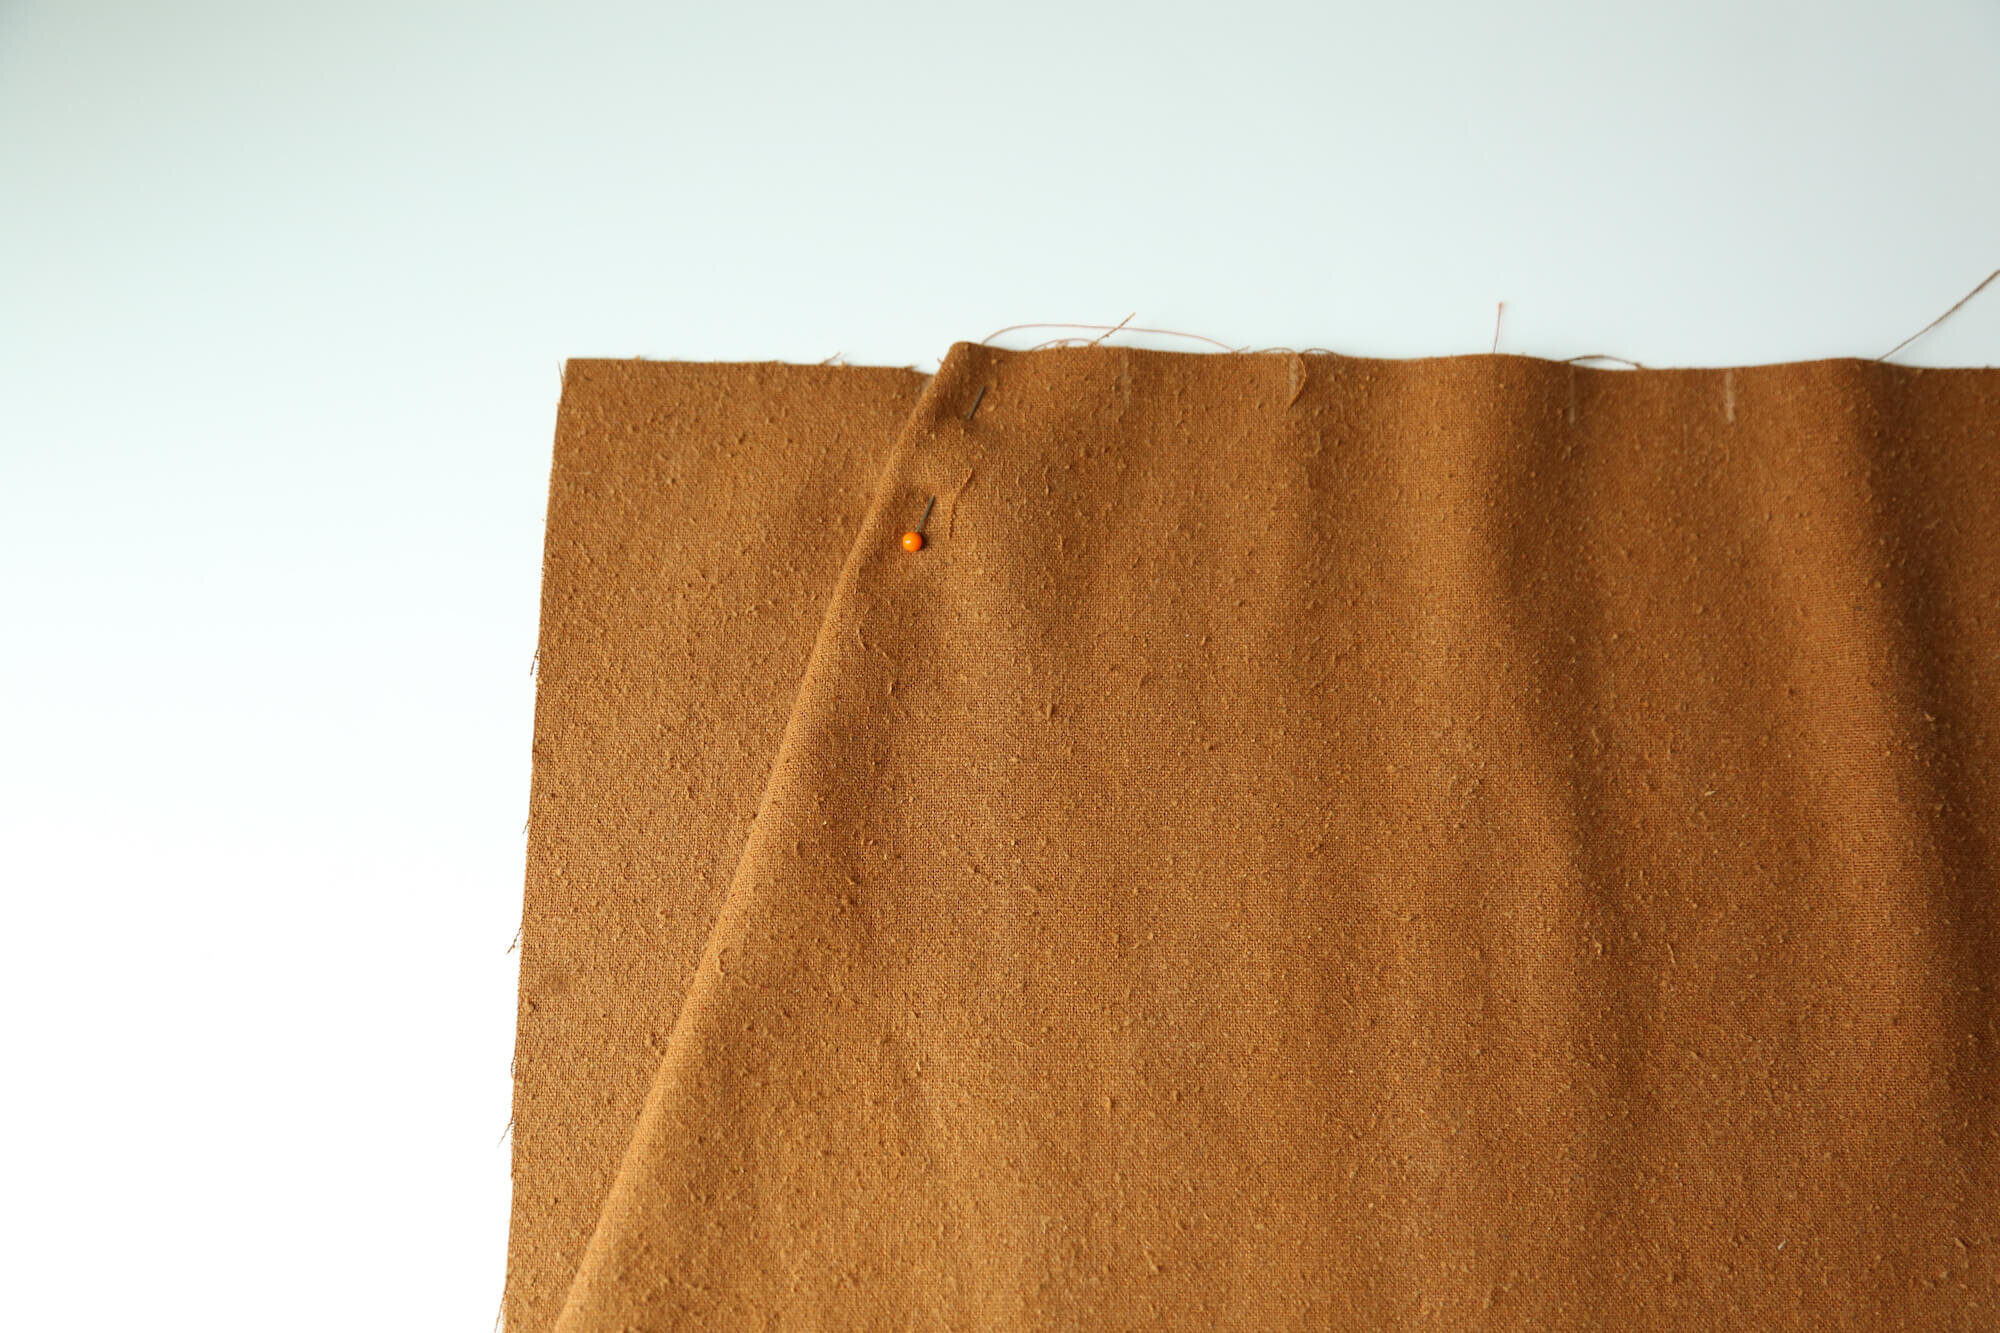
STEP 2 - Sew center seams
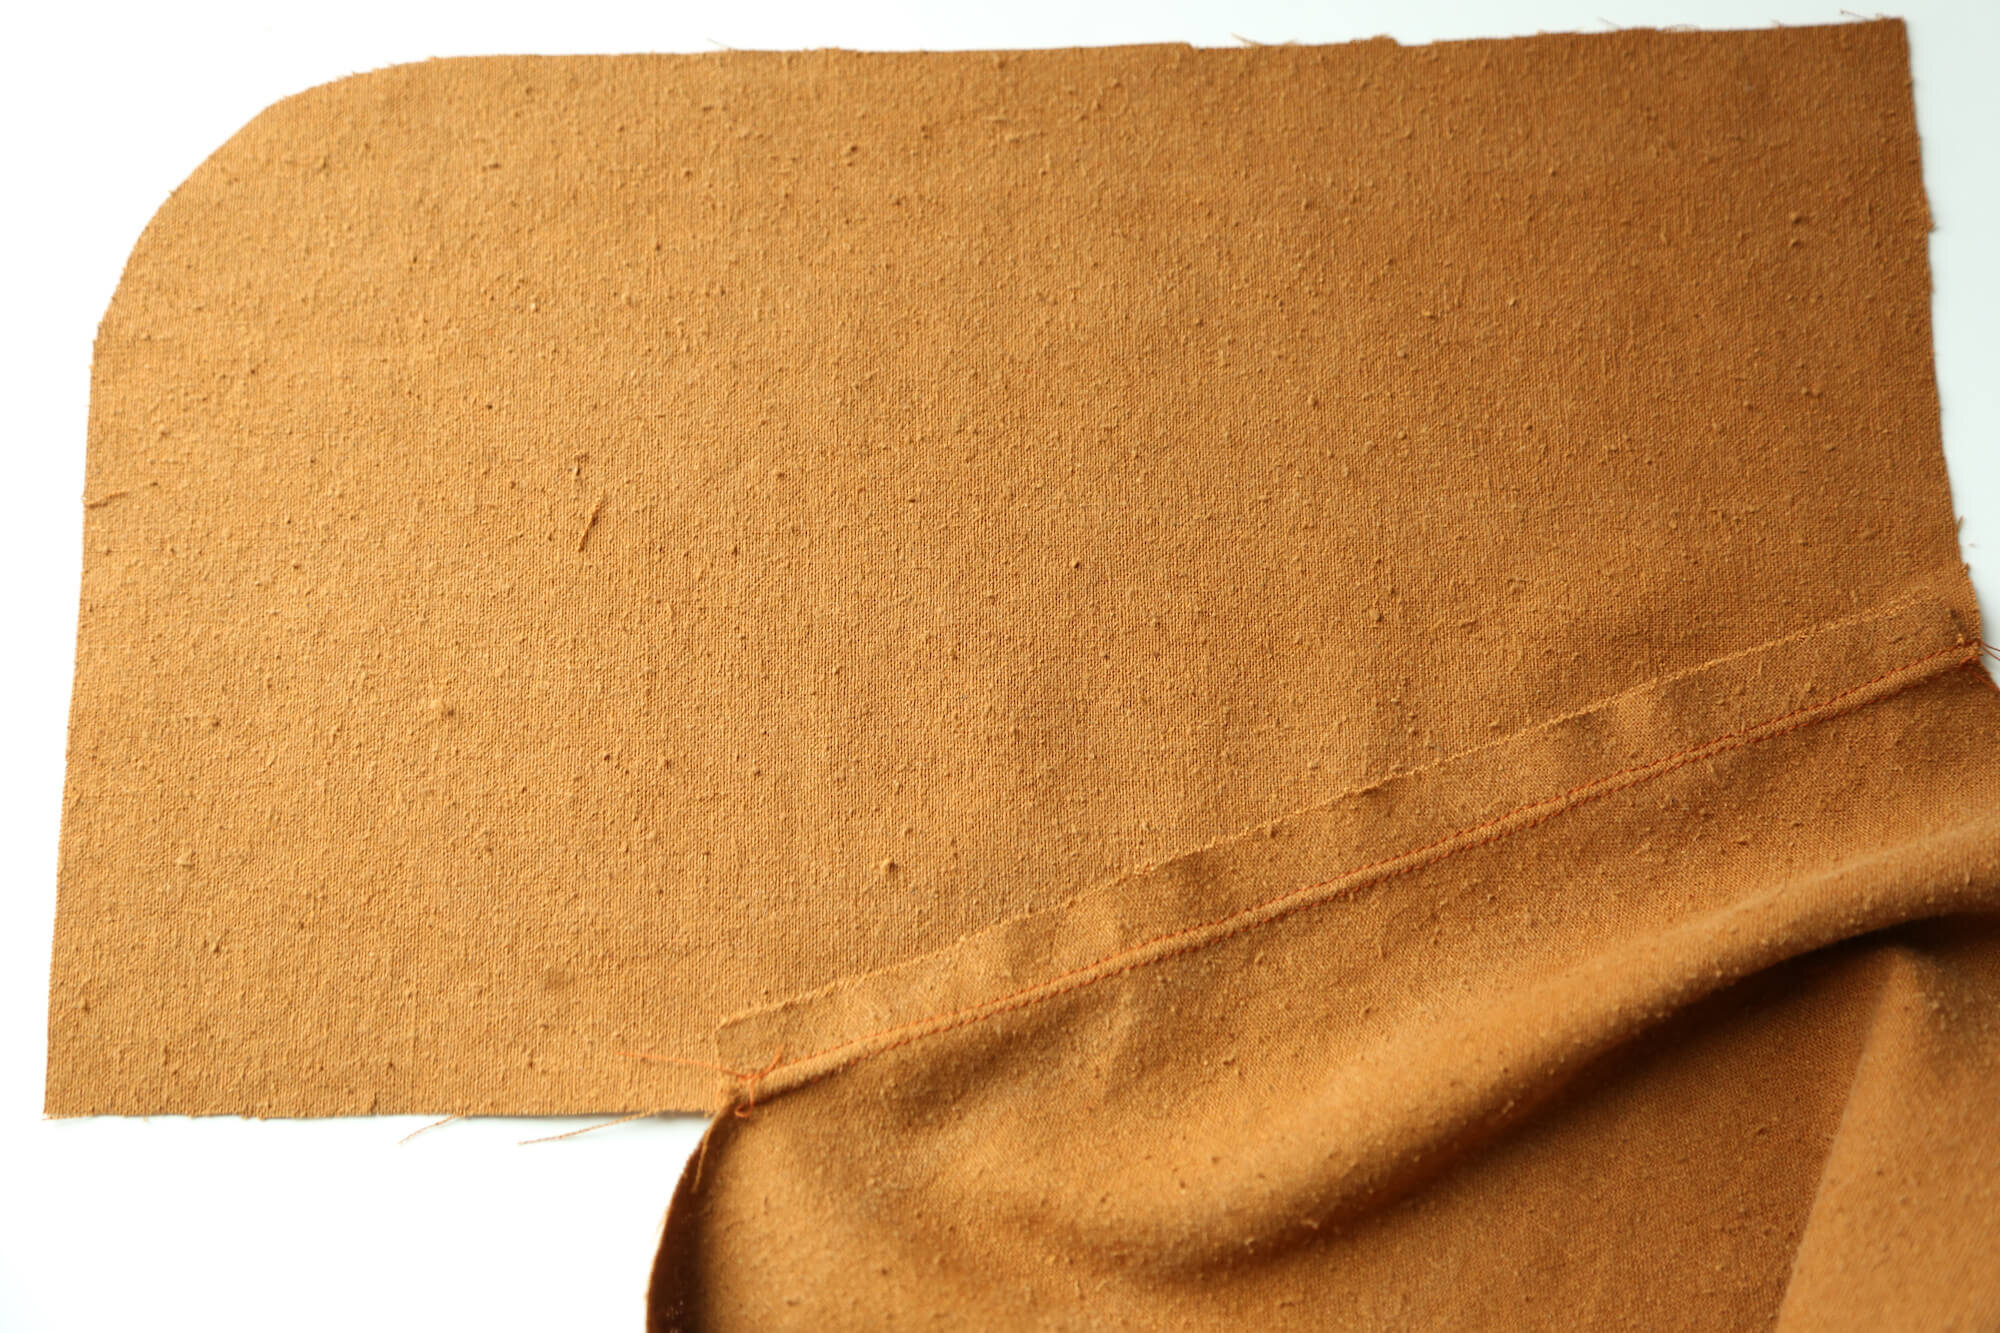
Pin the front pant pattern pieces together, aligning the curved crotch edges. Sew together as shown. Repeat for back pants. Remember to sew only the curved seams for this step; don’t continue down the leg!
hint: these seams look nice with a flat fell finish. Other options are to overlock (serge) or zigzag the edges, press, and stitch down for reinforcement. See the Seam Finish Appendix for more detail!

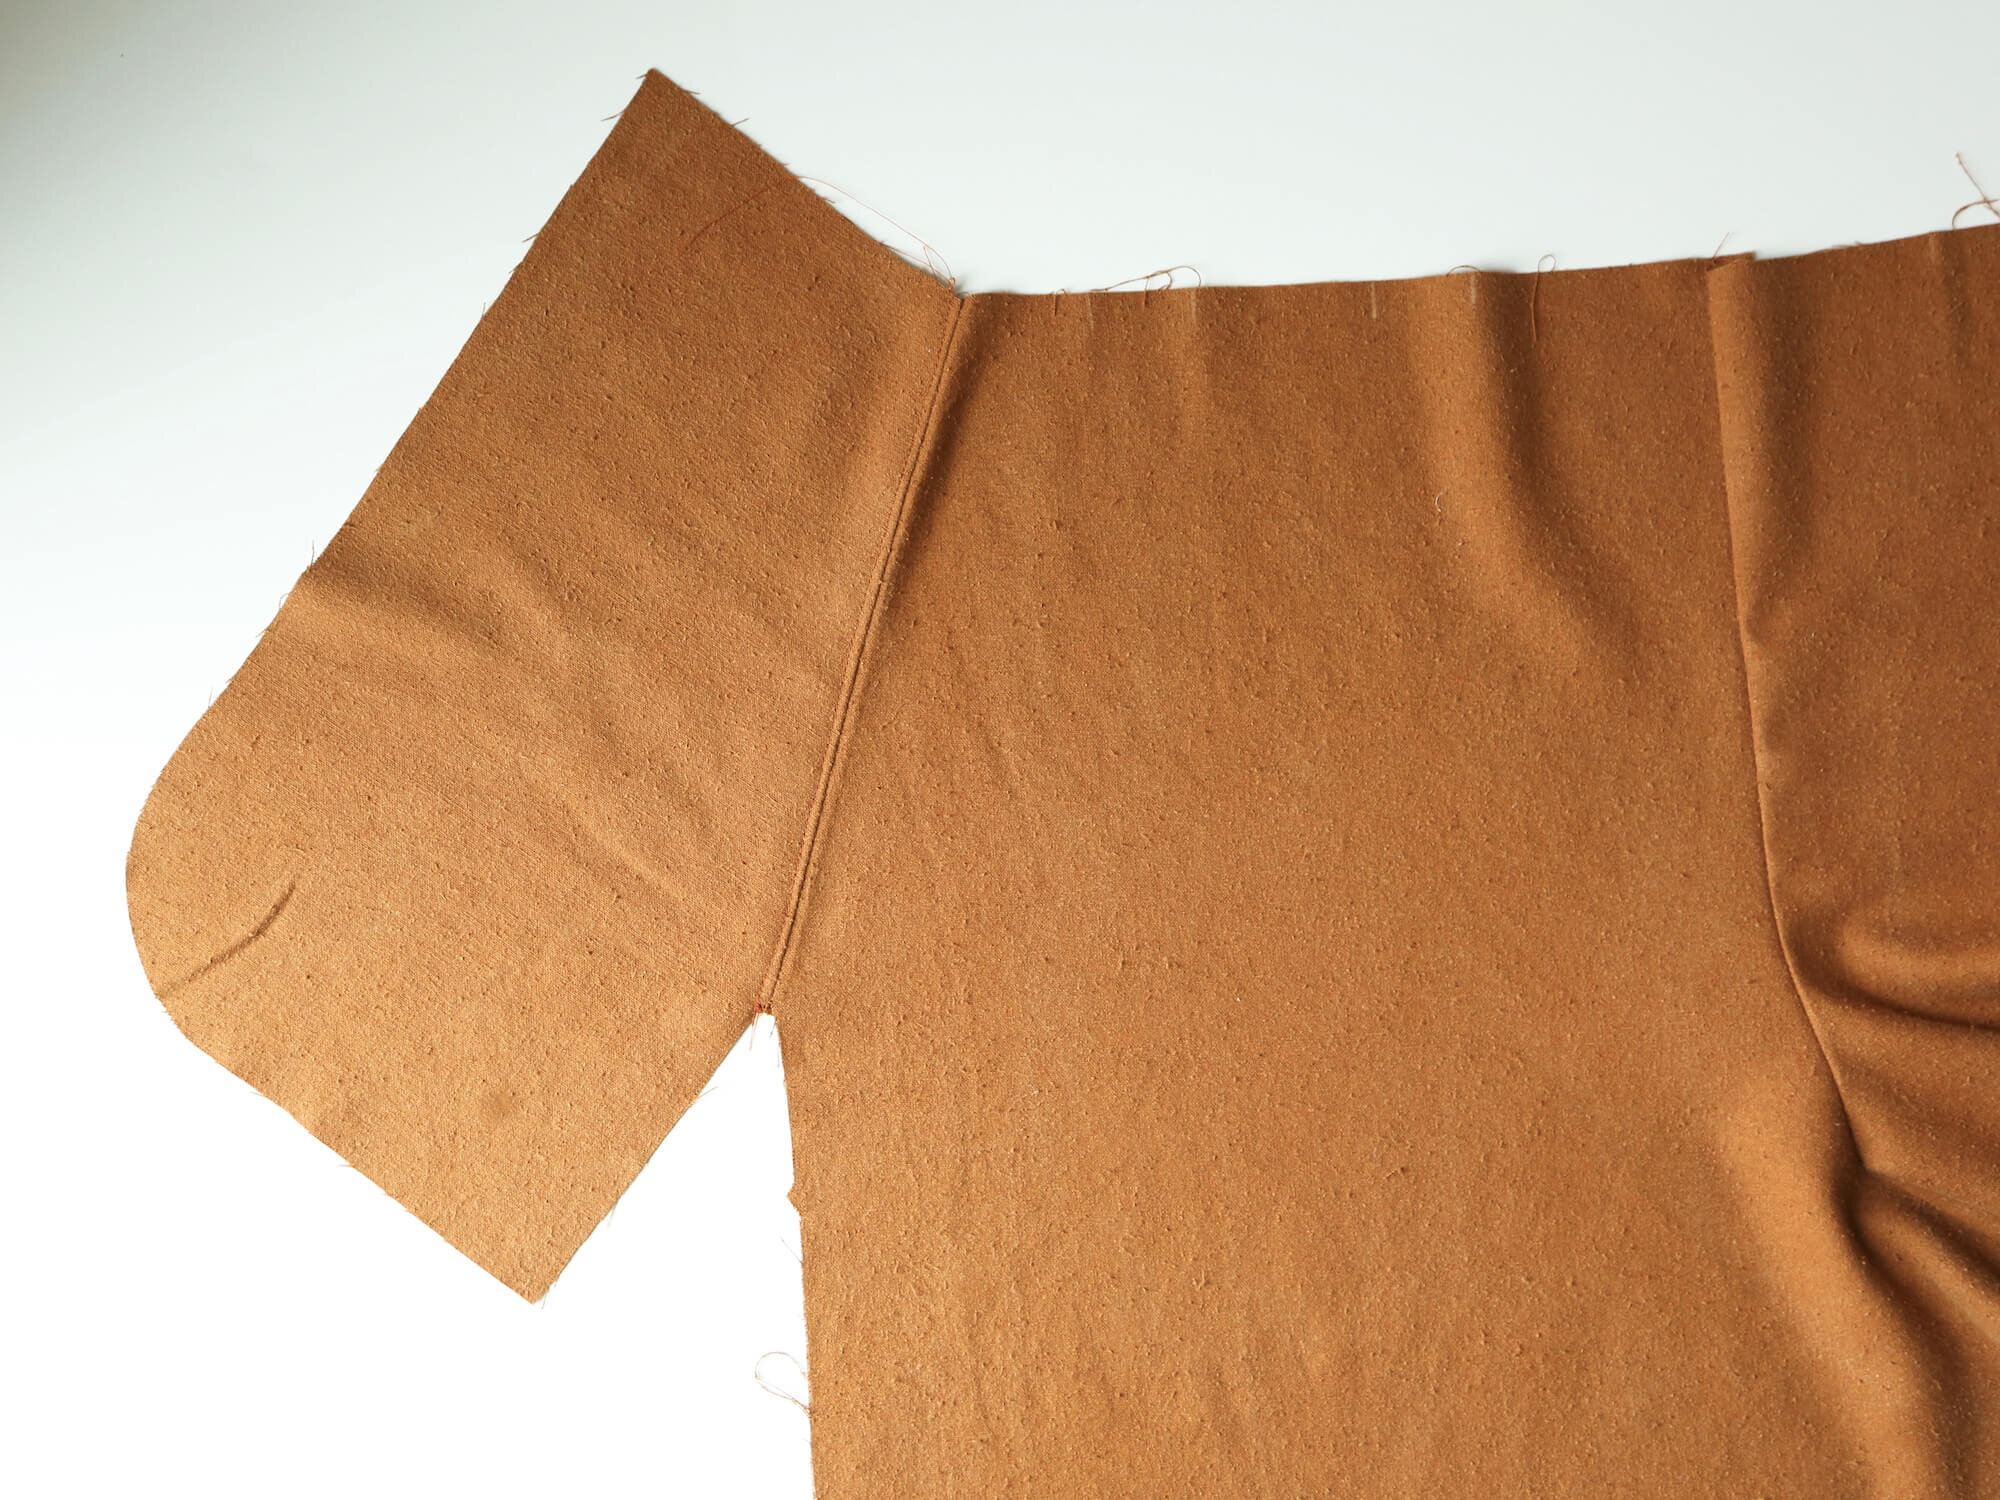
STEP 3 - Attach pocket facings
Pin a pocket facing to each side of the front pant, aligning notches. Sew together along the slanted edge only.
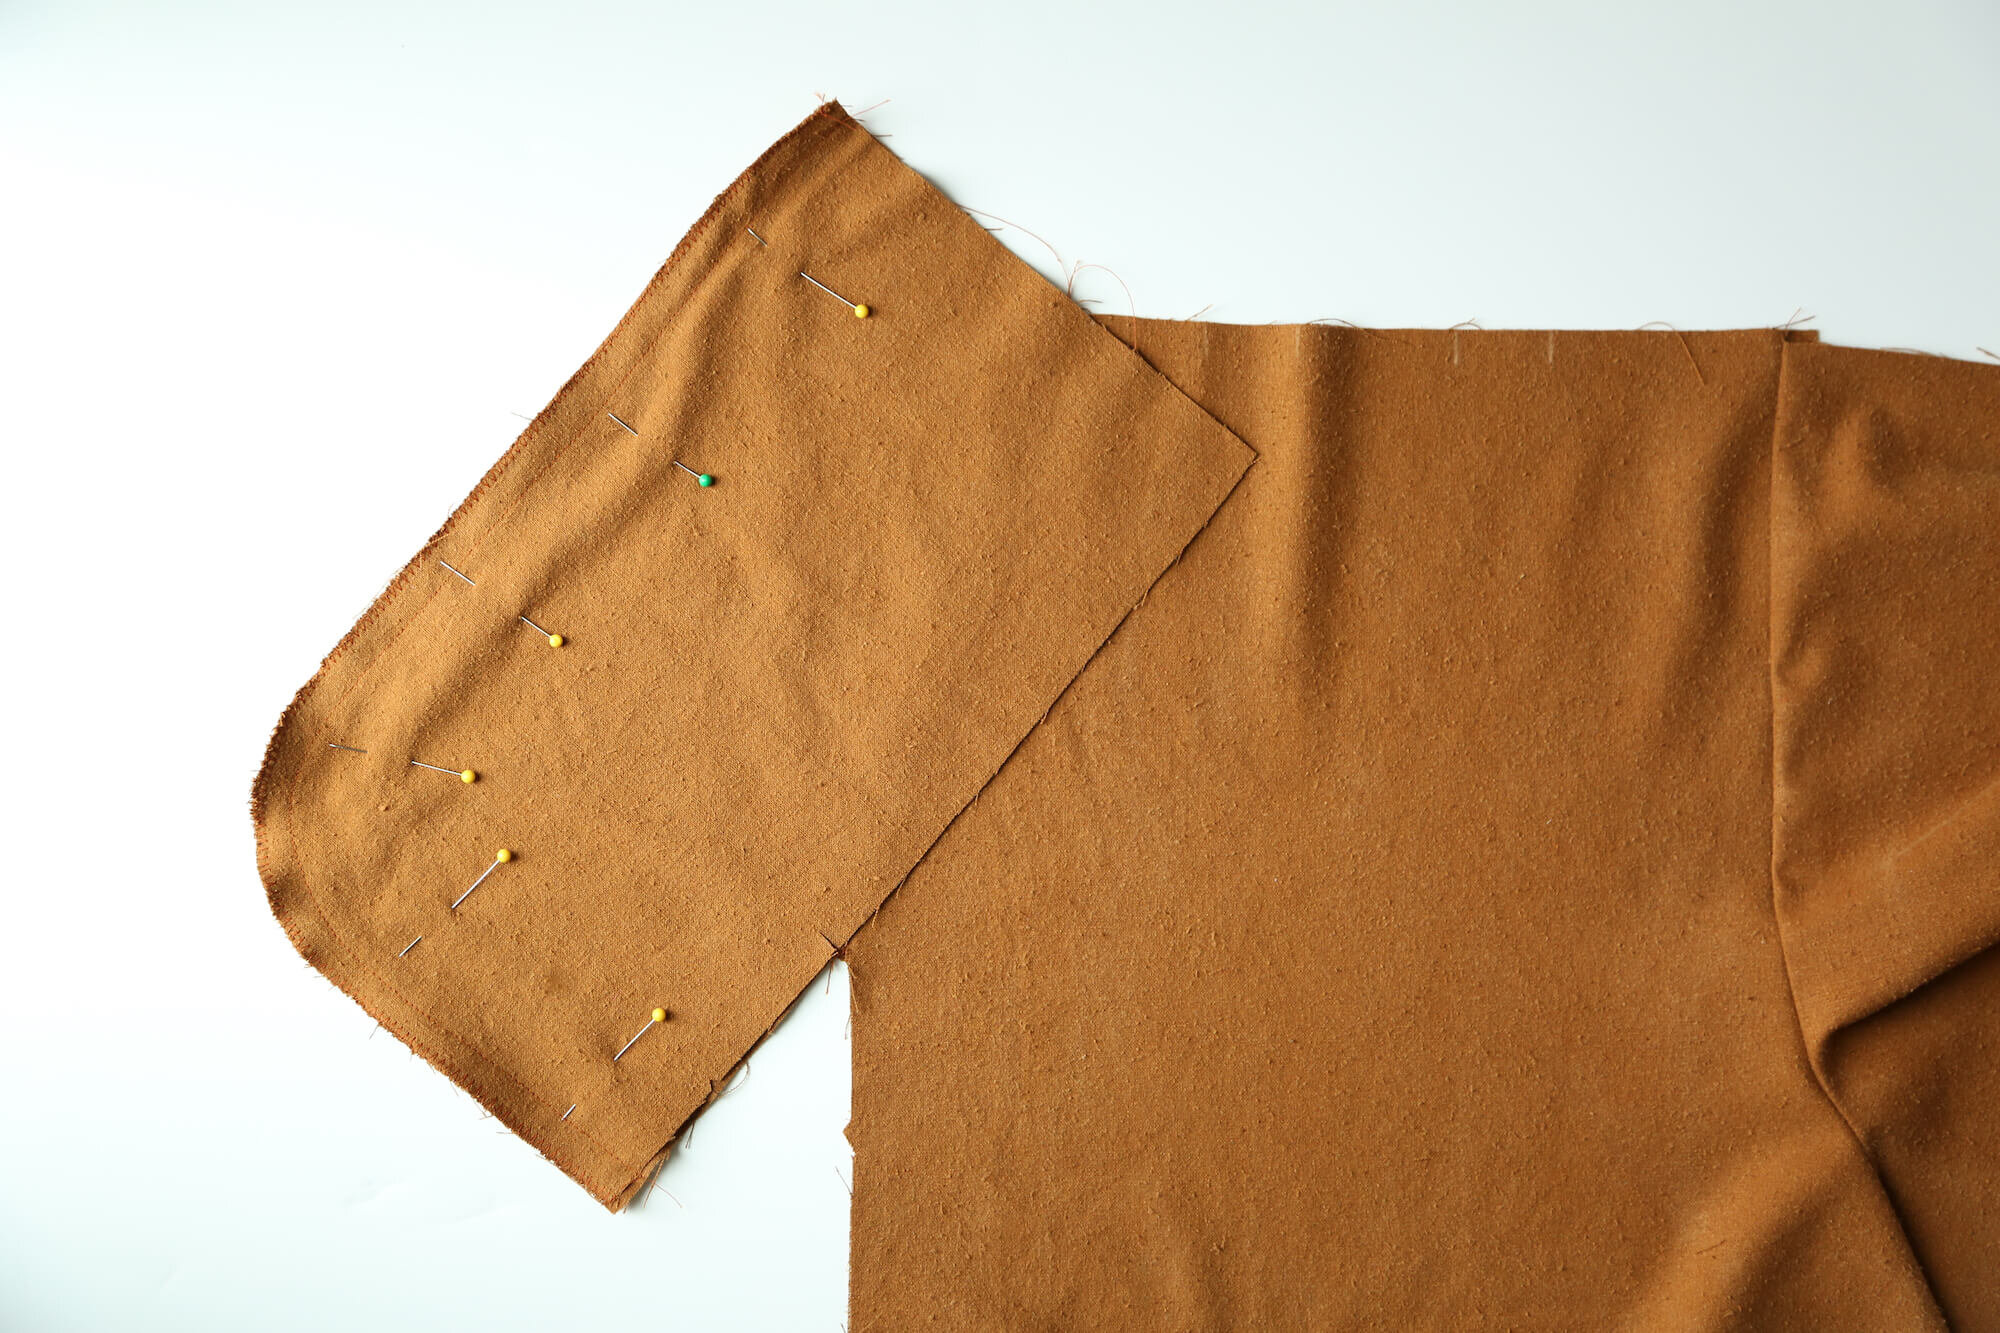
hint: if you are working with a less-stable or lightweight fabric or even a fabric with a looser weave (think loose-weave linens, rayon challis, or a woven fabric with an element of stretch), cut out and attach a narrow strip of fusible interfacing along the wrong side of each of those slanted edges to stabilize them before attaching the pockets. Stay-stitching is also a good idea, though I’ll be honest - I haven’t had much issue with this seam stretching out if I’m careful so I usually don’t staystitch.

Press seam allowances toward pocket facing and understitch by sewing the seam allowances and facing together 1/8 inch [3 mm] away from the seam you just sewed.
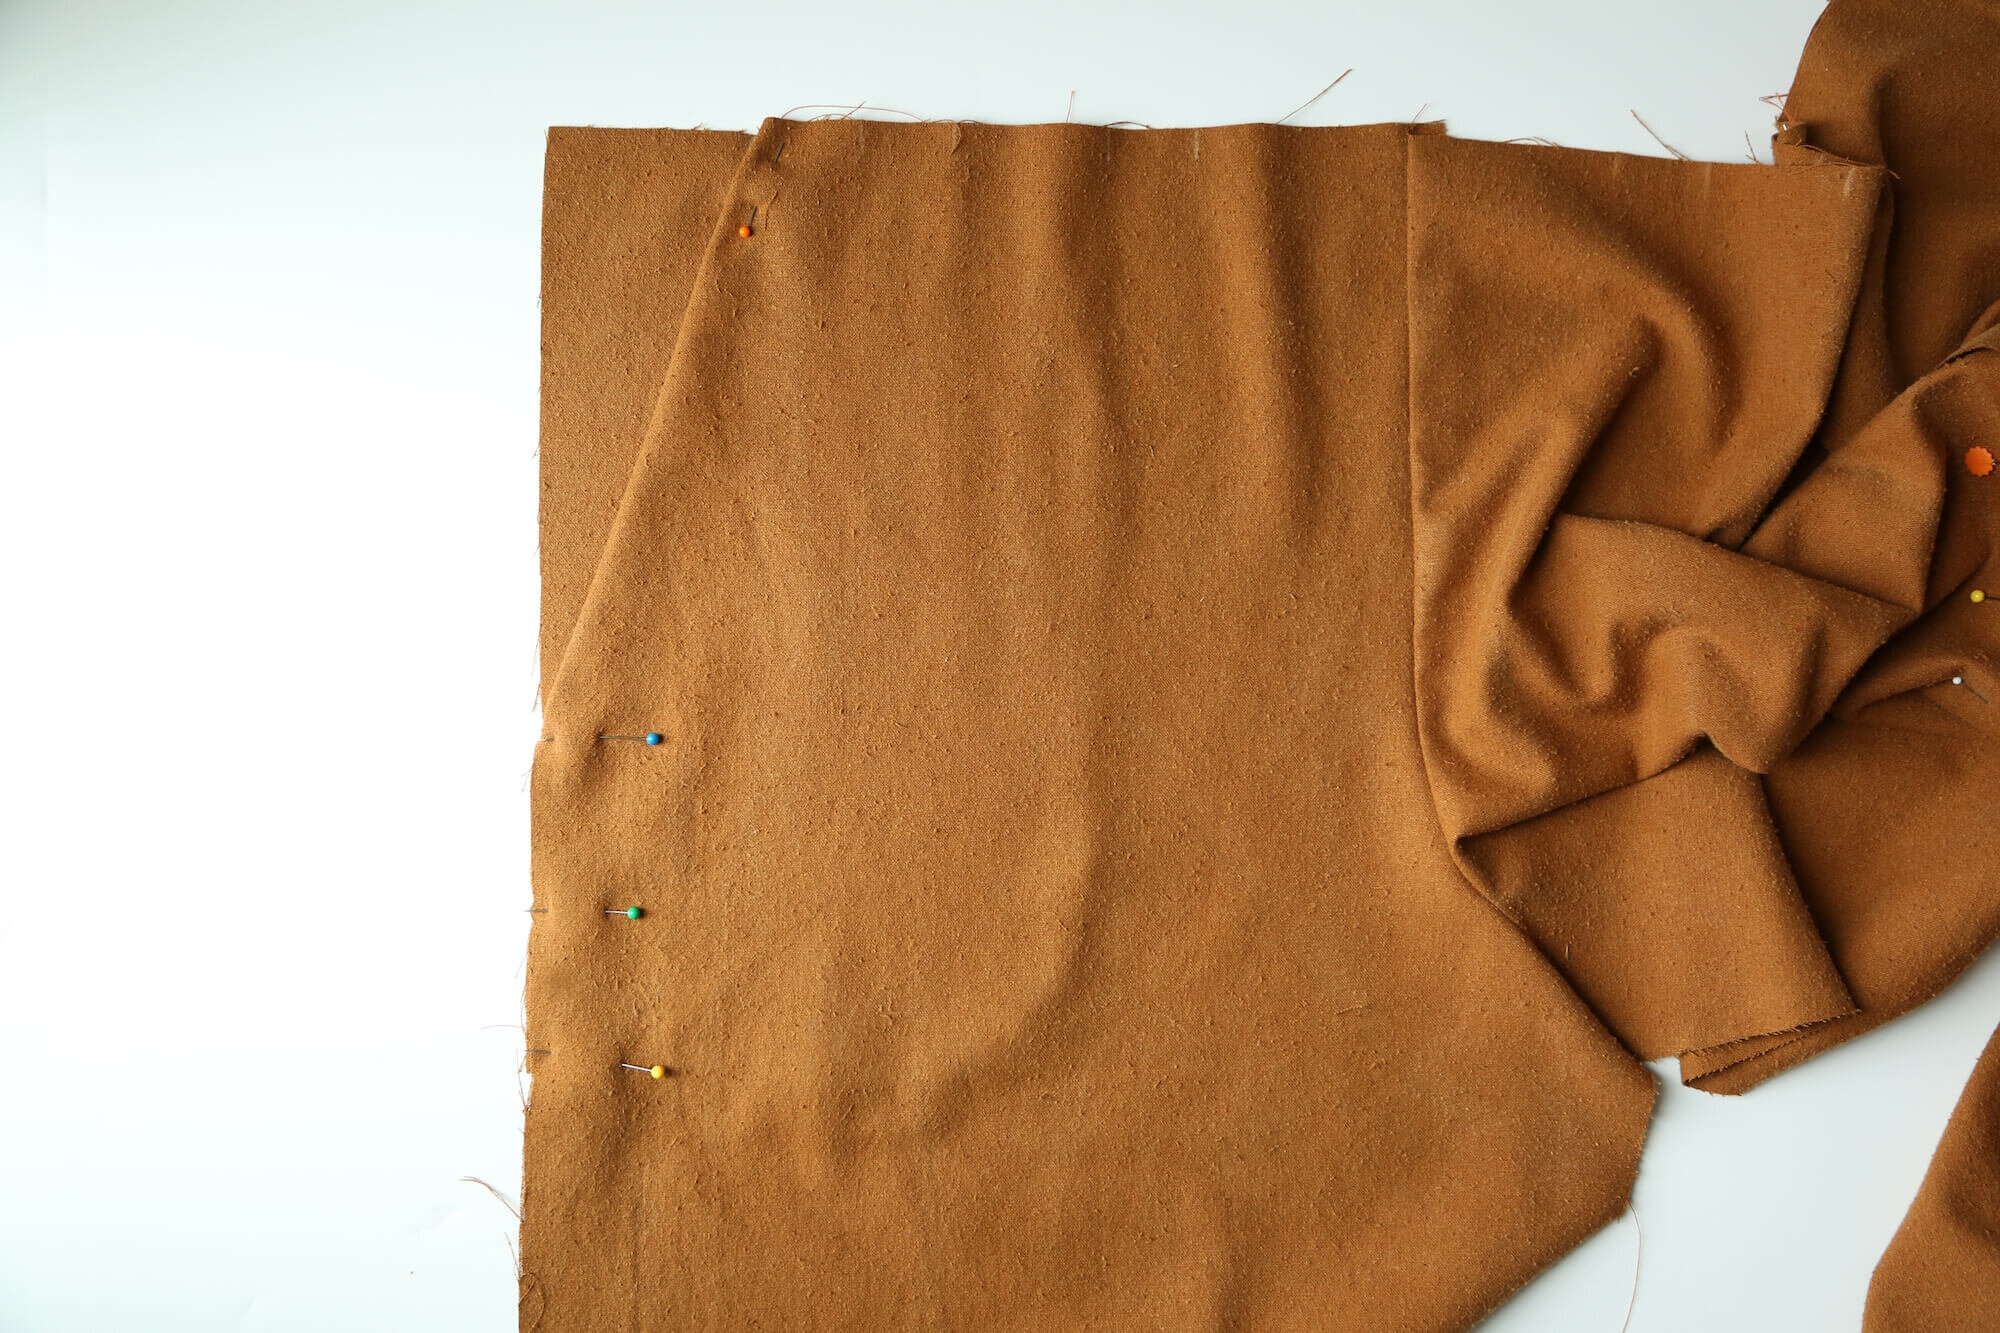
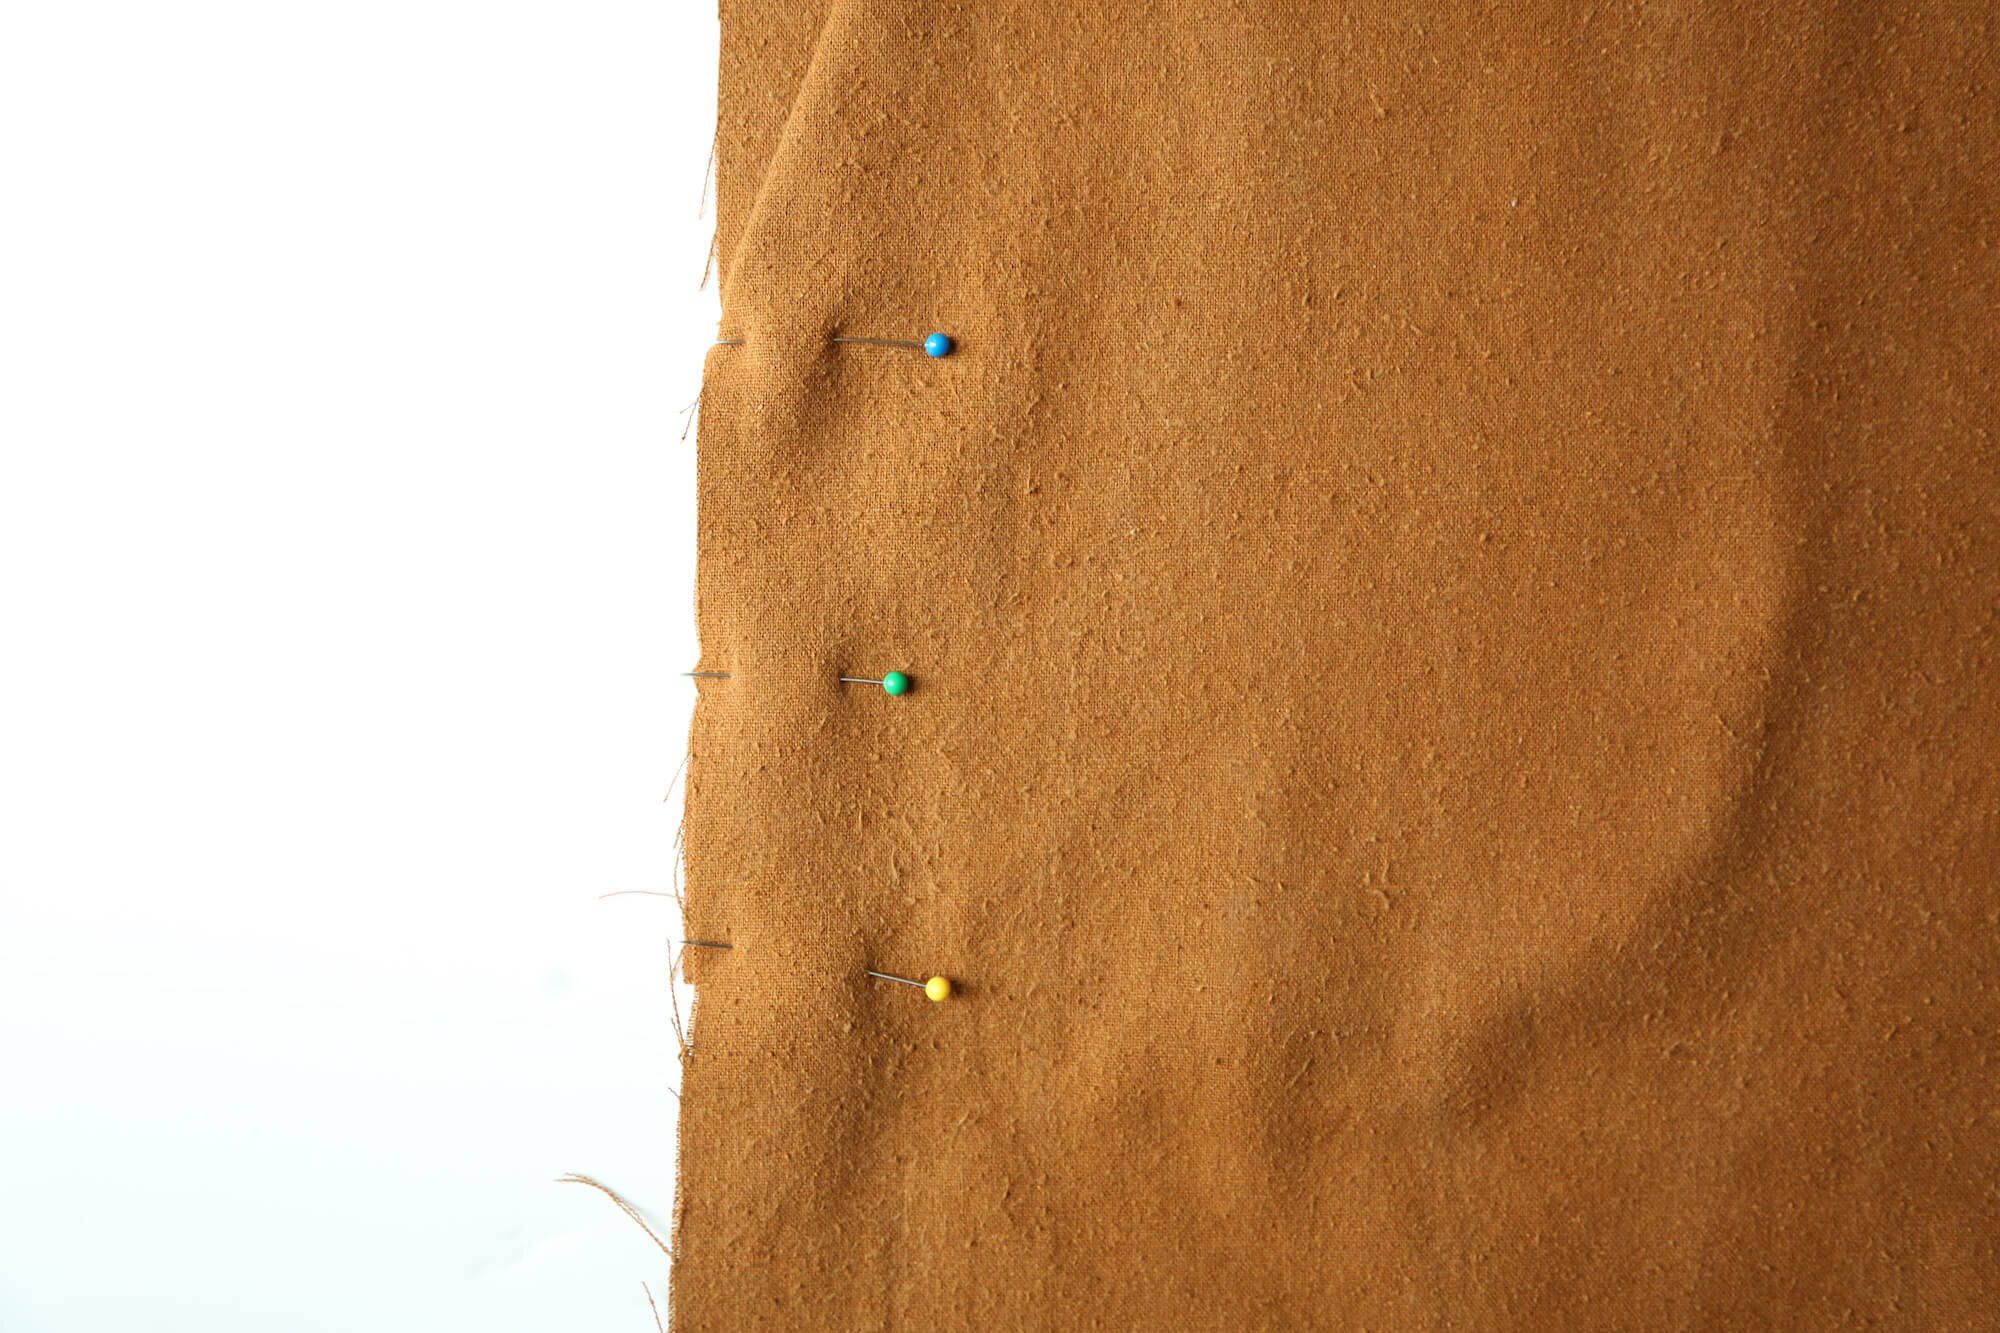
STEP 4 - Sew pockets
Now pin the pocket bags to pocket facings, sew, and finish seams as desired (top left photo, below). Then flip the pockets to the inside of the front pant. Align the edges of each pocket with the side and top of front pant, matching notches as shown in pattern diagrams (top right photo below). Press flat and pin in place at sides and top (bottom photos).
Sewing along with these posts? I’d love to see your progress! Tag me (@madebyrae) and use the #rosepantsalong tag if you’re sewing along with us!
Get pattern details, view size and yardage charts, and materials on the Rose Page