
How to blend sizes for Rose
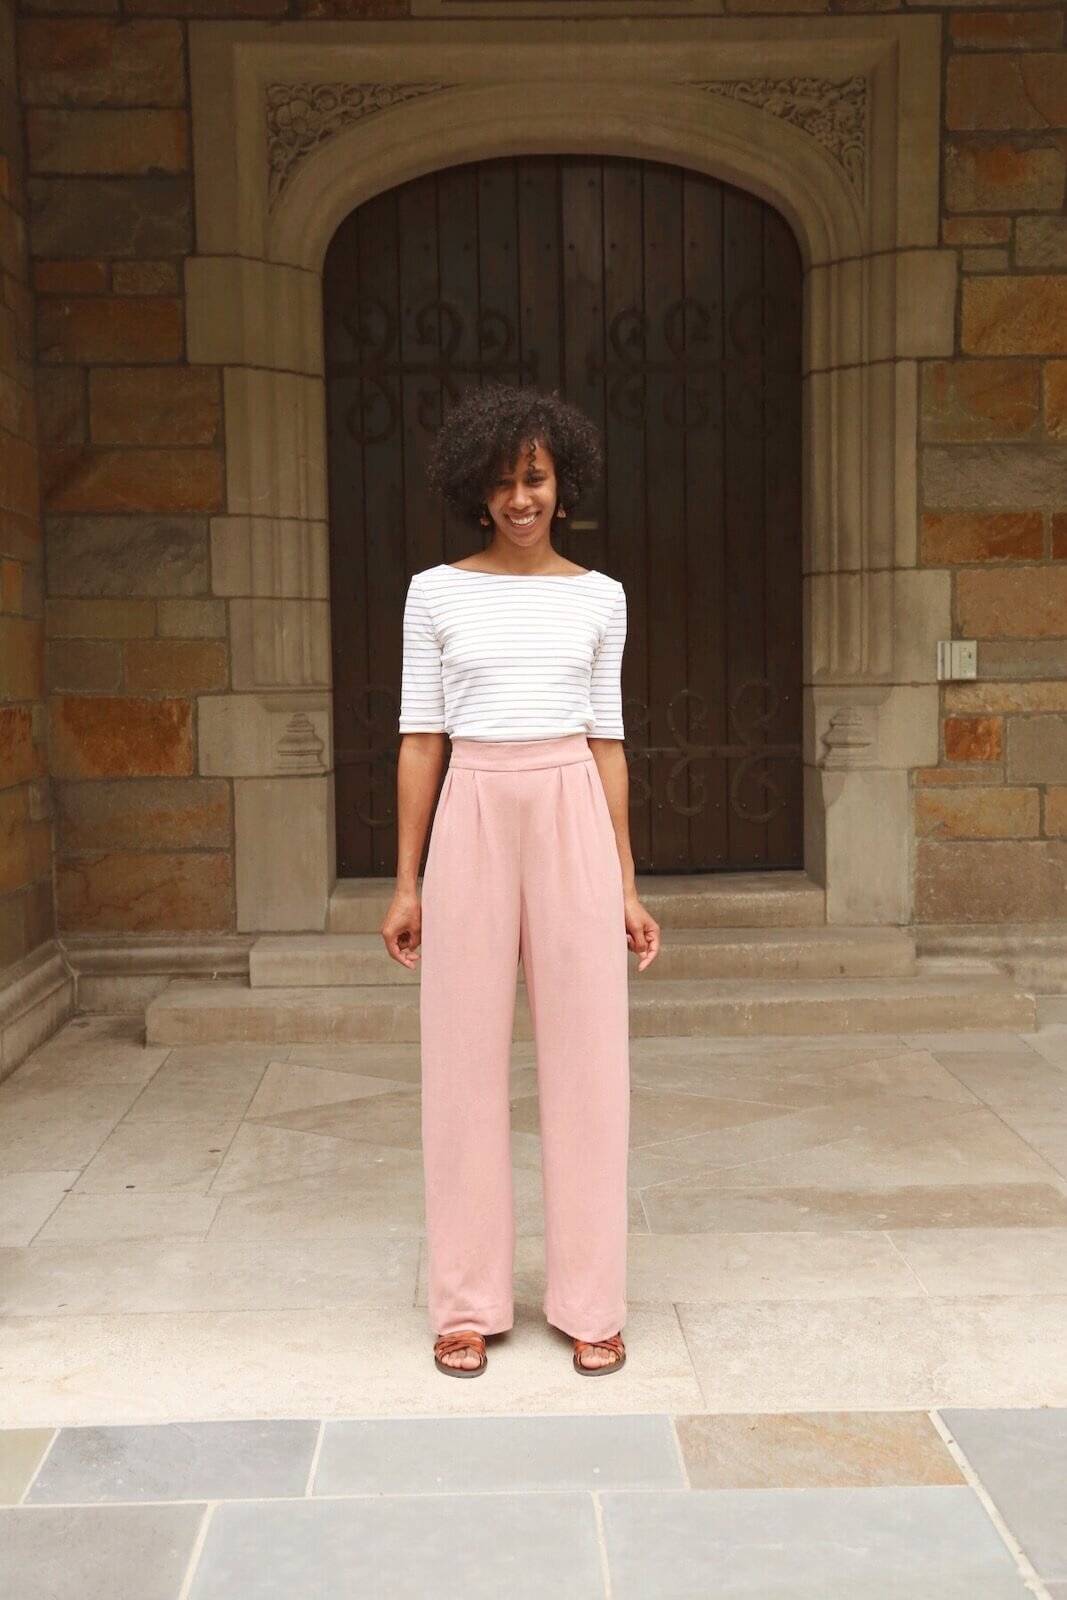
Many of you have asked about how to blend sizes for Rose, particularly if you fall into two different hip and waist sizes on the size chart. I dealt with this issue when I was sewing the pink pair for Cassie that we used for the cover shoot — her waist was 2 sizes smaller than her hip on our size chart, so I had to blend sizes when fitting the pants for her.

Here are a few ideas for how to blend between two different sizes in the hip and waist. I suggest you make these changes on your pattern tracings first or try this with a muslin and then transfer the changes to your pattern (highly recommended!). As a last resort, you can try a fit-as-you-go approach with your fabric, but this is super risky, so proceed at your own risk!
LARGER HIP, SMALLER WAIST
If you have a larger hip size than waist size, choose your Rose size based on the HIP as instructed in the pattern (see also: How to Measure for Pants to make sure you are measuring correctly). Use this size as your “base size.”
There are a number of ways to blend from your base size to a smaller waist size. You can try any, all, or some combination of these to achieve the size blend you need:
Create deeper pleats
This is by far the easiest and simplest way to reduce width in the front pant. To make the top of the front pant narrower, you can create deeper pleats by moving the pleat marks apart as shown in red:

It helps to have your front waistband handy — if you’re going down 2 sizes in the waistband, for example, use the smaller waistband piece as a guide for how much to take out, and make this adjustment after the pockets are added so you can assess how deep to make each pleat.
Use a shorter piece of elastic in back
This is fairly obvious, but when combined with the deeper front pleats, this is another super easy way to make the back smaller without losing width in the back (that you might need to pull them on over your hips)
Take in the center seams

If you’d prefer not to change the pleats at all, you can reduce the width across the front pant or back pant (or both) by taking in the center crotch seam at the top, and blending it down to where the crotch begins to curve. You can draw in the smaller seam line with chalk to serve as a guideline before trimming the pieces if you are trying this on your muslin.
Remember to transfer the new lines over to your pattern pieces so you’ll remember this for future pairs. Note that the red line in this image is the seam line, not the edge of the fabric.
Take in the side seams

You also can take in the side seams above the pocket markings by moving the top outer corners of the pant inward and blending down the side edges, as shown above, in red (note that the lines in this diagram indicate where to trim the edge of the pieces, not the seam lines).
If you are trying this with your muslin, I recommend marking the new side seams with chalk first, basting them together, trying them on to make sure you can still pull the pants over your hips.
Once you have taken them in and are satisfied with the waist width on the pants, make the same width changes to your waistband pieces (shown in blue).

Be careful not to interfere with the pocket openings or pocket markings, especially in front. If you take in the sides too much at the pockets, your pocket openings will get smaller.
Use a woven fabric with a bit of stretch
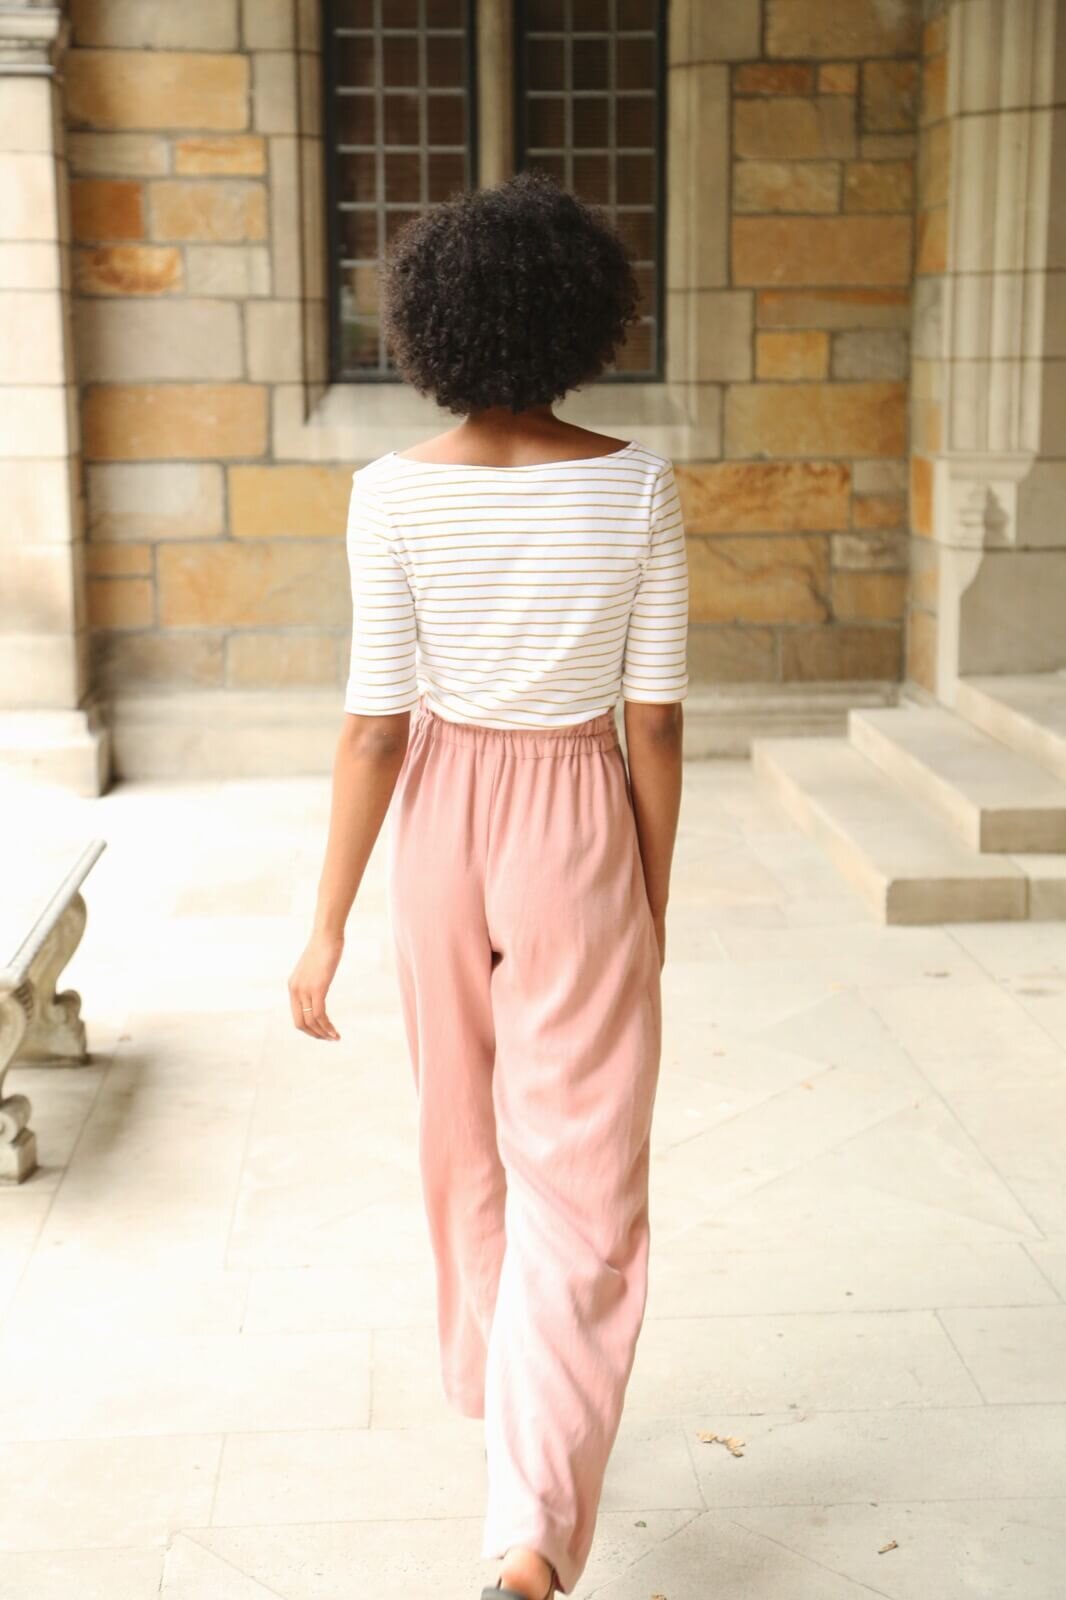
The main factor that will determine how small you can make the waist is your hips: if you can’t pull the pants over your hips, it’s just not going to work. However, I did find in the pair I made for Cassie (shown at the top of the post), that using a stretch woven fabric in combination with taking in the side seams was the perfect solution. The slight stretch in the fabric meant that I could make the waistband slightly smaller than her hips and she could still pull them on. I wrote about that fabric in this post and this post (it’s a viscose linen blend). Here’s a few more photos of that pair:
Consider adding a side zip
For those of you who are blending two or more sizes apart, it is entirely possible that you just won’t be able to achieve the narrower waist fit you want without adding a side zipper. This is definitely possible — you’ll need to attach the front waistband to the front pant and the back waistband to the back pant (rather than attaching the waistband separately after the side seams and inseams as the pattern instructs), so consider this option if you’re feeling stuck. Jess added a side zip to Cleo (which has a similar waistband and pocket construction) and wrote some pointers in this post: How to add a zipper to Cleo.
SMALLER HIP, LARGER WAIST
Ok. So a few people have also asked about blending sizes if you have smaller hip size and larger waist size. In the pattern, we recommend choosing the waist size as your “base size” in this case, but the problem with this approach is that the rest of the pant can look too baggy below the waist without some additional size blending. Consider instead choosing your hip size as “base size” and adding width by basically doing the opposite of the suggestions above:
create smaller pleats
take out the center seams and side seams (trace out to the larger size on these pattern pieces at the top corners)
You’ll want to use the larger (waist) size for your back waistband and front waistband, and use those as a guide for how much width to add using pleat and seam adjustments.
Note that you may still need the added rise that the larger size offers, so you may want to trace to the larger size at the top not only width-wise, but height-wise, or add the extra rise you need using the “Adjust Rise” section at the beginning of the pattern instructions.
I hope this post was helpful! Please add your comments or suggestions if you have tried any or all of these. I’m excited to see your custom-fit Rose pants! Don’t forget to tag me (@madebyrae) and tag your photos with #rosepantsalong if you sew your own pair!
You can find all of the Rose sewalong posts, pattern info, size charts, and a link to the shop over on the Rose page.