
Beatrixalong Day 5: Sleeves
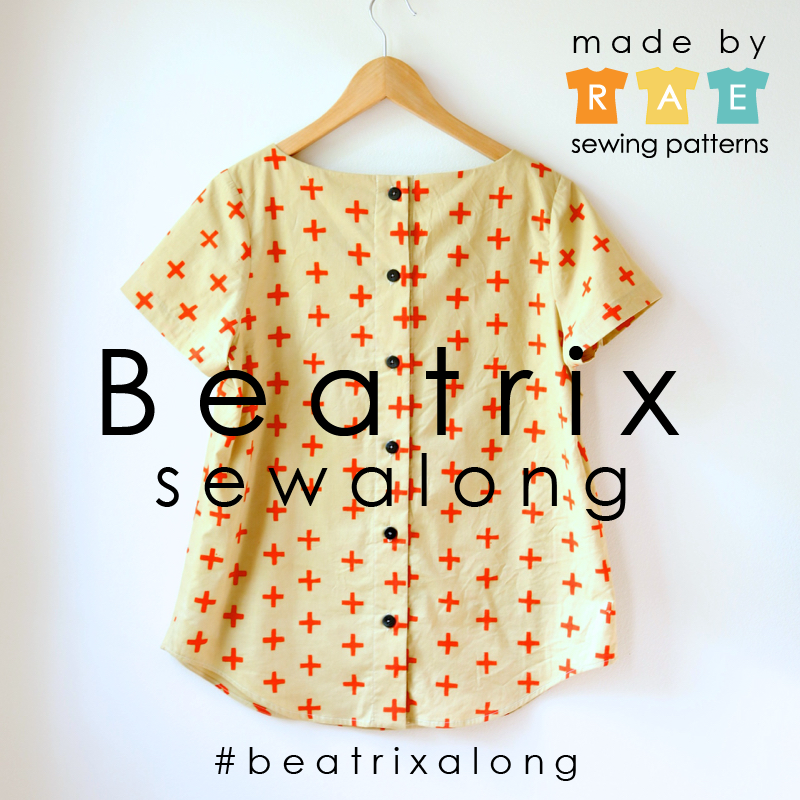
Beatrixalong
Today it’s all about sleeves. Here are the steps we’ll cover:
Baste sleeve caps
Sew inseams
Hem sleeves
Set in sleeves
First let’s prep the sleeves
We’ll start by basting the sleeve cap. Turn the tension on your machine to its highest setting, and then stitch with the longest straight stitch on the wrong side of the sleeve over the top of the sleeve cap between the two notches, 3/8″ away from the edge. Remember to pay attention to right sides and wrong sides! You’ll probably notice as you sew that the fabric is beginning to gather. Leave long tails on your basting threads so you can use it to adjust the amount of gather on the sleeve cap later.

IMG_3700
Go ahead and press 1/4″ and then 3/4″ toward the wrong side along the bottom of both short sleeves so that we can easily hem them up before we attach them to the bodice. This is a hint that is mentioned in the pattern and I thought I’d demonstrate it for the sewalong.

IMG_3701
Sew the sleeve inseams
Pin and sew the sleeve inseams together, making absolutely sure you have two mirror image (one left and one right) sleeves. This is especially important if your fabric is double-sided, like mine:
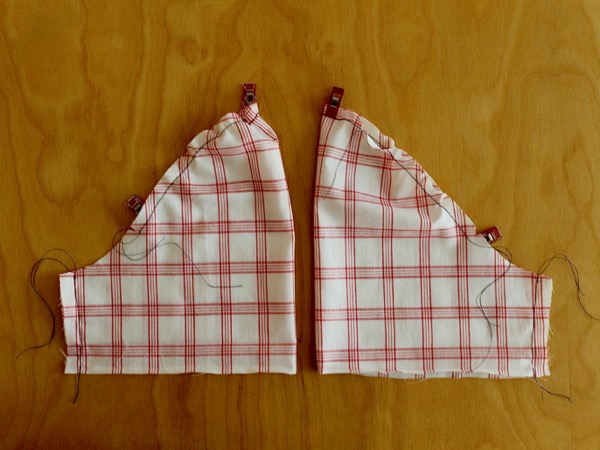
IMG_3705
Now do a quick fit check and slide each sleeve over your arms to make sure they fit. If the sleeves feel tight, you’ll need to consider making a sleeve adjustment (this is a common sleeve adjustment). If they’re too loose, you’ll want to consider taking in the inseams a bit (if you take in more than 1/2″ though, you will probably want to do the same to the bodice side seams). If the length needs adjusting, hem them up/down more or less than the pattern calls for (hemming is coming up, below).
Then finish the inseams as desired; refer to yesterday’s post for more discussion about seam finishes.

IMG_3719
Hem the sleeves
Using the creases you pressed into the bottom of the sleeve earlier, fold up the end of the sleeve, then press and pin it in place.

IMG_3723
Stitch along the second fold to finish the sleeves. Now they should look like this (one is right-side out, the other is inside out)

IMG_3724
Attach the sleeves to the bodice
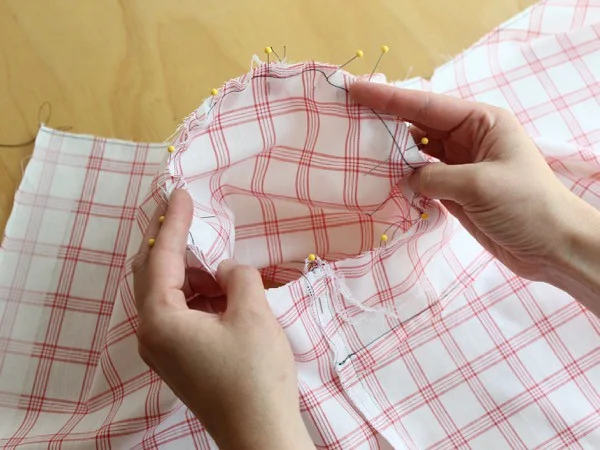
We’re using a set-in sleeve method here. Place the sleeve inside the armhole so that the right sides of the sleeve are facing the right side of your garment, and pin the sleeve inseam at the side seam and the sleeve notches to the armhole notches. Next, pull the gathering threads to adjust the basting stitches (this should be easy to do since you sewed with high tension from the wrong side earlier) so that the sleeve fits nicely inside the armhole. It will look like it won’t fit, but do your best to move the gathers around so that they are distributed as evenly as possible between the notches.
Beatrixalong Day 5
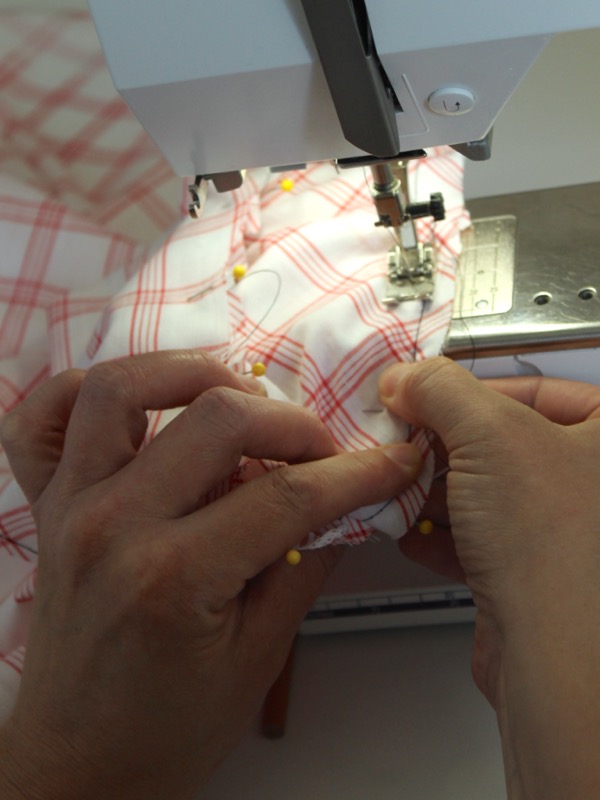
Beginning at the inseam, and with the sleeve on top and the bodice on the bottom, sew the two together, going VERY SLOWLY, and making sure the gathers don’t fold under the presser foot and make puckers. It helps to stretch the armhole slightly as you sew to ease in the extra sleeve ease.

Beatrixalong Day 5
It’s also very important to stay 1/2″ away from the edge — remember that the very top of the sleeve is longer than where the seam line should be, so if you’re sewing too close to the edge it will actually be harder to set in the sleeve. You should be 1/8″ away from the basting stitches, not right on top of them.

Beatrixalong Day 5
Beatrixalong Day 5
When you’re finished it should look like this:

Beatrixalong Day 5
Now press the seam towards the sleeve (notice that I’m using my pressing ham here again), then trim the seam allowances to 1/4″ and finish them as desired.

Beatrixalong Day 5
Voila! Set-in sleeves!!! Congratulations, this is a pretty advanced sewing technique, so even if it doesn’t look perfect, you should be very proud of yourself! Sometimes I need to go back and un-sew a pucker in the sleeve cap and re-sew it, and if you need to do that, it’s OK.

Beatrixalong Day 5
Notice that the sleeve cap has a slight puff to it at the top, but there are no visible gathers. The purpose of this is to create space for your shoulder while still maintaining a sleeve that is fairly fitted and rests nicely without wrinkling under the arm when worn. If you’re interested in the Science of Sleeves, I highly recommend this sleeve drafting post by my friend LiEr that gets into the relationship between the sleeve and the armhole.

Beatrixalong Day 5
OK, let’s review today’s assignment:
Baste sleeve cap
Sew inseams
Hem sleeves
Set in the sleeves
And here’s your extra credit assignment:
Post a photo to Facebook, Instagram, or Flickr showing me hard evidence you’ve done something from today’s sewalong post with the tag #beatrixalong. If you blog about it, post a link in comments.
Remember, you can sign up to receive my blog posts via email here so you won’t miss any of the sewalong posts!