
Beatrixalong Day 6: Facings
It’s Day 6 of the #Beatrixalong…two days to go (if I manage to get all these photos uploaded, that is)! Ack.
If you’re just joining us, we’re sewing with my newest pattern, Beatrix. You can find the introductory post here with basic info and a timeline for the sewalong. And here are Day 1, Day 2, Day 3, Day 4, and Day 5 if you want to go back and see what we’ve done already.
Beatrixalong
Today we’ll finish the neckline and prepare the back extension:
Sew facings together
Fold and press back extension; stitch at top and bottom
Attach facings
Clip and understitch neckline
First, assemble your facings
Sew the Front Facing to the Back Facings together at the shoulders. Press seam allownces open (no need to finish those seam allowances), then finish the outer curved edges with pinking shears, or with a zigzag or overlock stitch. Set the facings aside for a moment.

Beatrixalong Day 6
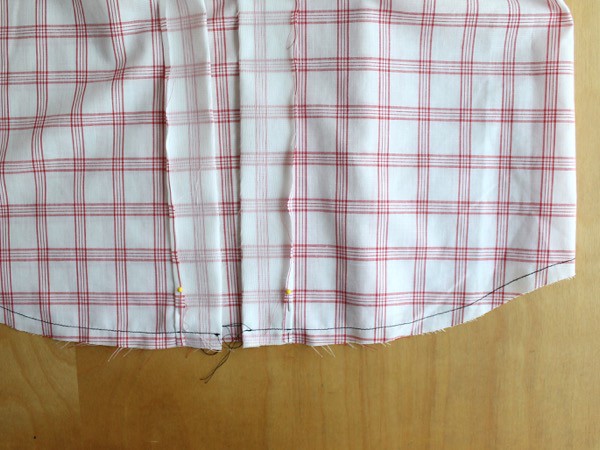
Now, prepare your button placket for finishing:
On each side, fold the button placket along the second placket fold line toward the right side and pin the top and bottom in place.

Beatrixalong Day 6

Beatrixalong Day 6
Stitch across the top edge of the folded portion with a quarter-inch seam (note narrower seam allowance at neck) on each side.

Beatrixalong Day 6
Stitch across the bottom edge of the folded portion with a half-inch seam. Continue sewing around the entire bottom of the garment, half an inch from the edge. Finish by stitching across the other side of the folded portion. This line of stitches along the hem will make pressing and sewing easier when we do the hem tomorrow.
Beatrixalong Day 6
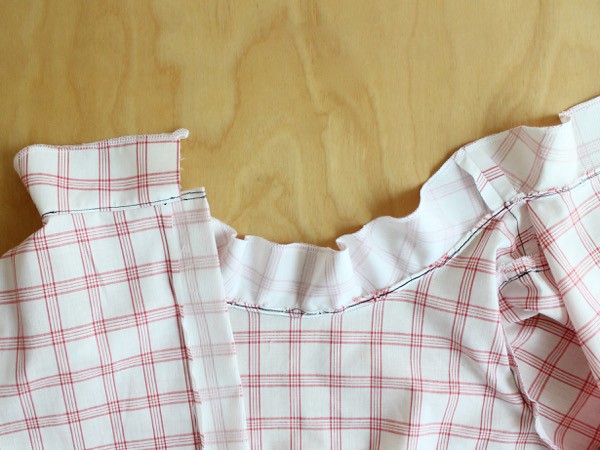
Attach the facings to the neckline
Pin the assembled facings to the garment neckline with right sides together (note: the button placket is still folded to the right side), lining up center notches and shoulder seams. The ends of the back facings should cover about half of the folded portion of the placket.
Stitch around the neckline with a quarter-inch seam (IMPORTANT: Note smaller seam allowance).

Beatrixalong Day 6
Clip neckline seam allowances.

Beatrixalong Day 6
Press the both facings and the neckline seam allowances upward, away from the garment.
Now we need to understitch the facings to help keep them inside the top when you're wearing it. To understitch, sew the neckline seam allowances and facings together (three layers of fabric), an eighth-inch away from the neckline seam as shown below. Don't skip this step!!!

Beatrixalong Day 6
This is what your understitching will look like from the inside of the garment when its finished:
Beatrixalong Day 6

Beatrixalong Day 6
And that’s it for today!
OK, let’s review today’s assignment:
Sew facings together
Fold and press back extension; stitch at top and bottom
Attach facings to neckline
Clip and understitch neckline
And here’s your extra credit assignment:
5. Post a photo (crappy phone pics are fine) to Facebook, Instagram, or Flickr showing me hard evidence you’ve done something from today’s sewalong post with the tag #beatrixalong. If you blog about it, post a link in comments.
Remember, you can sign up to receive my blog posts via email here so you won’t miss any of the sewalong posts!