
Beatrixalong Day 7: Flip facings & Sew hem
Day 7 of #Beatrixalong is upon us!
If you’re just joining us, we’re sewing with my newest pattern, Beatrix. You can find the introductory post here with basic info and a timeline for the sewalong. And here are Day 1, Day 2, Day 3, Day 4, Day 5, and Day 6 if you want to go back and see what we’ve done already.
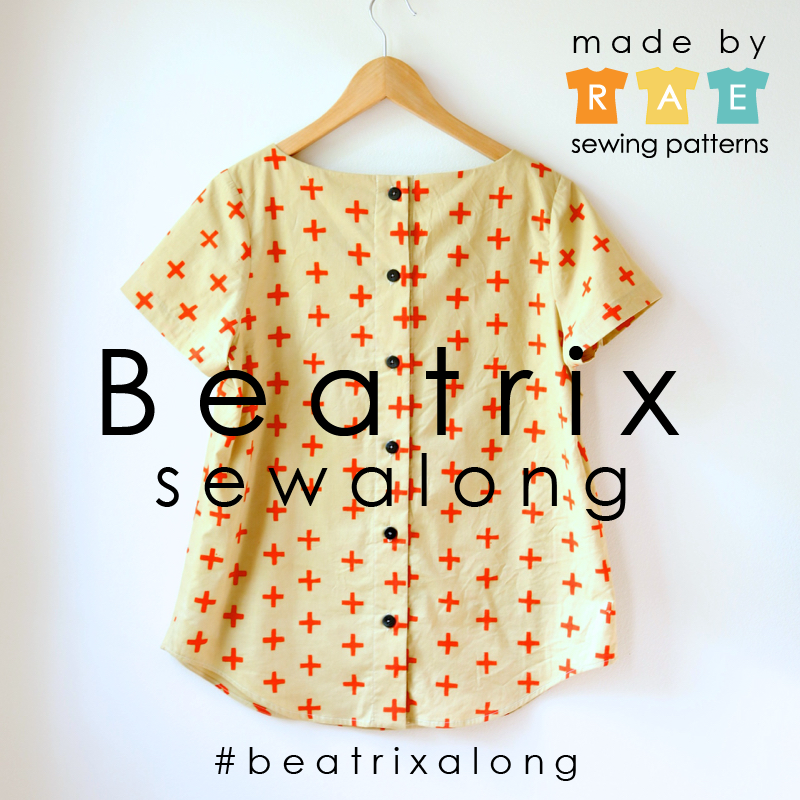
Beatrixalong
We’re almost done! Here’s what’s on the agenda for today:
flip facings and button plackets to the inside
finish the button plackets
sew a curved hem
Flip facings to the inside of the garment
First, flip your newly-understitched neckline facings to the inside of the garment and press them in place.

Beatrixalong Day 6
Carefully press all the way around the neckline.

Beatrixalong Day 6
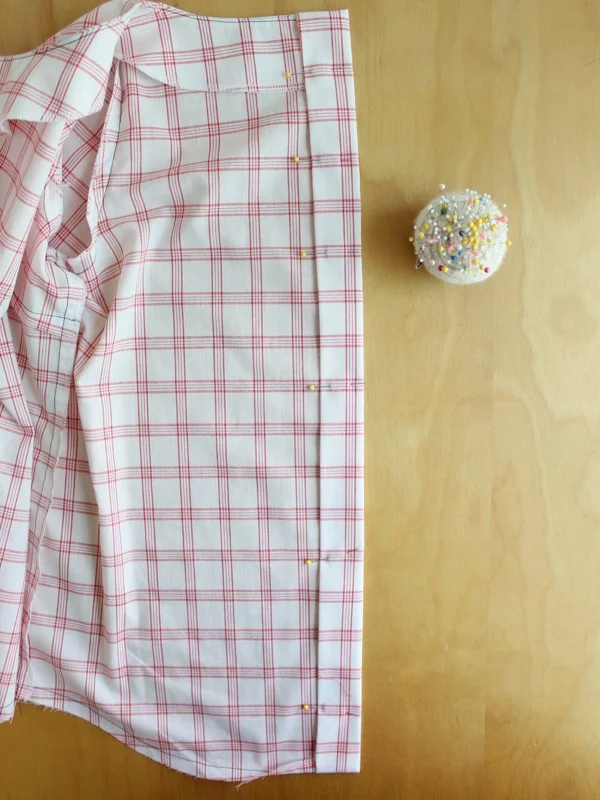
Now flip the button plackets to the inside
Go ahead and clip the bottom corners of the placket below the seam allowance. You can clip the top ones too if you like.

IMG_3811
Then flip the button plackets to the inside of the garment, poke those corners out with a pointy object, and press and pin them in place:
IMG_3814
Make sure the facings are tucked nice and flat underneath the edge of the placket before pinning. Notice that the hem gets folded up nicely into the bottom of the placket!

IMG_3840
Secure facings at shoulders
Once the facings are flipped to the inside and the neckline is pressed, I also like to stitch in the shoulder seam (from the outside; this is called “stitching in the ditch” because you sew right down the groove formed by the seam) through the facings to really help them stay put when you’re wearing your top.

IMG_3843
Time for the curved hem!
Just a note on curved hems: the stitching line you made earlier around the bottom makes this hem super-easy to press and sew. Another thing that makes a curved hem easier is EXTRA PINNING!!! As noted in the pattern, you can also use Wonder Clips or Wonder Tape instead of pins, and I do recommend this if you’re using a really slippery or delicate fabric, but in general, the more pinning you do, the better.
So let’s start by pressing the bottom edge of the hem up to meet the line of stitches you made earlier.

IMG_3819
Then fold up again at the stitching line (the stitching line will be at the very bottom edge of your hem), and press and pin this in place.

IMG_3823

IMG_3831
You can always pull the stitches out later if you don’t like them hanging out at the bottom of your hem, but I find that as long as I use a thread that matches my fabric, they really aren’t noticeable. In this case I’m using black thread so you can see what I’m doing in the photos more clearly, so I’ll probably go back and pull that out later.

IMG_3834
Stitch around plackets and hems
I love this step. It’s so satisfying, because you can sew the plackets shut and finish the hem all in one go. I start at the top of the back right placket and sew down that placket edge:

Beatrixalong Day 7
Then pivot at the bottom corner and sew around the entire hem:

IMG_3854
Pivot again at the bottom of the left button placket, and then sew up that placket edge.

IMG_3856
When you’re finished it will look like this!

IMG_3870

IMG_3866
Now press the heck out of that seam so it’s nice and flat, and now you’re ready for buttonholes and buttons! We’ll tackle those tomorrow, wooooot we’re almost finished!!!!
OK, Let’s review today’s assignment:
Flip facings to inside and press
Flip button plackets to inside and press
Pin and sew shut plackets and curved hem
And here’s your extra credit assignment:
Post a photo to Facebook, Instagram, or Flickr showing me hard evidence you’ve done something from today’s sewalong post with the tag #beatrixalong. If you blog about it, post a link in comments.
Remember, you can sign up to receive my blog posts via email here so you won’t miss any of the sewalong posts!