How to make high-waisted Luna Pants
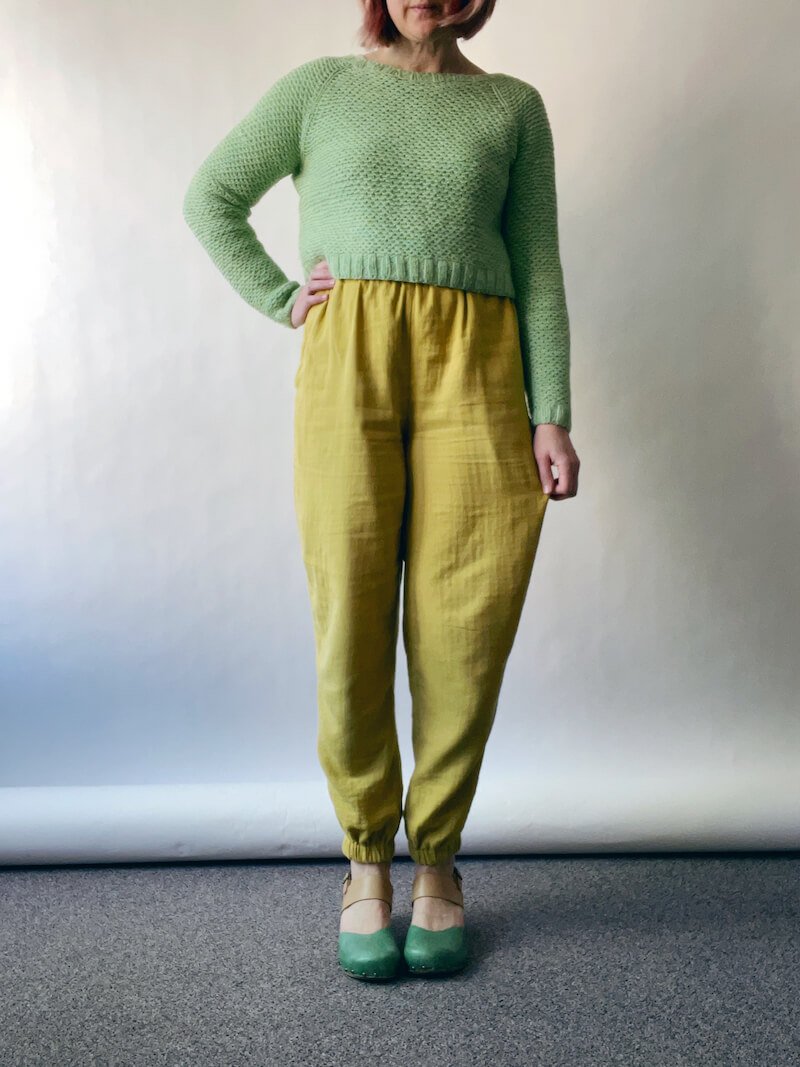
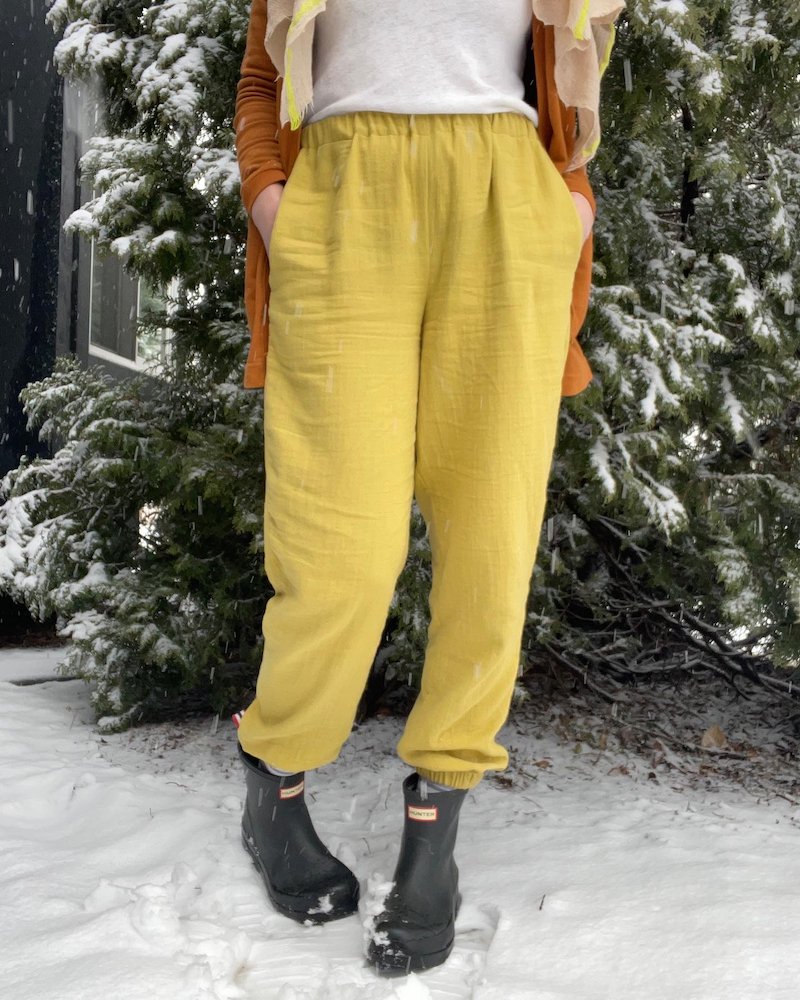
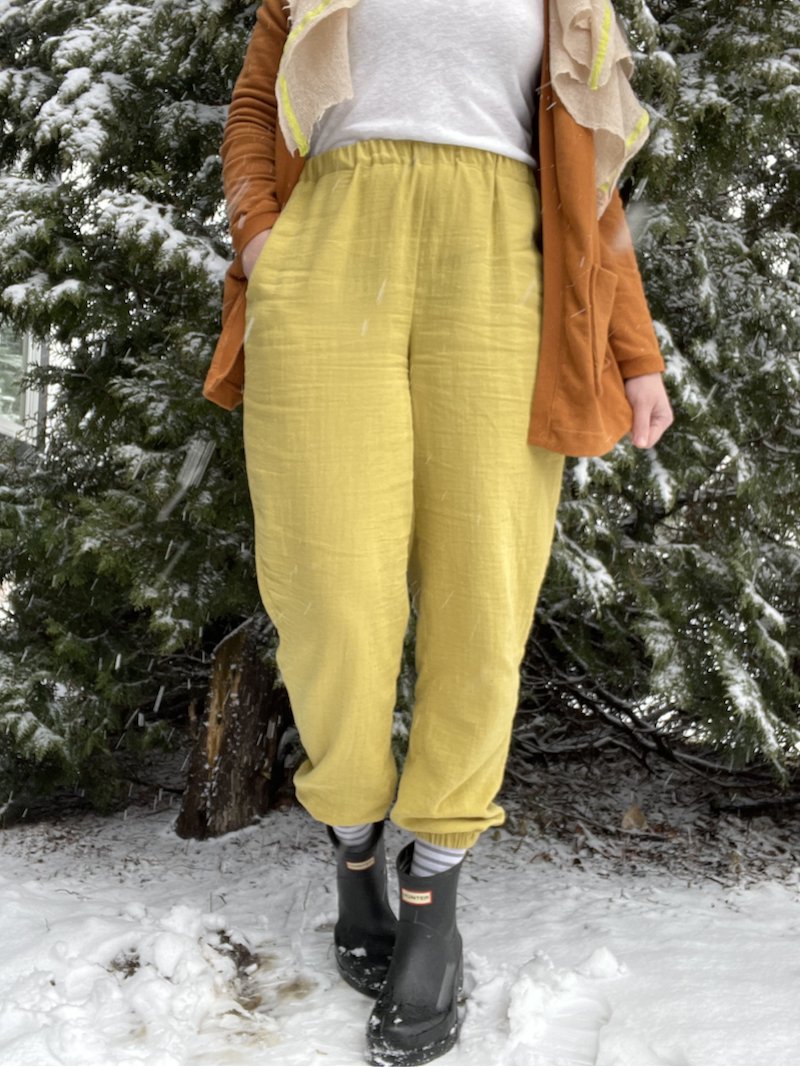
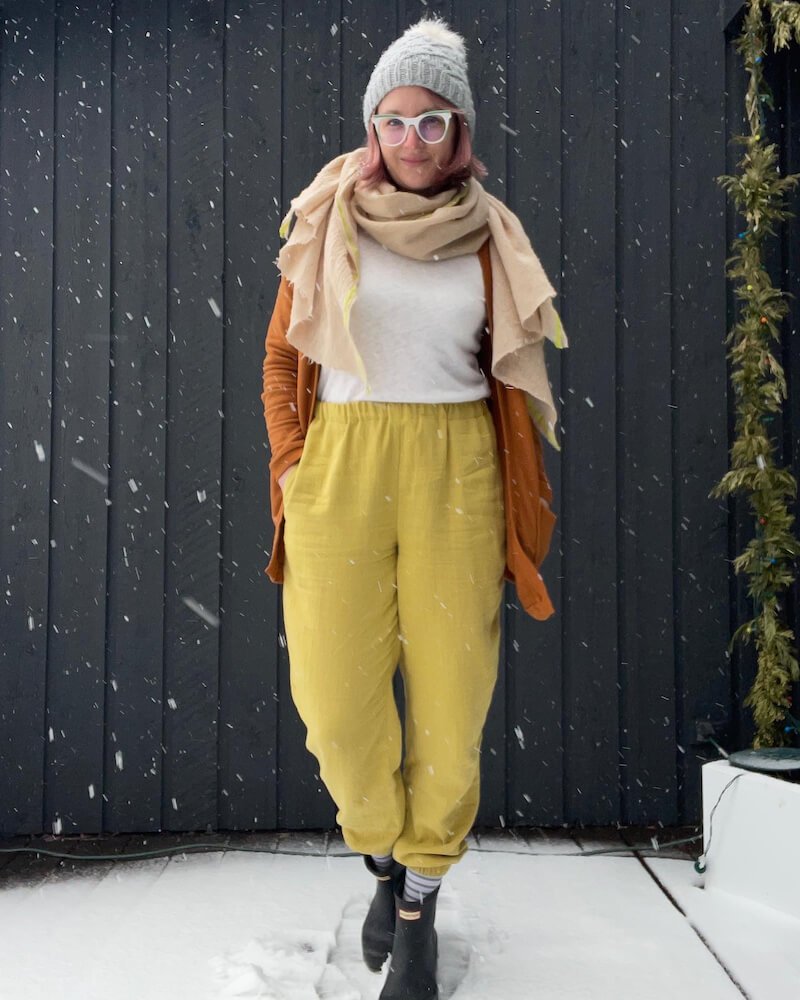
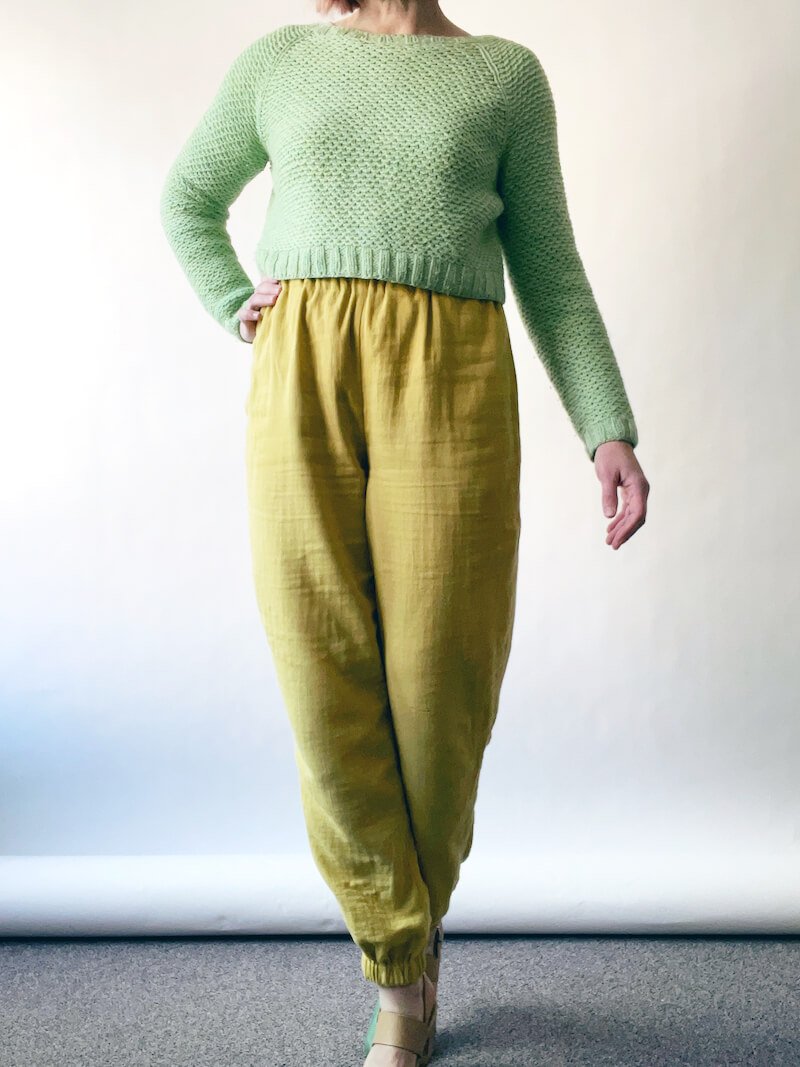
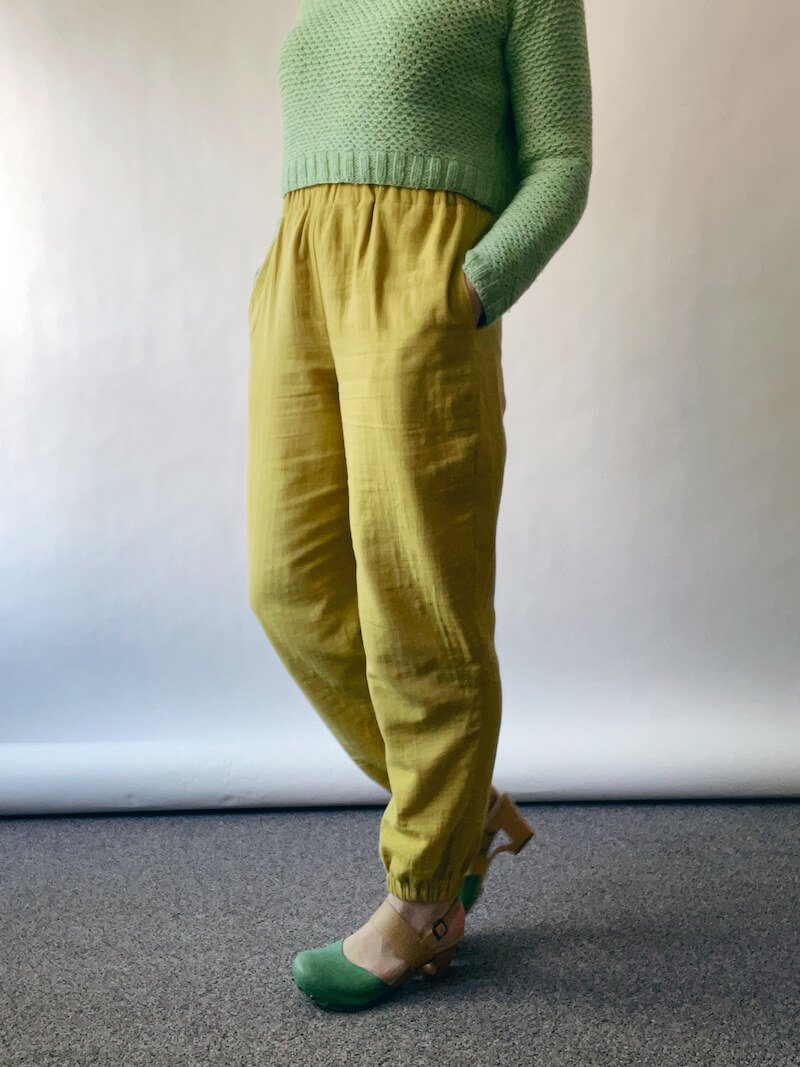
My first make of 2022 is this pair of double gauze high-waisted Luna pants. My “winter uniform” often consists of a pair of Luna pants, a merino wool Jade tee, and a hand-knit sweater. The reason I love my Lunas in winter so much is that they tuck nicely into boots and are a level above sweatpants if you’re counting dressiness (which I generally do not). I do wear long underwear under them when the temps are super cold.
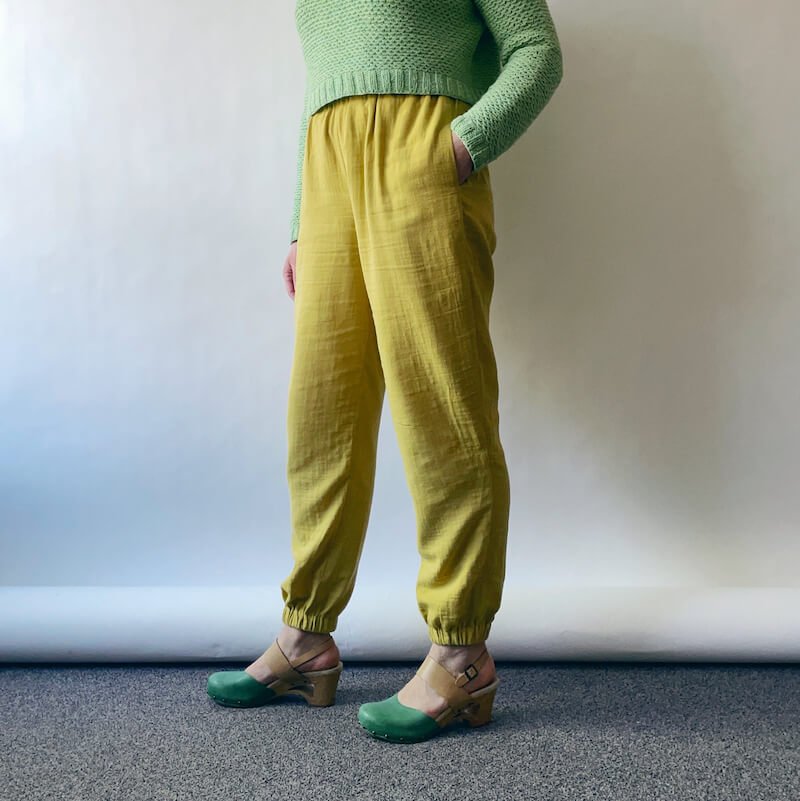
I’m busy and I don’t have much time to sew, so I really try to make things that will last. One of my favorite pairs of Lunas (this Chambray Rustica pair) that I wore ALL the time kept splitting along the back crotch seam, but I loved that they were solid and went with everything. In retrospect I don’t think it was a great fabric choice, since the weave was suuuuper loose, so even with extra seam finishing and reinforced stitching, I finally gave up mending them. On the other hand, this double gauze pair has stood up surprisingly well over the past seven or eight years (?!). So here I was going for long-lasting, and solid. The high-waist hack came about because I also wanted a pair that I could wear with all of these cropped sweaters I’ve been knitting.
HOW TO MAKE HIGH-WAISTED LUNA PANTS
Here’s how to modify the pattern pieces of the Luna pattern before cutting out your fabric to make them high-waisted.
If possible, I recommend creating a new set of pattern pieces with these mods using tracing paper rather than cutting into your pattern pages. See this tutorial: How to Trace a Pattern for some tips on tracing patterns.
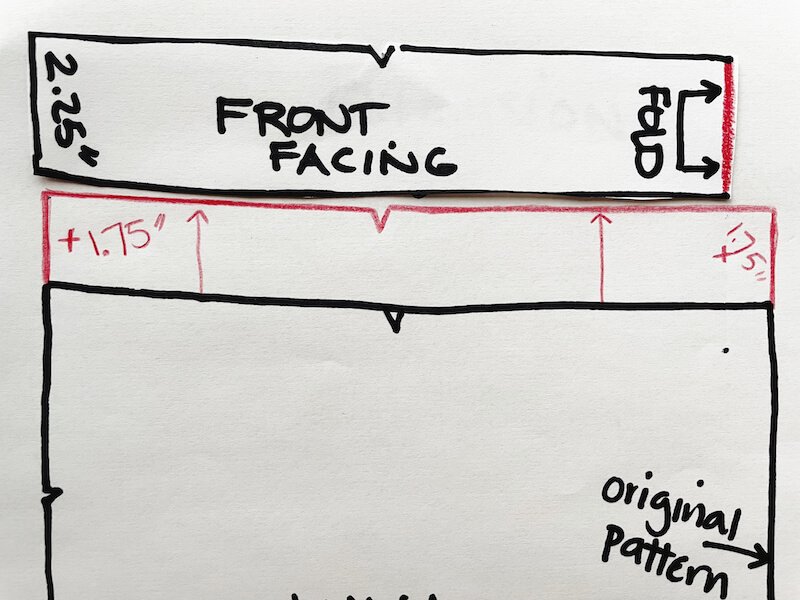
Step 1. Extend the FRONT pattern piece
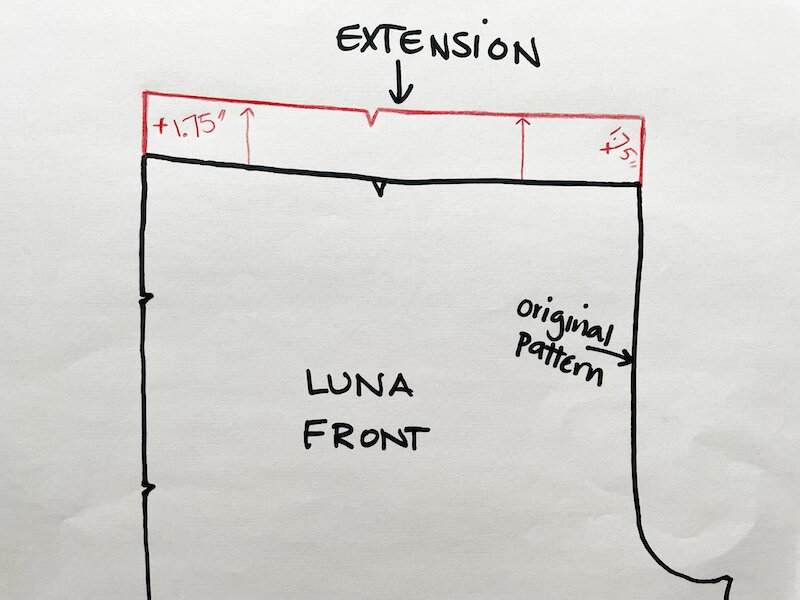
On the FRONT PANT, add an extra 1.75” along the top edge of the pattern piece. Extend 1.75” upward at the side seam and center front, then connect the two sides.
Step 2. Extend the BACK pattern piece
This is done by adding the same amount to the front pattern piece at the side, but gradually reducing the amount added at the back center seam. The reason this is done in a non-uniform way is that the original pattern features a contoured waistband that is higher in the back than the front, but when you extend it to make it high-waisted, you don’t want as much contour.
On the BACK PANT pattern piece, extend the side seam upward by 1.75” and the center back seam line upward by 1.” Then redraw the top of the pattern piece, blending the waist curve between the two sides:

Step 3. Extend the POCKET pattern piece

Extend the pocket piece by 1.75” at the top. Since the top of the pocket is fastened under the waistband facing, you need to extend the pockets to reach the waistband.
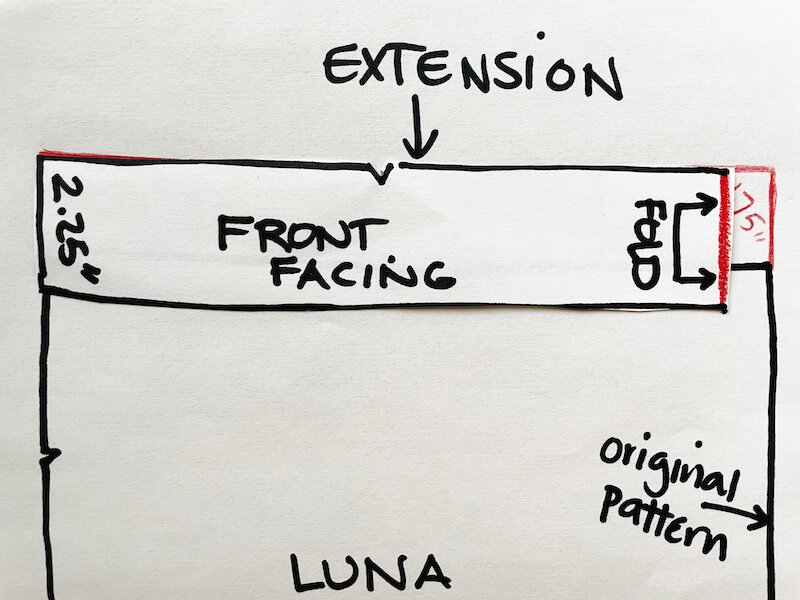
Step 4. Redraw the FRONT and BACK FACINGS
The final step is to redraw the front and back facings, which are 2.25” wide, along the new waist curve. It’s entirely possible that your front facings will still fit, but your back facings will need to be modified, as the back curve was added to in a non-uniform amount.
Trace the waistline at top and side to create your new 2.25”-wide facing pieces (front facing shown here).
Remember that since the facings are cut on the fold, you’ll need to omit the 1/2” of seam allowance at center front and center back, and replace it with a fold arrow, as shown below:
Repeat for the back facing, and you’re ready to cut out your fabric and sew your Lunas together as instructed in the pattern!