
Beatrixalong Day 8: Buttons and Buttonholes
We did it!!! It’s the eighth and final day of #Beatrixalong!!
If you’re just joining us, we’re sewing with my newest pattern, Beatrix. You can find the introductory post here with basic info and a timeline for the sewalong. And here are Day 1, Day 2, Day 3, Day 4, Day 5, Day 6, and Day 7 if you want to go back and see what we’ve done already. I’ll keep all these posts live, so you can always come back for a refresher!
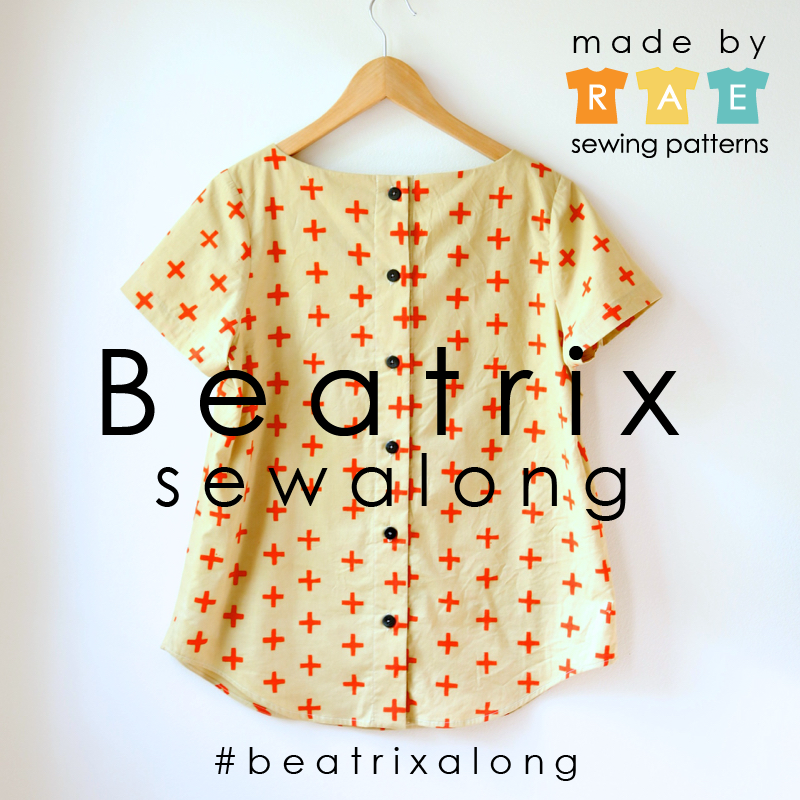
Beatrixalong
Today is Button Day:
Mark and sew buttonholes
Mark and sew buttons
Mark Buttonholes
Use the button template provided to mark the buttonhole locations on the left button placket. I usually use a disappearing fabric pen with a hard enough tip to poke through the paper to mark the center dots. You could also use a hole punch to make a hole in the center of each button on the template.

Beatrixalong Day 8

Beatrixalong Day 8
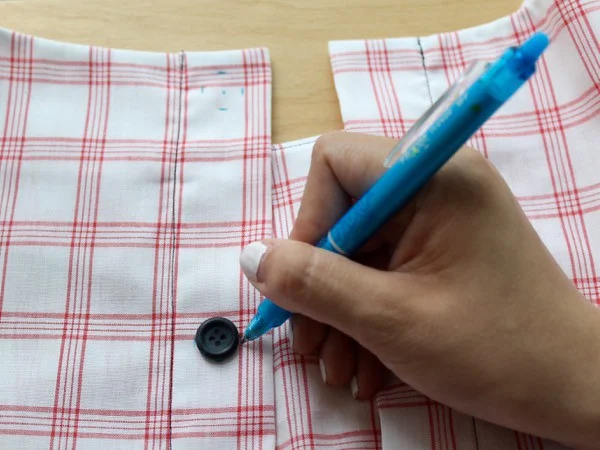
Center your buttons over the buttonhole markings and mark just above and below each button. You can draw a straight line between these two marks if you need a guide for sewing (not pictured).
Beatrixalong Day 8
Practice a buttonhole.
I can’t stress this enough. On a scrap of the same fabric as your real-live Beatrix, do a test run. Haul out your sewing machine manual if you need a refresher on the settings, and once you have a buttonhole, check to see if your button fits through it!

Beatrixalong Day 8
Sew your actual buttonholes
Sew each buttonhole on your Beatrix. Use a needle to pull any threads through to the inside of the garment, then tie them in a knot and trim the threads

Beatrixalong Day 8
Carefully cut open each buttonhole with a seam ripper or small scissors. Be very careful!! This works best with a sharp seam ripper.

Beatrixalong Day 8

Beatrixalong Day 8

Beatrixalong Day 8
After you have completed the buttonholes, line up the left placket directly over the right placket and use a marking pen to mark the button locations through the center of each buttonhole so that they will be perfectly aligned.

Beatrixalong Day 8
Sew on the buttons

Beatrixalong Day 8
And look, it’s finished!

Beatrixalong Day 8
Oh heeyyyyyy there, Beatrix!

Beatrixalong Day 8

Beatrixalong Day 8
OK, let’s review today’s assignment:
Mark buttonholes
Sew buttonholes and cut open
Mark buttons on other side
Sew buttons on
And here’s your extra credit assignment:
5. You did it! Put your Beatrix on and strut around!
6. Post a photo (crappy phone pics are fine) to Facebook, Instagram, or Flickr showing me hard evidence you’ve done something from today’s sewalong post with the tag #beatrixalong. If you blog about it, post a link in comments.
Remember, you can sign up to receive my blog posts via email here.