
Luna Pantsalong Day 4: Steps 1-4
Now it’s time to sew your Luna Pants! In this post I’m going to cover Steps 1-4 of the Luna Pants sewing instructions. You’ll need your cut pieces (see the last post on cutting for some hints and visual aids) and your copy of the instructions handy to complete this portion of the sewalong.

Luna Pantsalong Day 4
Here are the previous Pantsalong posts:
Let’s have a Luna Pantsalong!
Luna Pantsalong: Inspiration
Luna Pantsalong: Planning
Luna Pantsalong Day 1: Measure, Print, Tape, and Trace
Luna Pantsalong Day 2: Make a Muslin
Luna Pantsalong Day 3: Cutting
(you can find the Luna Pants sewing pattern here if you need it)
First, I want to remind you that the seam allowance for this pattern is 1/2″ for all seams (except for the very first step, as noted), and all seams are sewn with right sides together. After sewing each seam, you should press it, and then finish it as desired. You can download and print my free Seam Finishes printable for reference. I’ve also posted about some of my favorite seam finishes in this post.

Luna Pantsalong Day 4
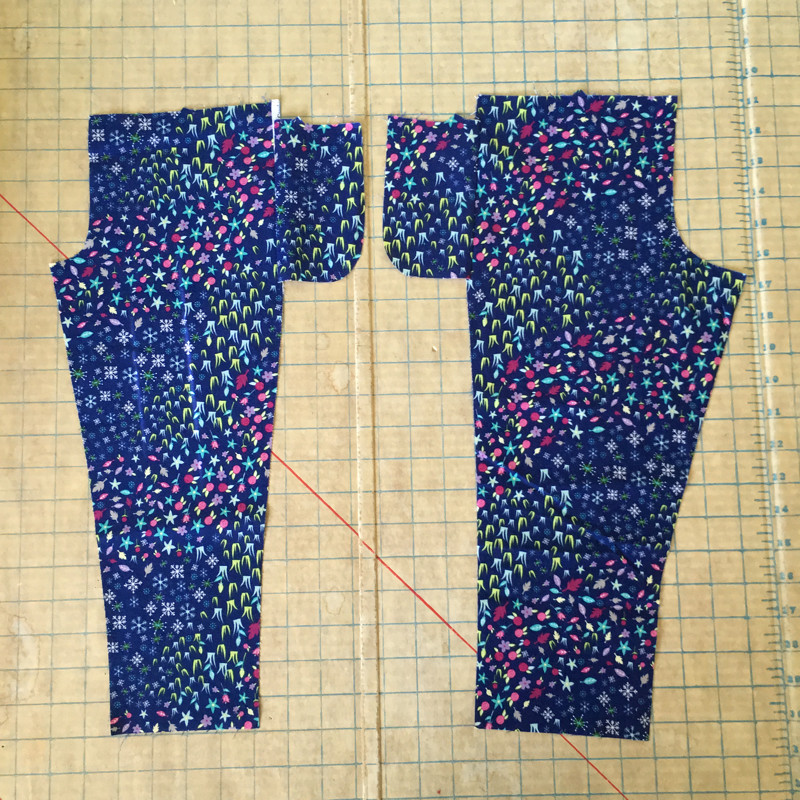
Step 1: Attaching the pockets
For this step, each of the four pant pieces needs to have a pocket attached at the side. To do this, pin one pocket to one pant leg at the notches, and sew each pocket on with a 3/8″ seam, one at a time. Note that this is the only time you’ll use a 3/8″ seam in this pattern; you want your pockets attached with a slightly smaller seam allowance than you’ll use to sew the side seams in Step 2.
Hint: After you’ve pinned each pocket to each pant piece, line up the sides to make sure that all of the pockets are the exact same distance from the top of the pants. This will help make sure that all of your pockets will line up nicely when it’s time to sew the pockets together.
Luna Pantsalong Day 4
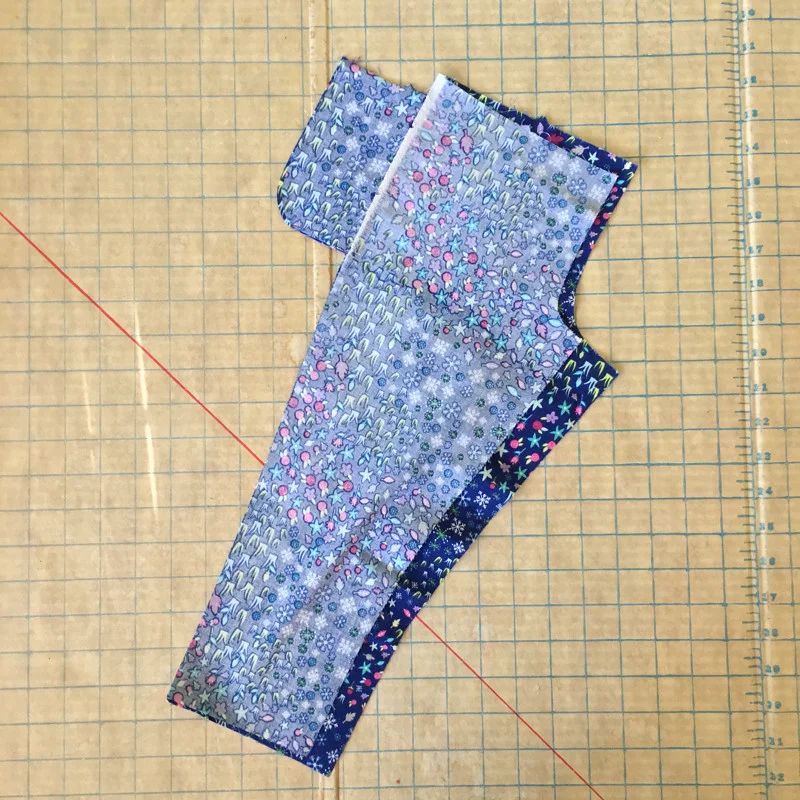
Press the pocket and seam allowances towards the pocket, away from the pant leg (so outward, if you’re thinking of it relative to the body once they’re worn). For the seam finish here, I like to zig zag the pant/pocket edges together from top to the bottom of the pockets, or use a serger. If you would like, you can also finish the entire side seam edges of the pant pieces at this time; it’s somewhat easier if you finish the edges before you sew the next step.
Hint: If your seam finishes make it hard to see the notches (for instance, my serger trims off the edges), use a piece of chalk to re-mark the notch locations.
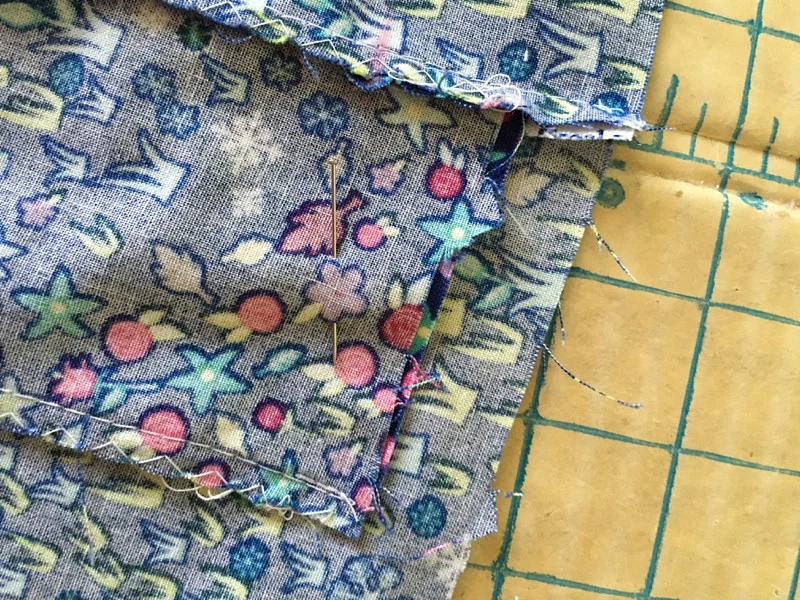
Step 2: Sew side seams and pocket seams
For this step, you’ll sew each front pant to its corresponding back pant (VERY IMPORTANT: DO NOT SEW A FRONT TO ANOTHER FRONT) along the side seams, and attach the front and back half of each pocket together. Before you sew, first pin the pieces together, and carefully line up the pocket seams so that they are directly on top of each other. It helps to pin through the pocket seams and then turn it over and check on the other side to make sure they’re lined up.
Luna Pantsalong Day 4
Then sew each front and back together along the side seams with a 1/2″ seam, from the top edge of the pants to the first notch and from the bottom notch to the hem of the pants. Since your seam allowance is 1/2″ hear, you’ll notice that this should be 1/8″ inward from the pocket seams you just sewed. Leave a gap between the two notches, and backstitch a few times at each notch. Since your hand will go in the pockets between the two notches, there is a fair amount of stress on this seam, so it helps to backtack, especially at that lower notch.

Luna Pantsalong Day 4
Now sew the pockets together along their curved edges (not the flat top part — that will get encased by the waistband facing later). Start from the top edge of the pocket, go around the curve, and stop at the side seam line (don’t go over the side seam stitches!!!).
I like to finish the edge of the pocket and the side seams all at once, by zig-zagging (or serging) from the top corner of the pocket, down the curved edge of the pocket, pivoting when I get to the side seam, and then continuing down the entire side seam to the hem. It’s not necessary to finish the small edge of the side seam above the pocket, since that will be hidden by the waistband later.

Luna Pantsalong Day 4
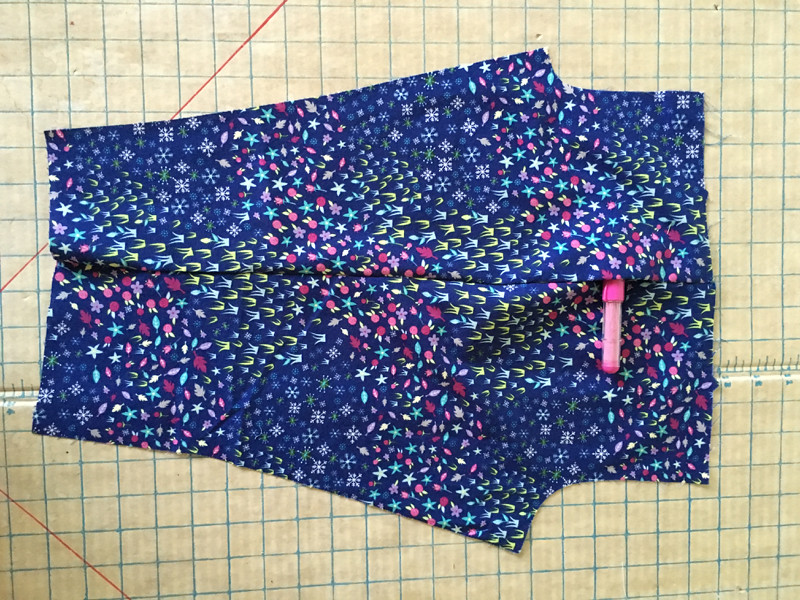
Press the pockets and side seams towards the front of the pants. Pin or baste the pockets in place so their tops are parallel to the top edges of the front pants. This will help prevent you from accidentally sewing the tops of the pockets into the top waistband seam later.
Luna Pantsalong Day 4
Now you should have two nice half-pants with a hole where the hand will go for the pockets!
Luna Pantsalong Day 4
Step 3: Sew center seams
Place the two pant-halves together, with the two front crotch curves lined up and the two back crotch curves lined up, right sides together.

Luna Pantsalong Day 4
Sew the front center seam and the back center seam, just along the curved portions (IMPORTANT: DON’T CONTINUE DOWN THE LEG!)

Luna Pantsalong Day 4
Finish the seam as desired. I like to press these seams to one side, use a pinking shears to trim them, and topstitch them down. Another nice option is to press the seam allowance apart and fold under and stitch down (shown below).

Luna Pantsalong Day 4
Step 4: Sew Inseams
Before I sew the inseams, I like to do something that will save a little time later: press up the cuff allowance at the bottom of each pant leg. This will make it easier to fold up and stitch the cuffs in Step 7. First fold 1/4″ up and press along the bottom of each pant leg, and then fold up and press another 1 1/4″

Luna Pantsalong Day 4
Now pin the pants together along the inseams, starting with center front and back (crotch) seams together, then pinning the bottoms of the pant legs together, and then adding a few more pins along the length of the inseam.

Luna Pantsalong Day 4
Sew both inseams downward, starting at the center/crotch and sewing toward the ankle. This is especially important if you’re using a lightweight fabric such as rayon, but no matter what fabric you are using, the direction that you sew the legs together should be consistent; in other words, don’t sew up one leg and down the other. This will help the pants to drape nicely. Another bonus of starting at the center: you can add a little extra stitching to reinforce the crotch, one of the places on a pair of pants that experiences the most Seam Stress.
Once you finish sewing the inseams, press and finish them as desired. You should see already that your pants are coming together nicely!
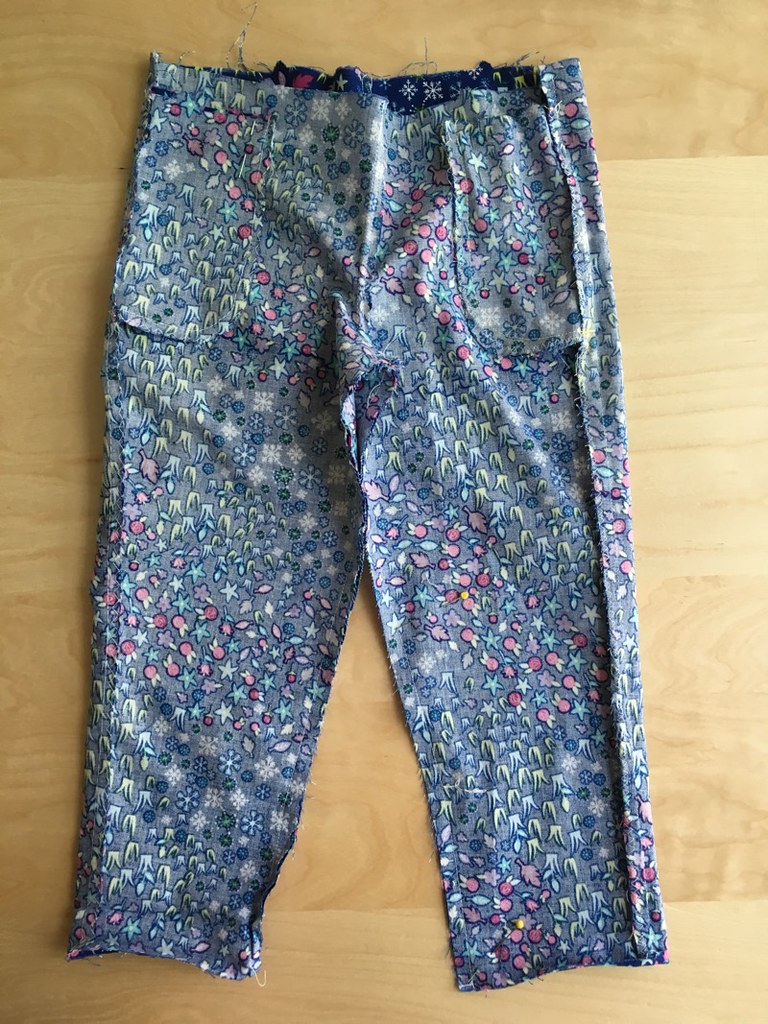
Luna Pantsalong Day 4
Turn them right-side out, and you’re ready to add the waistband and finish the cuffs!

Luna Pantsalong Day 4
* * * * * * * * *
Want to participate in the Luna Pantsalong? Are you already working on your own pair of Lunas? Join us! Post a photo of your pants, either in progress or finished, to your blog or social media platform of your choice, and either link back to my blog or use the tag #lunapantsalong!
Still need the Luna Pants sewing pattern? Find it here!